DFE-680TXD specifications
The D-Link DFE-680TXD is a robust Ethernet card designed to cater to the needs of both individual users and businesses requiring reliable networking solutions. This card is particularly recognized for its performance and compatibility with various operating systems, making it a versatile choice for different user environments.One of the main features of the D-Link DFE-680TXD is its support for 10/100 Mbps Fast Ethernet, which enables efficient data transfer rates. This capability is crucial for demanding applications such as video streaming, online gaming, and large file transfers. The card automatically adjusts to the optimal speed of the connected network, ensuring seamless connectivity regardless of the environment.
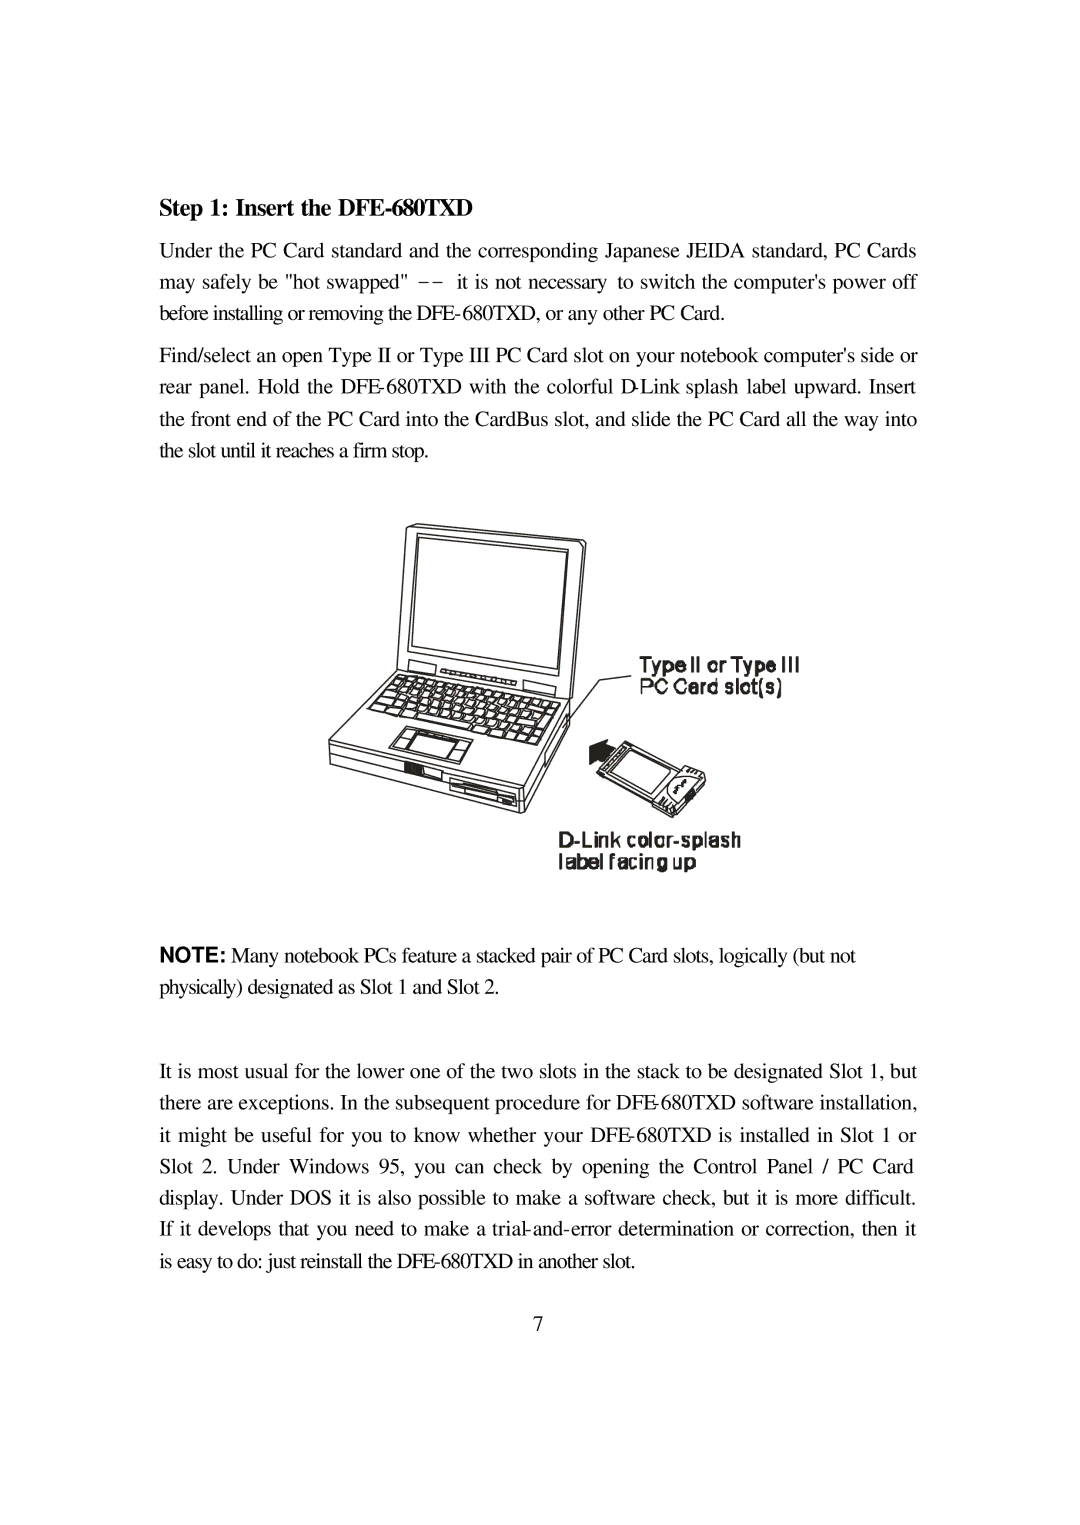
The DFE-680TXD is equipped with a PCI interface that guarantees easy installation and integration into existing systems. This plug-and-play capability allows users to conveniently enhance their network performance without the need for extensive technical knowledge. The card is compatible with a variety of operating systems, including Windows and Linux, which broadens its appeal to a wide range of users.
In terms of technological features, the DFE-680TXD incorporates advanced power management capabilities that optimize energy consumption, benefiting both the environment and user costs. It also includes features like Wake-on-LAN support, which allows the network administrator to remotely power on systems, enabling efficient management and maintenance of network devices.
The card employs full-duplex transmission capabilities, effectively doubling the bandwidth utilization and reducing packet collisions. This makes the DFE-680TXD particularly advantageous for busy networks where traffic congestion can impede performance.
Additionally, the D-Link DFE-680TXD comes with a built-in diagnostic utility that aids in troubleshooting and network performance monitoring. This feature empowers users to manage their network health effectively, identifying potential issues before they escalate into significant problems.
Overall, the D-Link DFE-680TXD Ethernet card stands out as a reliable and efficient networking solution suitable for various scenarios, from home offices to small businesses. With its combination of performance, ease of installation, and advanced technologies, it remains a popular choice for users looking to enhance their network capabilities.

