
EF36, IF36 specifications
The Dacor IF36 and EF36 refrigerators represent the pinnacle of modern refrigeration technology, combining superior performance with elegant design. These models are celebrated for their innovative features, making them an ideal choice for any culinary enthusiast seeking both function and style in their kitchen.One of the standout features of the Dacor IF36 and EF36 is their built-in design, allowing seamless integration into cabinetry for a streamlined appearance. This design not only enhances kitchen aesthetics but also offers convenience, as these units can be installed at optimal heights for easy access to all food items.
Both models boast advanced cooling technologies, including Dacor's signature Dual Cooling System, which maintains ideal humidity levels in the refrigerator while preventing odor transfer between compartments. This system promotes longer food preservation, ensuring your ingredients remain fresh longer. The refrigerators feature precise temperature control, allowing users to set ideal conditions for different types of food, enhancing their overall culinary experience.
The IF36 and EF36 utilize an intuitive touchscreen control panel, making it easy to adjust settings and monitor the internal environment effortlessly. This modern interface adds a sophisticated touch while providing essential information at your fingertips. Also notable is the Wi-Fi connectivity, which allows for remote monitoring and control via a smartphone app.
Another key characteristic is the energy efficiency of both models. They are designed to minimize energy consumption while maintaining peak performance, making them an environmentally friendly choice. With ENERGY STAR certification, users can rest assured they are investing in a product that is both sustainable and cost-effective.
The shelves in these refrigerators are designed with flexibility in mind. Adjustable and spill-proof glass shelving provides versatility for storing various food items while preventing messes. The integrated LED lighting illuminates the interior beautifully, ensuring visibility and easy access to items stored within.
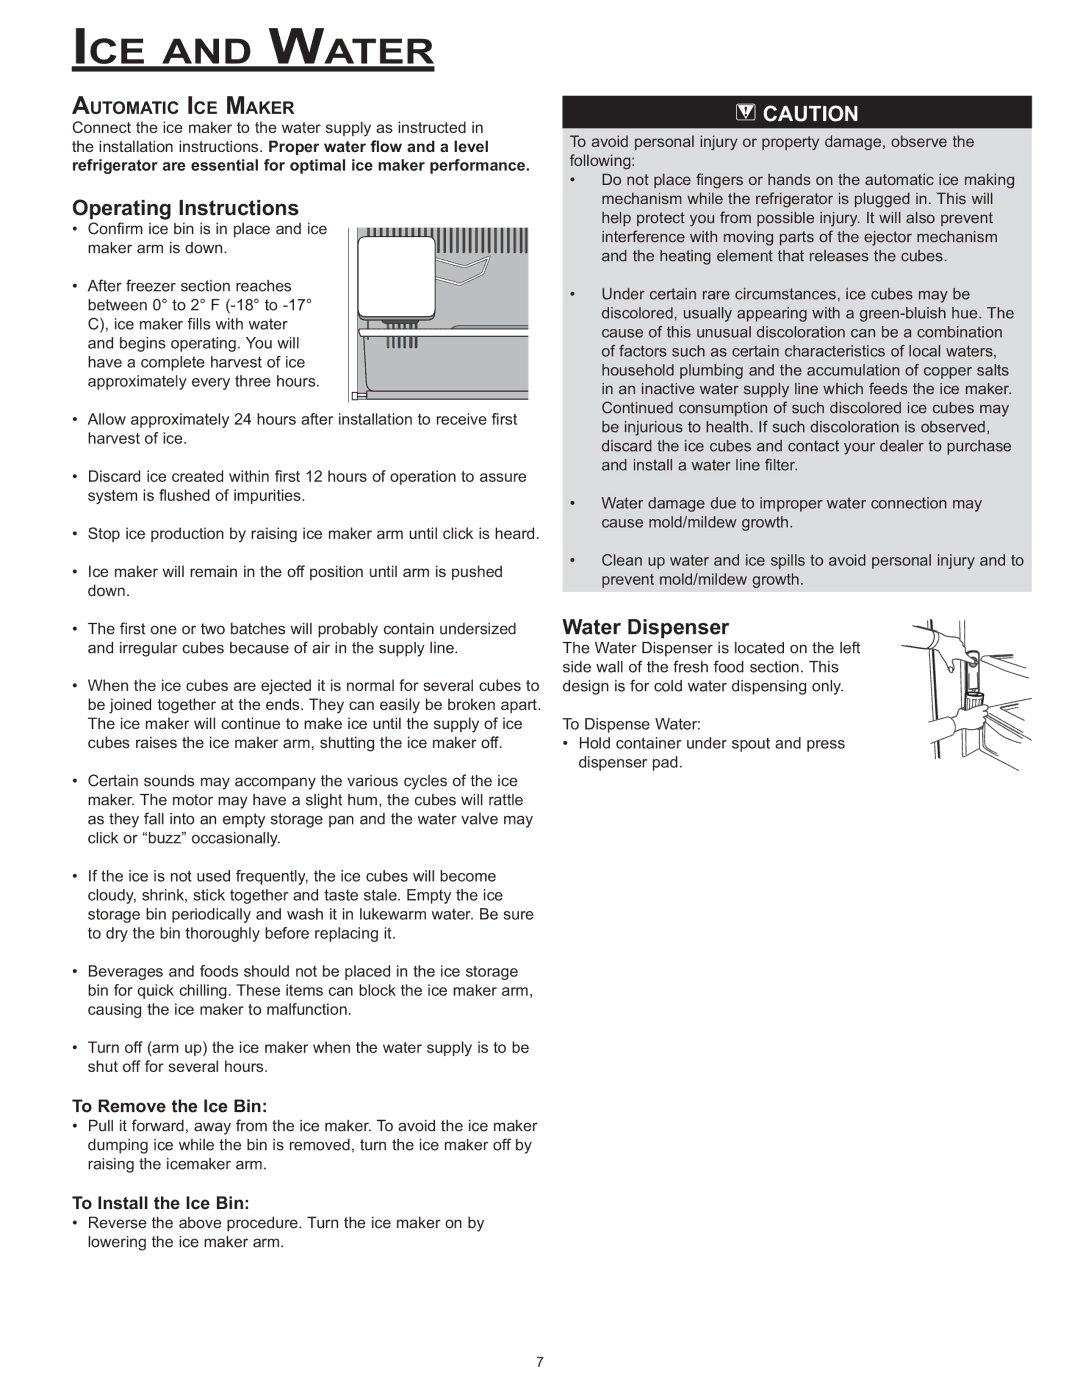
Additional features include a robust ice maker for a constant supply of fresh ice, as well as a water dispenser providing filtered water on demand. The easy-to-clean finishes and materials used in the construction of Dacor IF36 and EF36 also make maintenance a breeze.
Overall, the Dacor IF36 and EF36 refrigerators are a testament to the perfect blend of innovation and style, offering groundbreaking features that enhance the user's cooking and food storage experience while maintaining a sophisticated presence in any kitchen environment.