EOG52 Features: | 10. | Side burners (2 - 18,000 BTU) |
1. Rotisserie control knob | 11. | Burner grate |
2.Grill and Smoker control knobs
3. | Drip retrieval tray | Keep warm rack (not shown) |
4. | Interior lights on/off switch | Rotisserie Rod and forks (not shown) |
5. | Stainless steel grills | Rotisserie Motor (not shown) |
6. | Halogen cooking lights | Rotisserie Bracket (not shown) |
7. | Infrared rotisserie burner (13,000 BTU) | Removable smoker box (not shown) |
8. | Canopy mounted temperature gauge | Heat control channels (not shown) |
9.Side burner control knobs
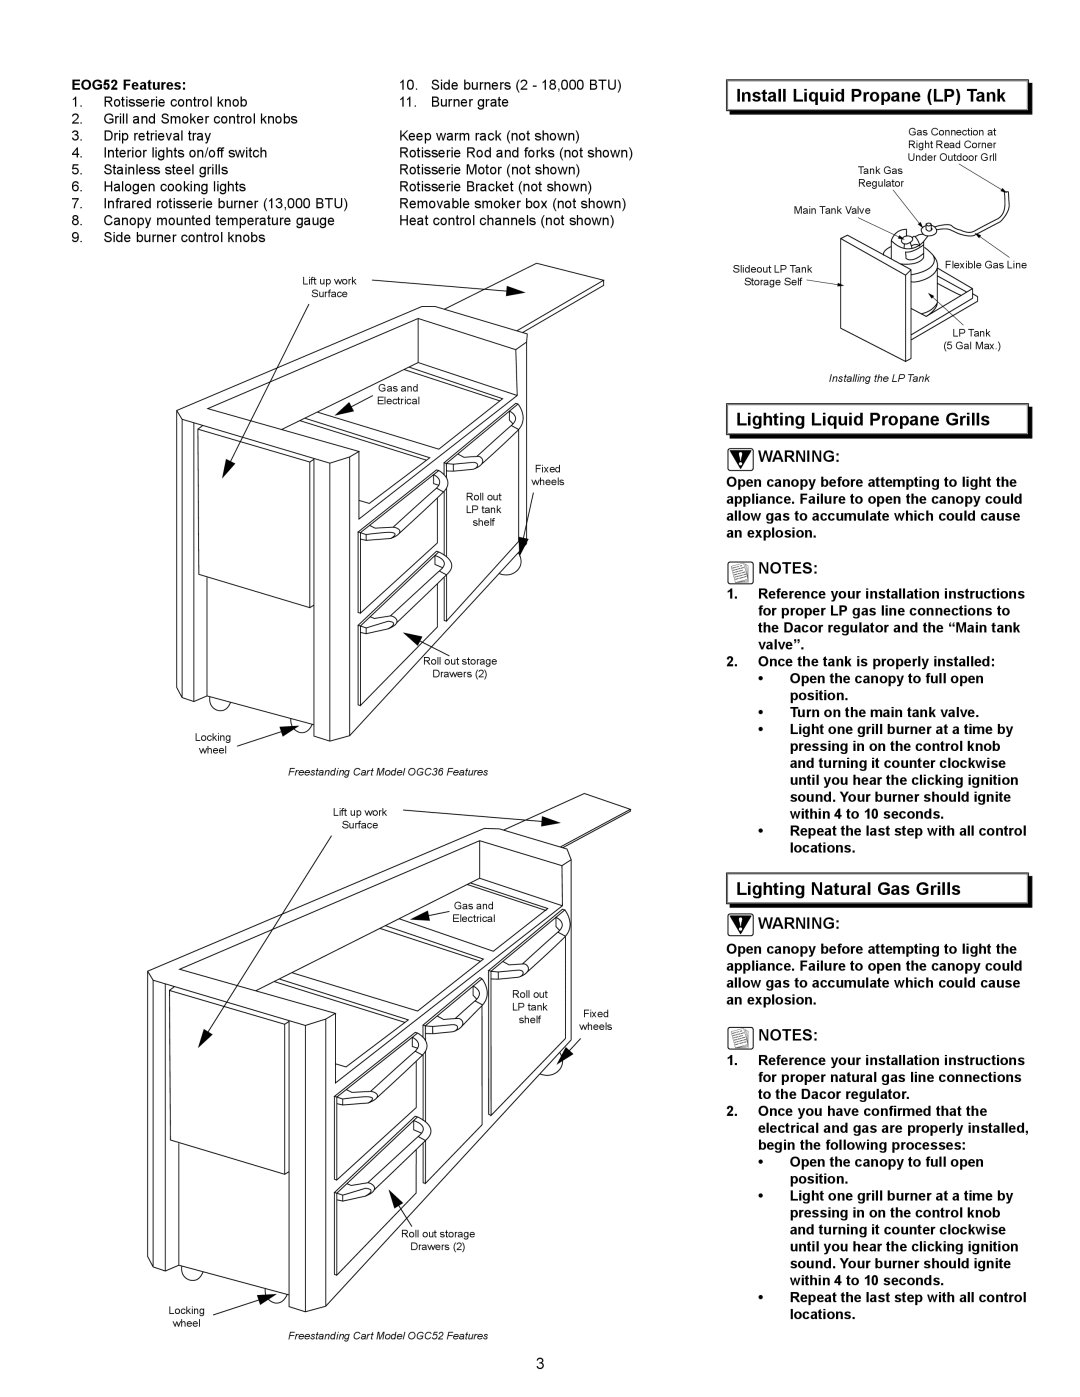
Lift up work
Surface
Gas and
![]() Electrical
Electrical
Fixed
wheels
Roll out LP tank shelf
Roll out storage
Drawers (2)
Locking
wheel
Freestanding Cart Model OGC36 Features
Lift up work
Surface
Gas and
![]() Electrical
Electrical
Roll out
LP tank Fixed
shelf wheels
Roll out storage
Drawers (2)
Locking
wheel
Freestanding Cart Model OGC52 Features

 Install Liquid Propane (LP) Tank
Gas Connection at
Right Read Corner
Under Outdoor Grll
Tank Gas
Regulator
Main Tank Valve
Slideout LP Tank | Flexible Gas Line |
| |
Storage Self |
|
LP Tank
(5 Gal Max.)
Installing the LP Tank

 Lighting Liquid Propane Grills
![]() WARNING:
WARNING:
Open canopy before attempting to light the appliance. Failure to open the canopy could allow gas to accumulate which could cause an explosion.
NOTES:
1.Reference your installation instructions for proper LP gas line connections to the Dacor regulator and the “Main tank valve”.
2.Once the tank is properly installed:
•Open the canopy to full open position.
•Turn on the main tank valve.
•Light one grill burner at a time by pressing in on the control knob and turning it counter clockwise until you hear the clicking ignition sound. Your burner should ignite within 4 to 10 seconds.
•Repeat the last step with all control locations.

 Lighting Natural Gas Grills
![]() WARNING:
WARNING:
Open canopy before attempting to light the appliance. Failure to open the canopy could allow gas to accumulate which could cause an explosion.
![]() NOTES:
NOTES:
1.Reference your installation instructions for proper natural gas line connections to the Dacor regulator.
2.Once you have confirmed that the electrical and gas are properly installed, begin the following processes:
•Open the canopy to full open position.
•Light one grill burner at a time by pressing in on the control knob and turning it counter clockwise until you hear the clicking ignition sound. Your burner should ignite within 4 to 10 seconds.
•Repeat the last step with all control locations.
3
