HOW TO INSTALL BATTERIES
To install the batteries, follow the procedures below:
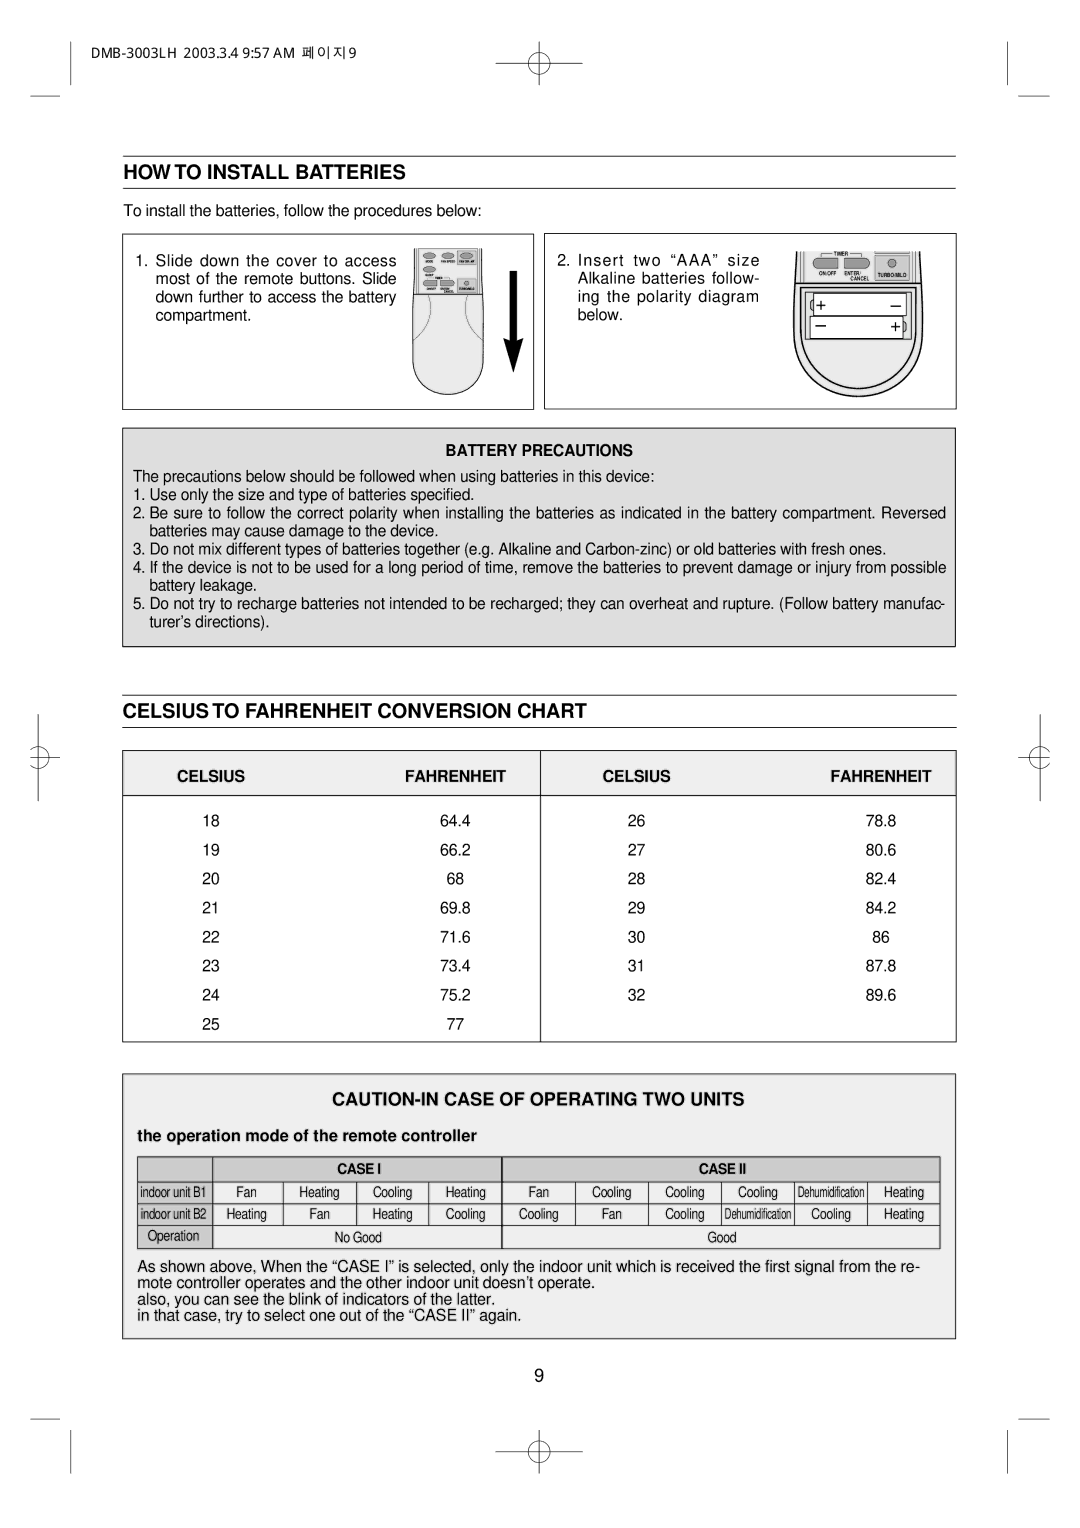
1. Slide down the cover to access most of the remote buttons. Slide down further to access the battery compartment.
2.Insert two “AAA” size Alkaline batteries follow- ing the polarity diagram below.
TIMER |
|
ON/OFF ENTER/ | TURBO/MILD |
CANCEL |
|
+ | – |
– | + |
BATTERY PRECAUTIONS
The precautions below should be followed when using batteries in this device:
1.Use only the size and type of batteries specified.
2.Be sure to follow the correct polarity when installing the batteries as indicated in the battery compartment. Reversed batteries may cause damage to the device.
3.Do not mix different types of batteries together (e.g. Alkaline and
4.If the device is not to be used for a long period of time, remove the batteries to prevent damage or injury from possible battery leakage.
5.Do not try to recharge batteries not intended to be recharged; they can overheat and rupture. (Follow battery manufac- turer’s directions).
CELSIUS TO FAHRENHEIT CONVERSION CHART
CELSIUS | FAHRENHEIT | CELSIUS | FAHRENHEIT |
|
|
|
|
18 | 64.4 | 26 | 78.8 |
19 | 66.2 | 27 | 80.6 |
20 | 68 | 28 | 82.4 |
21 | 69.8 | 29 | 84.2 |
22 | 71.6 | 30 | 86 |
23 | 73.4 | 31 | 87.8 |
24 | 75.2 | 32 | 89.6 |
25 | 77 |
|
|
|
|
|
|
the operation mode of the remote controller
|
| CASE I |
|
|
| CASE II |
|
| |||
indoor unit B1 | Fan | Heating | Cooling | Heating | Fan | Cooling | Cooling |
| Cooling | Dehumidification | Heating |
indoor unit B2 | Heating | Fan | Heating | Cooling | Cooling | Fan | Cooling |
| Dehumidification | Cooling | Heating |
Operation |
| No Good |
|
|
|
| Good |
|
| ||
|
|
|
|
|
|
|
|
|
|
|
|
As shown above, When the “CASE I” is selected, only the indoor unit which is received the first signal from the re- mote controller operates and the other indoor unit doesn’t operate.
also, you can see the blink of indicators of the latter.
in that case, try to select one out of the “CASE II” again.
9