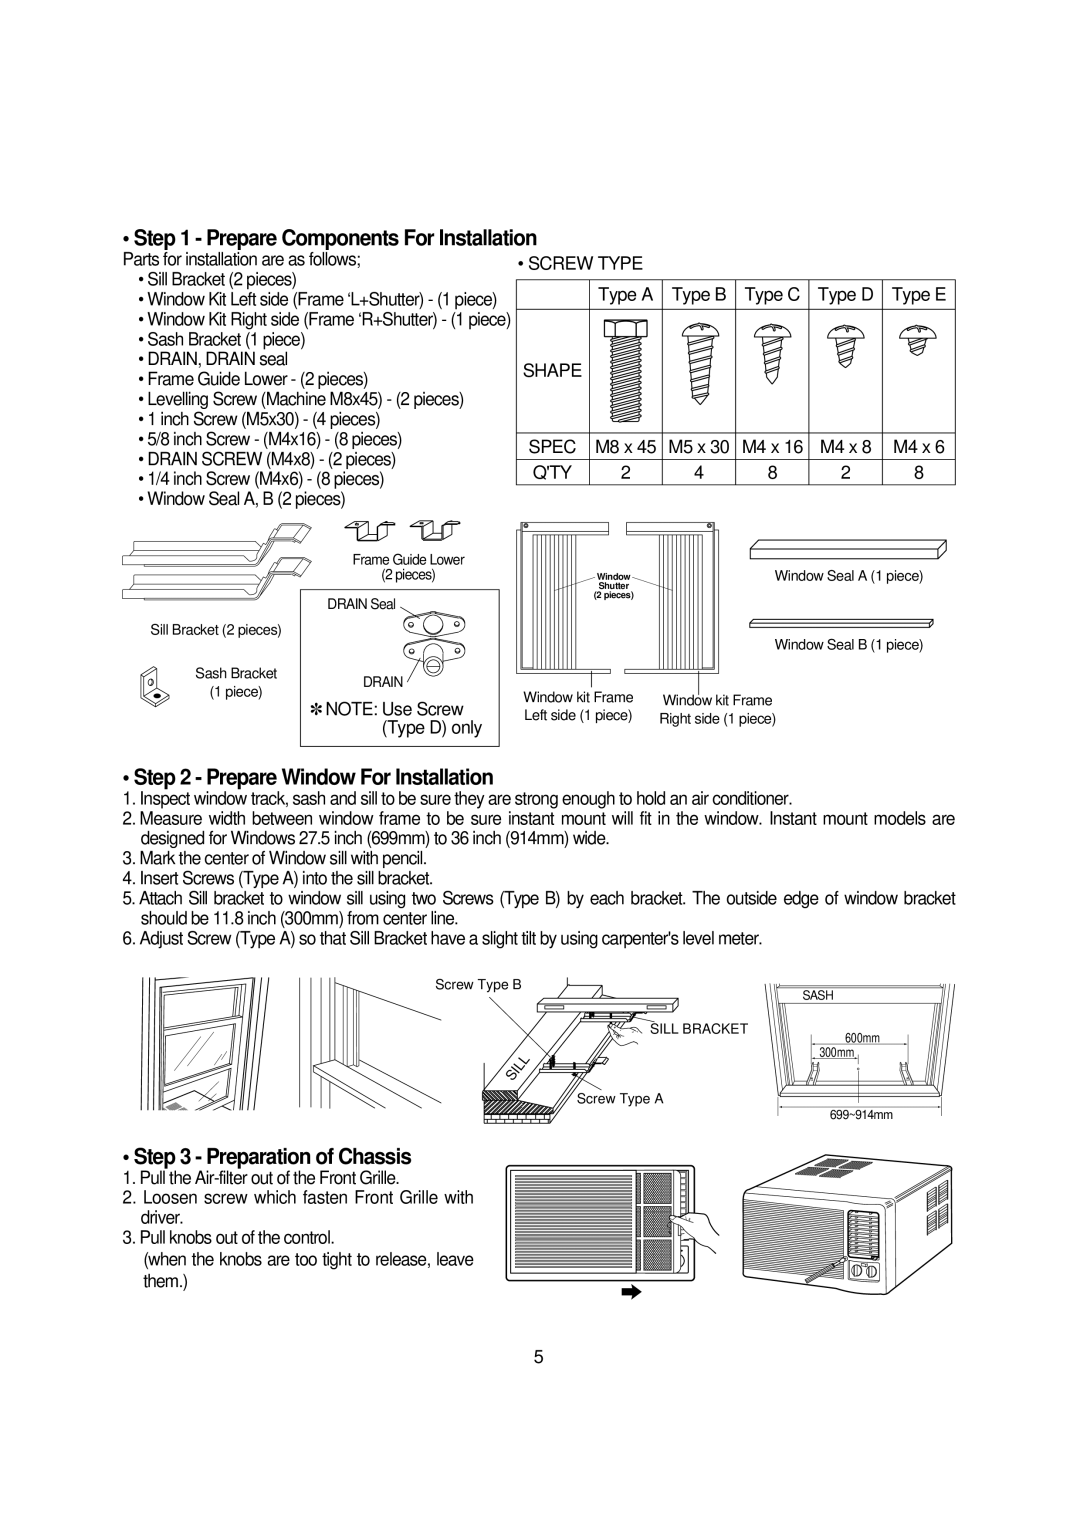
DWC-121CS, DWA-150C, DWC-100CS, DWA-122CS, DWC-100C specifications
Daewoo has established a formidable reputation in the domain of home appliances, particularly in the air conditioning and cooling sector. Among its noteworthy offerings, the Daewoo DWC-100CS, DWA-151C, DWA-150C, DWA-151CS, and DWA-122CS models stand out, boasting a blend of efficiency, modern technology, and user-friendly features. These air conditioners address a variety of needs, making them suitable for both residential and commercial applications.The Daewoo DWC-100CS is renowned for its compact design combined with powerful cooling capabilities. It features an energy-efficient compressor that helps reduce electricity consumption while maintaining optimal cooling performance. The device is equipped with a remote control for effortless operation, allowing users to adjust settings from a distance. Additionally, the air conditioning unit comes with a user-friendly LED display, making it easy to monitor and control the temperature and settings.
The DWA-151C and DWA-150C models share many technological advancements, including a multi-stage air filtration system that helps improve air quality by trapping dust, allergens, and other particles. These models are designed with inverter technology, enabling them to adjust their power consumption based on the required cooling, which not only saves energy but also ensures consistent comfort levels.
For those looking for added convenience, the Daewoo DWA-151CS incorporates Wi-Fi connectivity, allowing users to control the unit remotely via a smartphone app. This model also features a smart sensor that detects the ambient temperature, optimizing performance for energy savings and comfort. Its sleek design and quiet operation make it a visit-friendly option for any living space.
The DWA-122CS is a versatile model that offers cooling, heating, and dehumidifying functionalities, catering to varied climate conditions. Its adjustable thermostat enables users to set their desired temperature with precision. The unit is designed with an efficient drainage system for easy maintenance, ensuring that users can enjoy a hassle-free experience.
In summary, the Daewoo DWC-100CS, DWA-151C, DWA-150C, DWA-151CS, and DWA-122CS represent a significant advancement in air conditioning technology. With features like energy-efficient compressors, advanced filtration systems, and smart capabilities, these models are engineered to provide efficient cooling, improved air quality, and enhanced user control, making them a valuable addition to any environment.

