Safety Instructions
ATTENTION
GROUNDING INSTRUCTIONS
This appliance must be grounded. In the event of an electrical short circuit, grounding reduces the risk of electrical shock by providing an escape wire for the electrical current. This appliance is equipped with a cord having a grounding wire with a grounding plug. The plug must be plugged into an outlet that is properly installed and grounded.
WARNING - Improper use of the grounding plug can result in a risk of electric shock. Consult a qualified electrician or serviceman if the grounding instructions are not completely understood, or if doubt exists as to whether the appliance is properly grounded.
DO NOT USE AN EXTENSION CORD
Use an exclusive wall outlet. Do not connect your refrigerator to extension cords or together with any other appliance in the same wall outlet. Do not splice the cord.
IMPORTANT WARNING
An empty refrigerator is a very dangerous attraction to children. Remove either the gasket, latches, lids or doors from unused appliances, or take some other action that will guarantee it harmless.
DON’T WAIT! DO IT NOW!
Installation
Remove exterior and interior packings, wipe the outside thoroughly with a soft dry cloth and the inside with a wet, lukewarm cloth. Avoid placing the cabinet in a narrow recess or near any heat source, direct sunlight, or moisture. Let air circulate freely around the cabinet. Keep the rear of the refrigerator 5 inches away from the wall.
Location
1.Select a place with a strong, level floor.
2.Allow 5 inches of space between the back of the refrigerator and any adjacent wall.
3.Avoid direct sunlight and heat. Direct sunlight may affect the acrylic coating. Heat sources nearby will cause higher electricity consumption.
4.Avoid very moist places. Too much moisture in the air will cause frost to form very quickly on the evaporator, and your refrigerator will have to be defrosted more frequently.
Operation
To avoid vibration, the cabinet must be set level. This is accomplished by adjusting the (2) front leveling legs located under the refrigerator cabinet. To start the refrigerator, turn the temperature control (OFF-MAX) to the position corresponding to the desired cooling. (Fig. A)
OFF = No Cooling | 4 = Medium Cooling |
1 = Minimum Cooling | MAX = Maximum Cooling |
The refrigerator temperature will vary depending on the quantity of the food stored and on the frequency with which the door is opened.
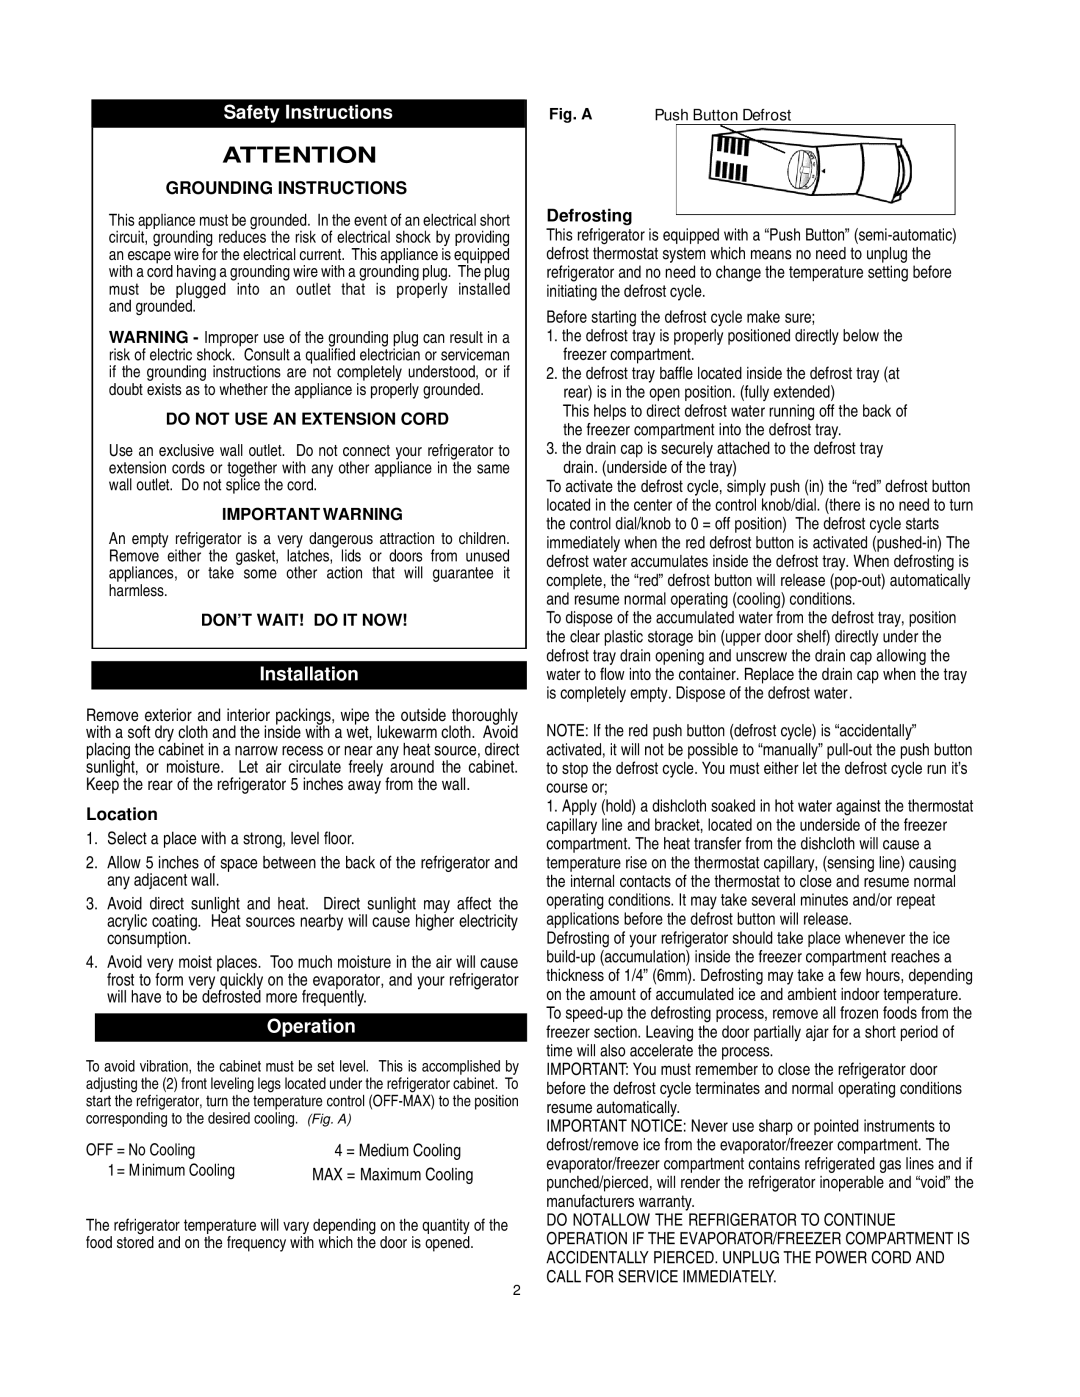
Fig. A Push Button Defrost
Defrosting
This refrigerator is equipped with a “Push Button” (semi-automatic) defrost thermostat system which means no need to unplug the refrigerator and no need to change the temperature setting before initiating the defrost cycle.
Before starting the defrost cycle make sure;
1.the defrost tray is properly positioned directly below the freezer compartment.
2.the defrost tray baffle located inside the defrost tray (at rear) is in the open position. (fully extended)
This helps to direct defrost water running off the back of the freezer compartment into the defrost tray.
3.the drain cap is securely attached to the defrost tray
drain. (underside of the tray)
To activate the defrost cycle, simply push (in) the “red” defrost button located in the center of the control knob/dial. (there is no need to turn the control dial/knob to 0 = off position) The defrost cycle starts immediately when the red defrost button is activated (pushed-in) The defrost water accumulates inside the defrost tray. When defrosting is complete, the “red” defrost button will release (pop-out) automatically and resume normal operating (cooling) conditions.
To dispose of the accumulated water from the defrost tray, position the clear plastic storage bin (upper door shelf) directly under the defrost tray drain opening and unscrew the drain cap allowing the water to flow into the container. Replace the drain cap when the tray is completely empty. Dispose of the defrost water.
NOTE: If the red push button (defrost cycle) is “accidentally” activated, it will not be possible to “manually” pull-out the push button to stop the defrost cycle. You must either let the defrost cycle run it’s course or;
1.Apply (hold) a dishcloth soaked in hot water against the thermostat capillary line and bracket, located on the underside of the freezer compartment. The heat transfer from the dishcloth will cause a temperature rise on the thermostat capillary, (sensing line) causing the internal contacts of the thermostat to close and resume normal operating conditions. It may take several minutes and/or repeat applications before the defrost button will release.
Defrosting of your refrigerator should take place whenever the ice build-up (accumulation) inside the freezer compartment reaches a thickness of 1/4” (6mm). Defrosting may take a few hours, depending on the amount of accumulated ice and ambient indoor temperature. To speed-up the defrosting process, remove all frozen foods from the freezer section. Leaving the door partially ajar for a short period of time will also accelerate the process.
IMPORTANT: You must remember to close the refrigerator door before the defrost cycle terminates and normal operating conditions resume automatically.
IMPORTANT NOTICE: Never use sharp or pointed instruments to defrost/remove ice from the evaporator/freezer compartment. The evaporator/freezer compartment contains refrigerated gas lines and if punched/pierced, will render the refrigerator inoperable and “void” the manufacturers warranty.
DO NOTALLOW THE REFRIGERATOR TO CONTINUE OPERATION IF THE EVAPORATOR/FREEZER COMPARTMENT IS ACCIDENTALLY PIERCED. UNPLUG THE POWER CORD AND CALL FOR SERVICE IMMEDIATELY.