CHILL'N TAPASSEMBLY INSTRUCTIONS CON’T
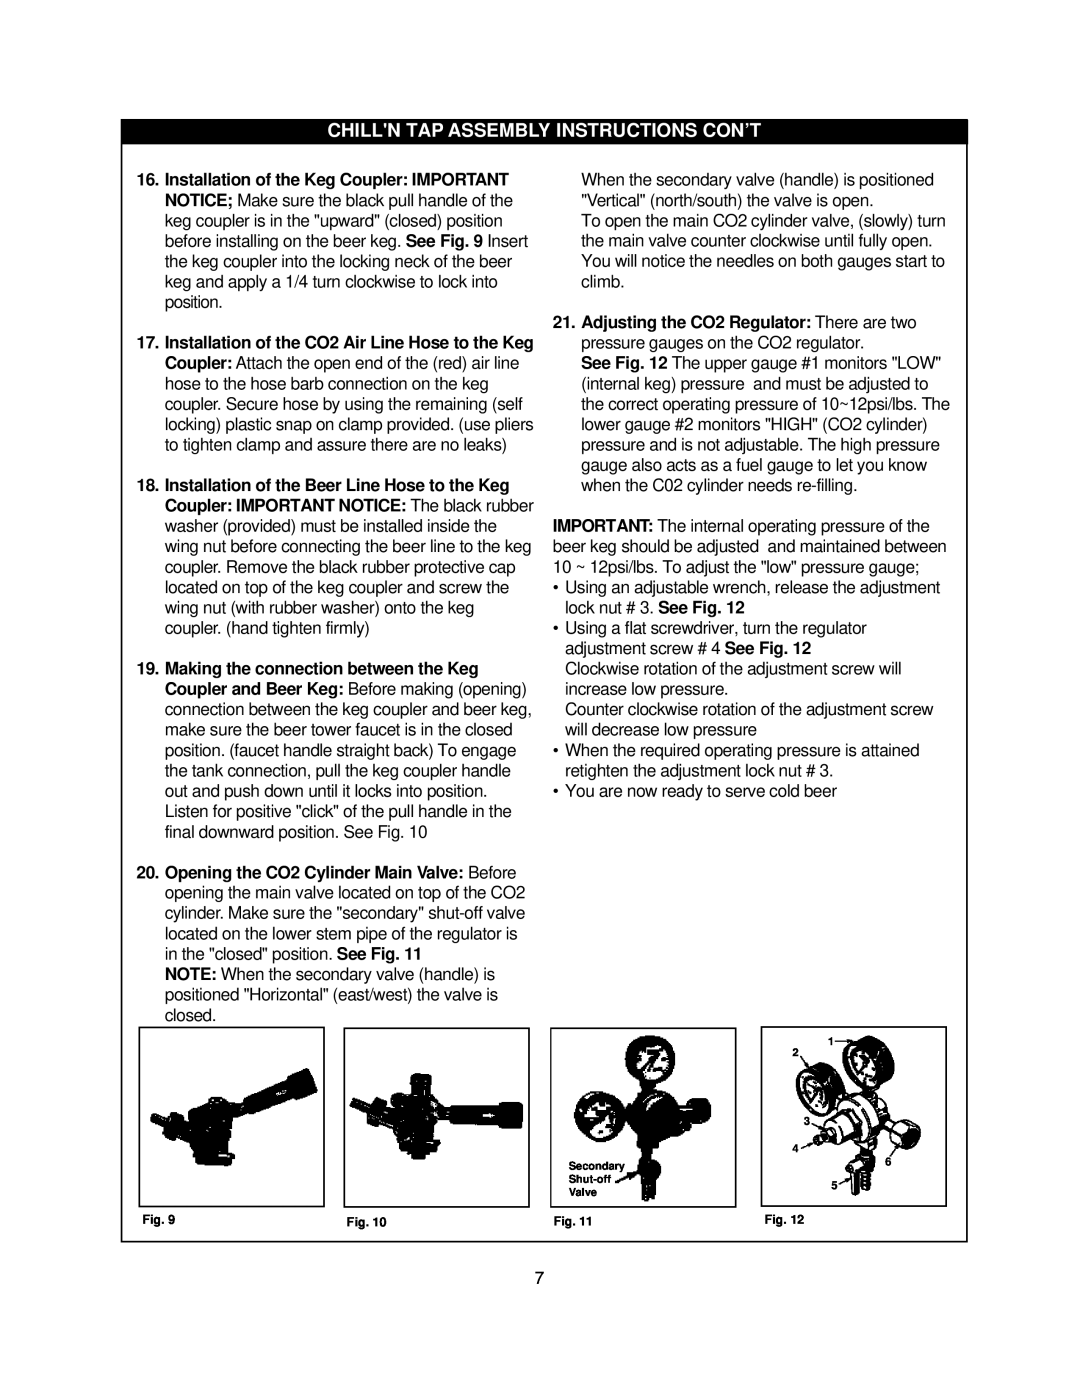
16.Installation of the Keg Coupler: IMPORTANT NOTICE; Make sure the black pull handle of the keg coupler is in the "upward" (closed) position before installing on the beer keg. See Fig. 9 Insert the keg coupler into the locking neck of the beer keg and apply a 1/4 turn clockwise to lock into position.
17.Installation of the CO2 Air Line Hose to the Keg Coupler: Attach the open end of the (red) air line hose to the hose barb connection on the keg coupler. Secure hose by using the remaining (self locking) plastic snap on clamp provided. (use pliers to tighten clamp and assure there are no leaks)
18.Installation of the Beer Line Hose to the Keg Coupler: IMPORTANT NOTICE: The black rubber washer (provided) must be installed inside the wing nut before connecting the beer line to the keg coupler. Remove the black rubber protective cap located on top of the keg coupler and screw the wing nut (with rubber washer) onto the keg coupler. (hand tighten firmly)
19.Making the connection between the Keg Coupler and Beer Keg: Before making (opening) connection between the keg coupler and beer keg, make sure the beer tower faucet is in the closed position. (faucet handle straight back) To engage the tank connection, pull the keg coupler handle out and push down until it locks into position. Listen for positive "click" of the pull handle in the final downward position. See Fig. 10
20.Opening the CO2 Cylinder Main Valve: Before opening the main valve located on top of the CO2 cylinder. Make sure the "secondary"
NOTE: When the secondary valve (handle) is positioned "Horizontal" (east/west) the valve is closed.
Fig. 9 | Fig. 10 |
When the secondary valve (handle) is positioned "Vertical" (north/south) the valve is open.
To open the main CO2 cylinder valve, (slowly) turn the main valve counter clockwise until fully open. You will notice the needles on both gauges start to climb.
21.Adjusting the CO2 Regulator: There are two pressure gauges on the CO2 regulator.
See Fig. 12 The upper gauge #1 monitors "LOW" (internal keg) pressure and must be adjusted to the correct operating pressure of 10~12psi/lbs. The lower gauge #2 monitors "HIGH" (CO2 cylinder) pressure and is not adjustable. The high pressure gauge also acts as a fuel gauge to let you know when the C02 cylinder needs
IMPORTANT: The internal operating pressure of the beer keg should be adjusted and maintained between 10 ~ 12psi/lbs. To adjust the "low" pressure gauge;
•Using an adjustable wrench, release the adjustment lock nut # 3. See Fig. 12
•Using a flat screwdriver, turn the regulator adjustment screw # 4 See Fig. 12 Clockwise rotation of the adjustment screw will increase low pressure.
Counter clockwise rotation of the adjustment screw will decrease low pressure
•When the required operating pressure is attained retighten the adjustment lock nut # 3.
•You are now ready to serve cold beer
| 1 | |
| 2 | |
| 3 | |
| 4 | |
Secondary | 6 | |
| ||
5 | ||
Valve | ||
| ||
Fig. 11 | Fig. 12 |
7