RSS II specifications
The Definitive Technology RSS II (Rear Surround Speaker II) is a remarkable audio accessory designed for audiophiles and home theater enthusiasts looking to enhance their sound experience. Known for its immersive sound capabilities, the RSS II integrates seamlessly into various audio setups, providing listeners with an enveloping, cinema-like soundscape.One of the standout features of the RSS II is its innovative bipolar speaker design. This design employs a pair of drivers that are angled in opposite directions, allowing the speaker to create a diffuse sound field. This surround sound effect helps to mimic the spatial quality of audio found in movie theaters, making it perfect for action-packed films, musical performances, and immersive gaming. This feature allows users to experience sound from multiple directions, adding depth and excitement to any audio experience.
Another significant technology employed by the RSS II is the use of high-quality drivers. The speakers are equipped with a 5.25-inch poly-woven midrange driver and a 1-inch aluminum dome tweeter. This combination ensures a balanced output of both low and high frequencies, resulting in clear dialogue, dynamic effects, and rich musical tones. The drivers are designed for durability and performance, providing consistent sound quality over time.
The RSS II also stands out with its elegant and contemporary design. Its sleek cabinet is constructed with precision, featuring a brushed black aluminum trim and a smooth finish, enabling it to blend easily with modern home decor. The design is not just aesthetically appealing; it is also functional, minimizing unwanted resonance for cleaner sound reproduction.
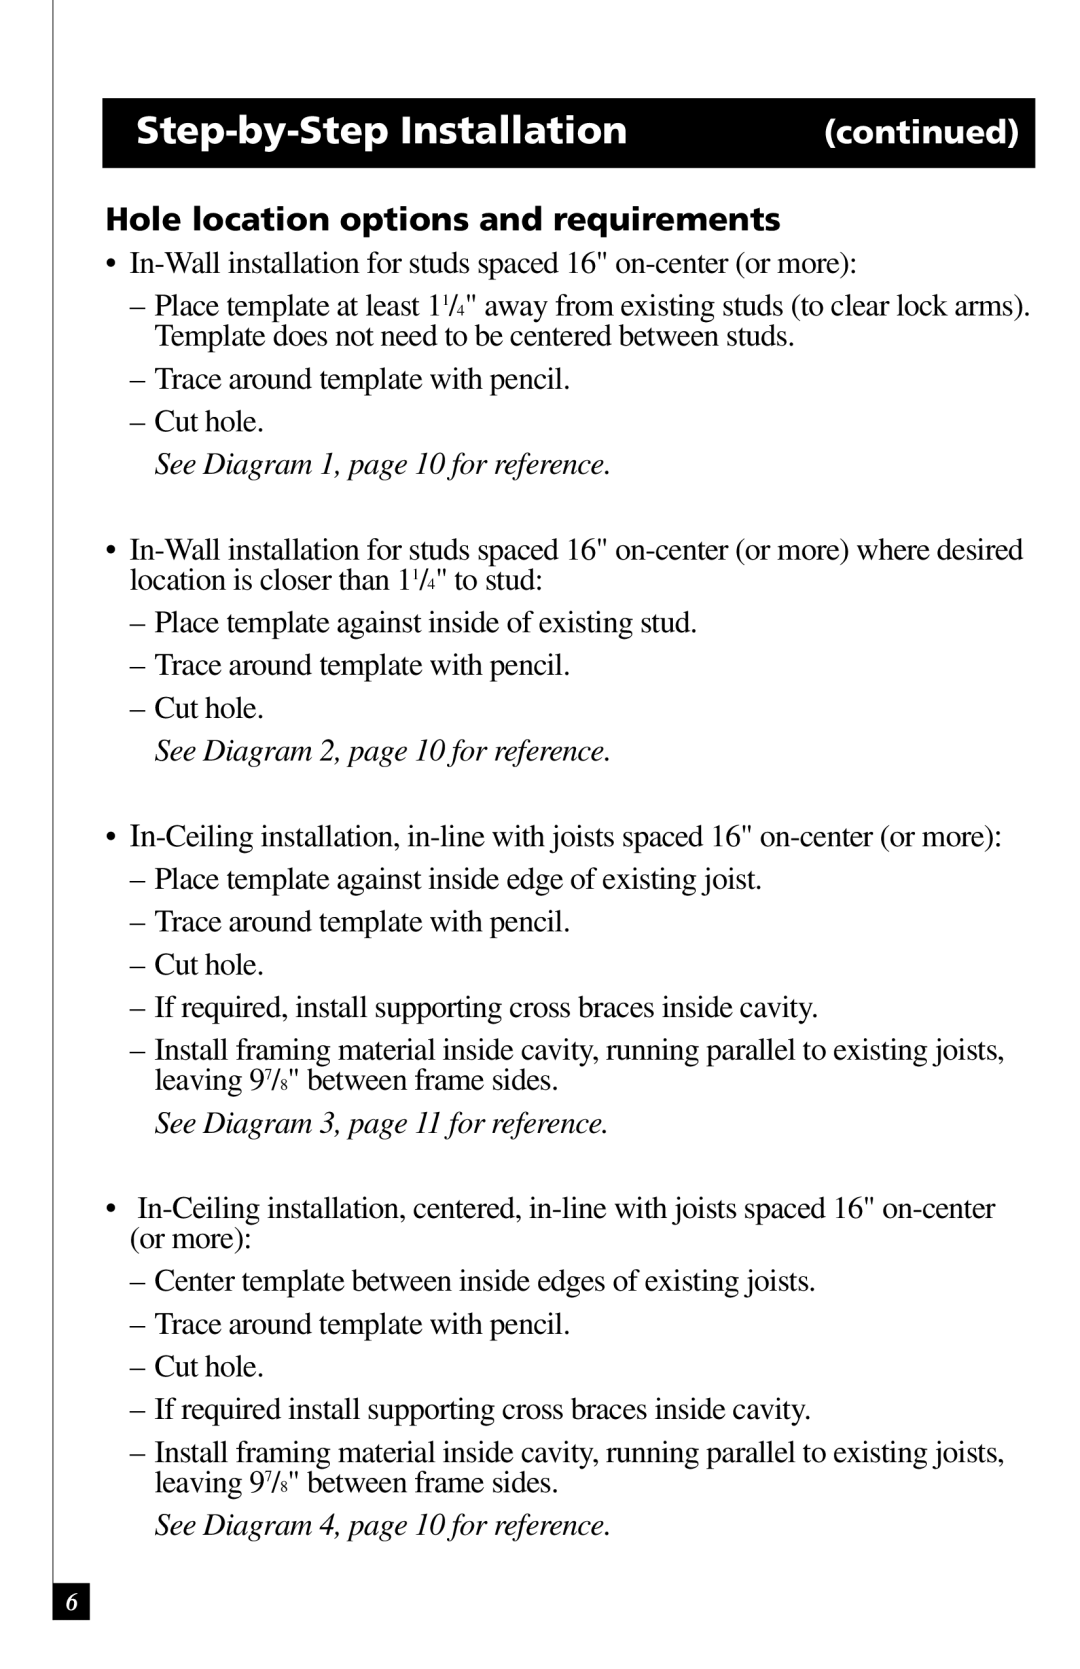
Additionally, the RSS II offers flexible mounting options, allowing users to place it on shelves, walls, or use it as part of a more complex audio system setup. The speaker can be used in diverse configurations, which means it can match the needs of various room layouts while still delivering exceptional sound quality.
An integral aspect of the Definitive Technology RSS II is its versatility. It can be effortlessly paired with other Definitive Technology speakers or used as part of a surround sound system featuring components from different brands. This adaptability makes the RSS II an excellent choice for anyone looking to upgrade their audio setup without compromising on quality.
In conclusion, the Definitive Technology RSS II embodies a fusion of cutting-edge audio technology, thoughtful design, and versatility, making it an exceptional choice for creating an immersive listening environment that caters to all types of entertainment. Whether it's for movie nights, music sessions, or gaming, the RSS II is sure to deliver a captivating auditory experience.
