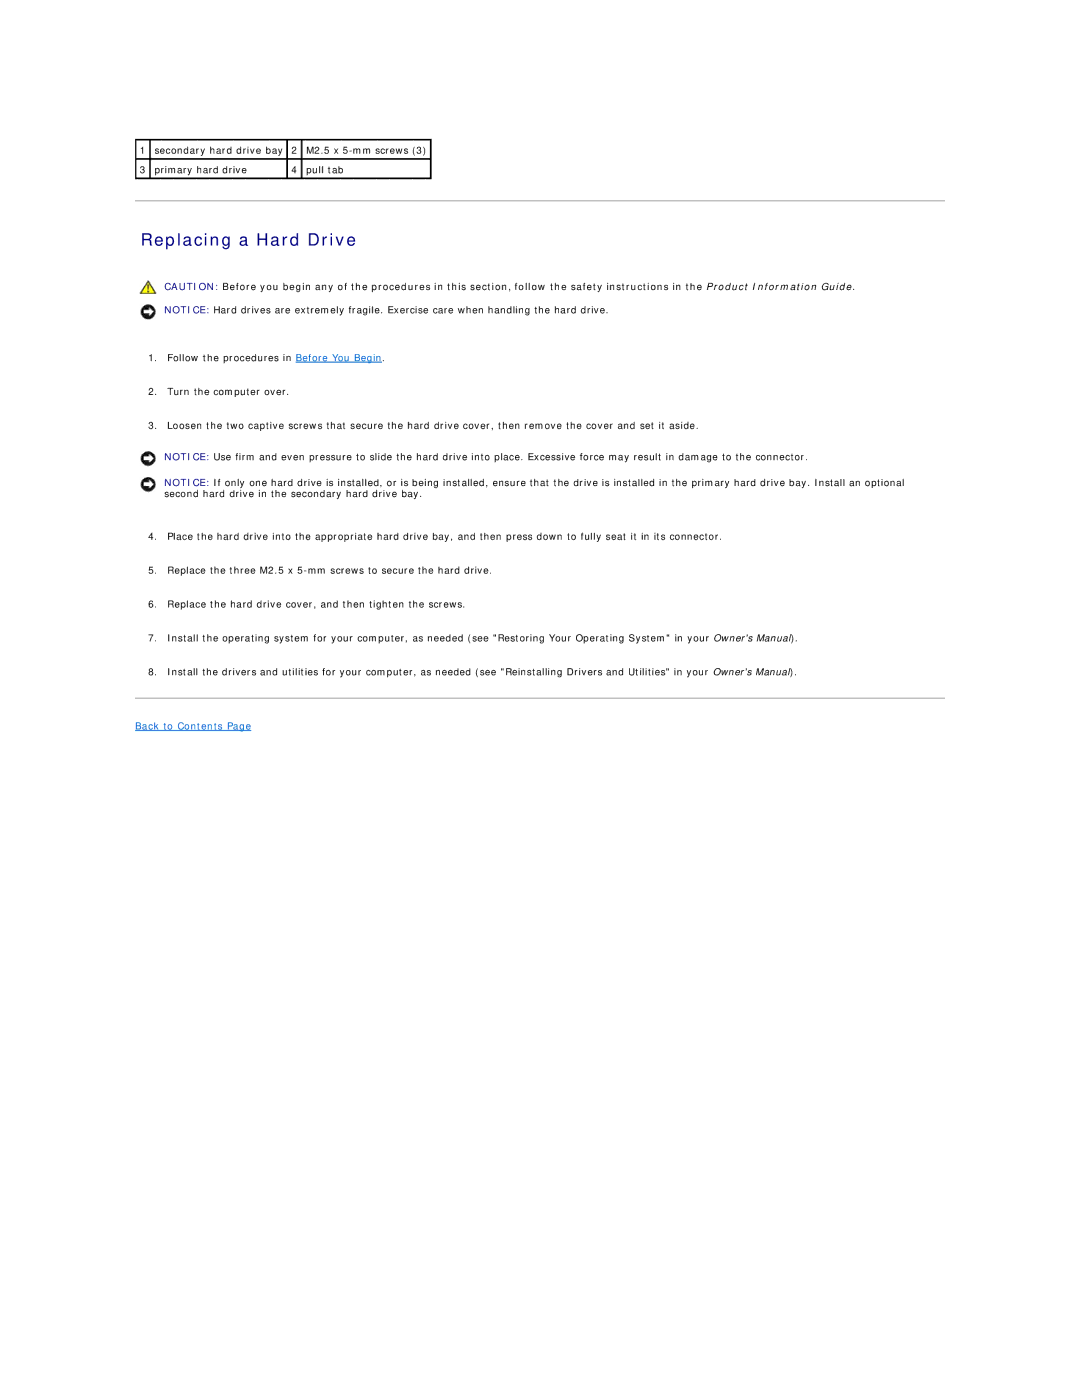
1 secondary hard drive bay 2 M2.5 x
3 primary hard drive | 4 pull tab |
|
|
Replacing a Hard Drive
CAUTION: Before you begin any of the procedures in this section, follow the safety instructions in the Product Information Guide.
NOTICE: Hard drives are extremely fragile. Exercise care when handling the hard drive.
1.Follow the procedures in Before You Begin.
2.Turn the computer over.
3.Loosen the two captive screws that secure the hard drive cover, then remove the cover and set it aside.
NOTICE: Use firm and even pressure to slide the hard drive into place. Excessive force may result in damage to the connector.
NOTICE: If only one hard drive is installed, or is being installed, ensure that the drive is installed in the primary hard drive bay. Install an optional second hard drive in the secondary hard drive bay.
4.Place the hard drive into the appropriate hard drive bay, and then press down to fully seat it in its connector.
5.Replace the three M2.5 x
6.Replace the hard drive cover, and then tighten the screws.
7.Install the operating system for your computer, as needed (see "Restoring Your Operating System" in your Owner's Manual).
8.Install the drivers and utilities for your computer, as needed (see "Reinstalling Drivers and Utilities" in your Owner's Manual).