8300 specifications
The Dell Dimension 8300 was a personal computer designed to cater to both home and office users, particularly popular during its release in the early 2000s. Known for its robust performance and innovative technologies, the 8300 showcased features that appealed to a wide range of computing needs.At its core, the Dell 8300 was powered by Intel’s 4th generation Pentium 4 processors, allowing users to experience enhanced speed and efficiency for various applications. With clock speeds reaching up to 3.2 GHz, this processor delivered solid performance for multitasking, gaming, and multimedia applications. The system architecture supported Hyper-Threading technology, which enabled the processor to handle multiple tasks more efficiently by allowing each core to run two threads simultaneously.
One of the standout features of the Dell 8300 was its support for DDR SDRAM. This module offered increased memory bandwidth compared to previous generations, ultimately improving the overall performance of the computer when running applications or handling large files. The machine typically accommodated up to 2GB of RAM, which, in the context of its release period, provided ample memory to run multiple programs simultaneously without significant slowdowns.
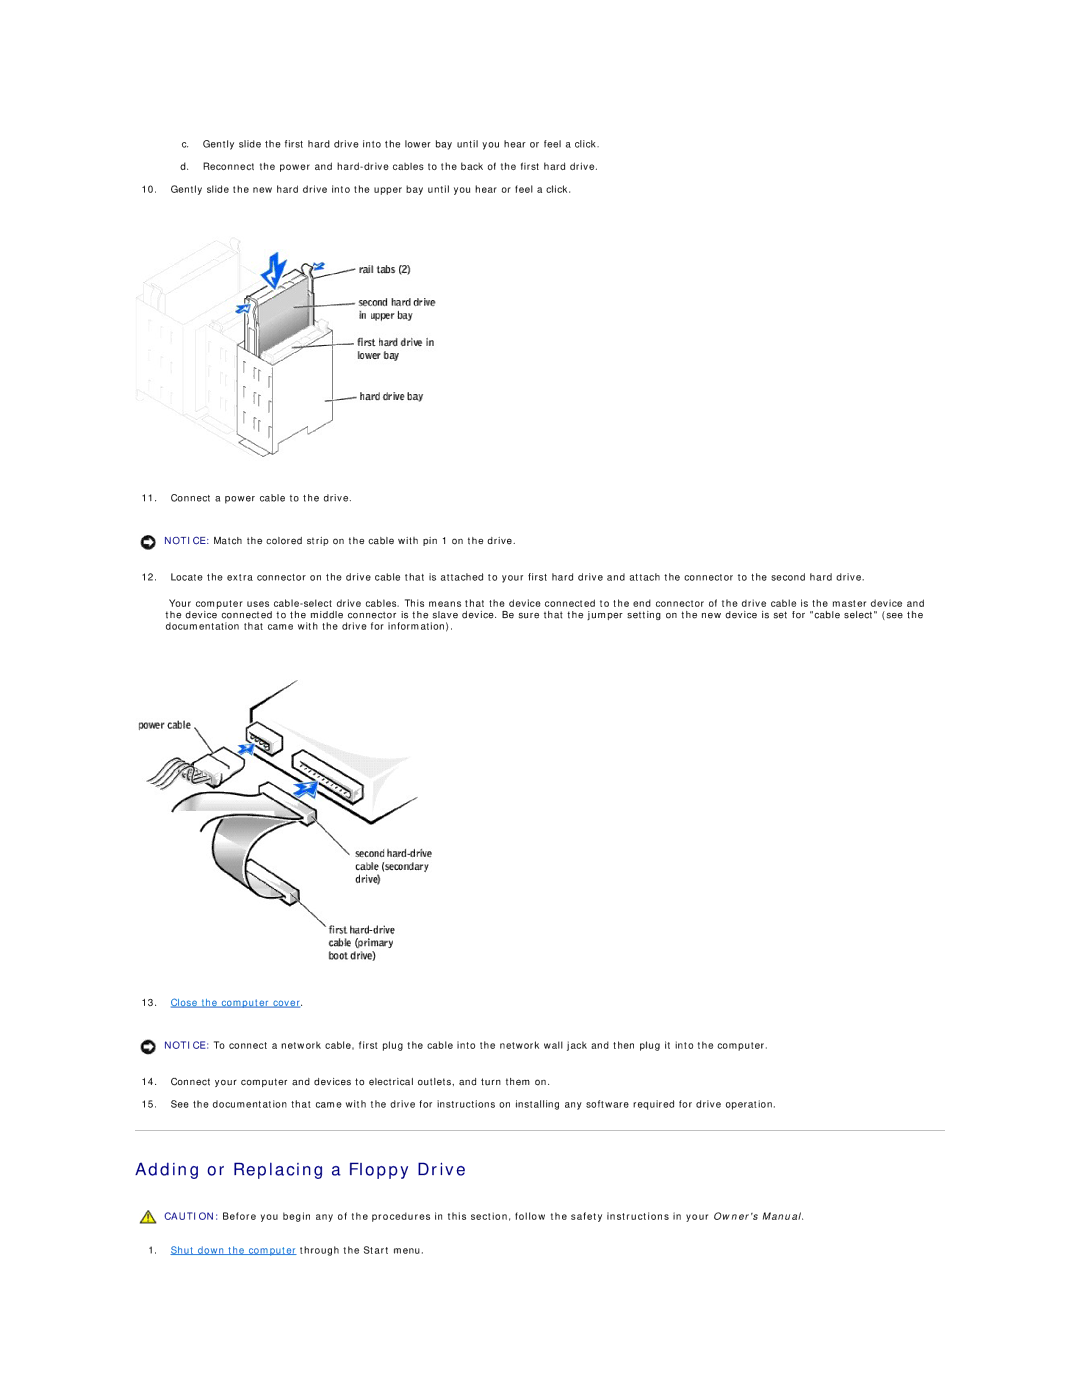
In terms of storage, the Dell 8300 was typically equipped with a range of hard drives, often starting from 80GB and going up to 250GB or more. The inclusion of a SATA interface improved data transfer speeds, which was critical for users looking to store and retrieve large files like videos, photos, and software applications efficiently. Furthermore, the system was flexible enough to support additional drives and external storage solutions.
The graphical capabilities of the Dell 8300 included options for integrated graphics as well as dedicated graphics cards such as the NVIDIA GeForce series or ATI Radeon models. This versatility made the system suitable for both casual gaming and more demanding applications, such as graphic design and video editing.
Connectivity options were also a notable feature of the Dell 8300. Equipped with a range of USB ports, FireWire ports, and Ethernet connectivity, users had the freedom to connect multiple peripherals and access high-speed internet with ease. The inclusion of various expansion slots meant that users could upgrade the system over time, adapting to new technologies as they emerged.
Additionally, the Dell Dimension 8300 featured an attractive design with a spacious case that allowed for good airflow and easier upgrades, making it an appealing choice for users looking to enhance their systems. Furthermore, the combination of reliability, performance, and upgrade potential helped solidify the 8300 as a noteworthy contender in the desktop market during its era.

