| Installation 13 |
| 14 | Installation |
| |
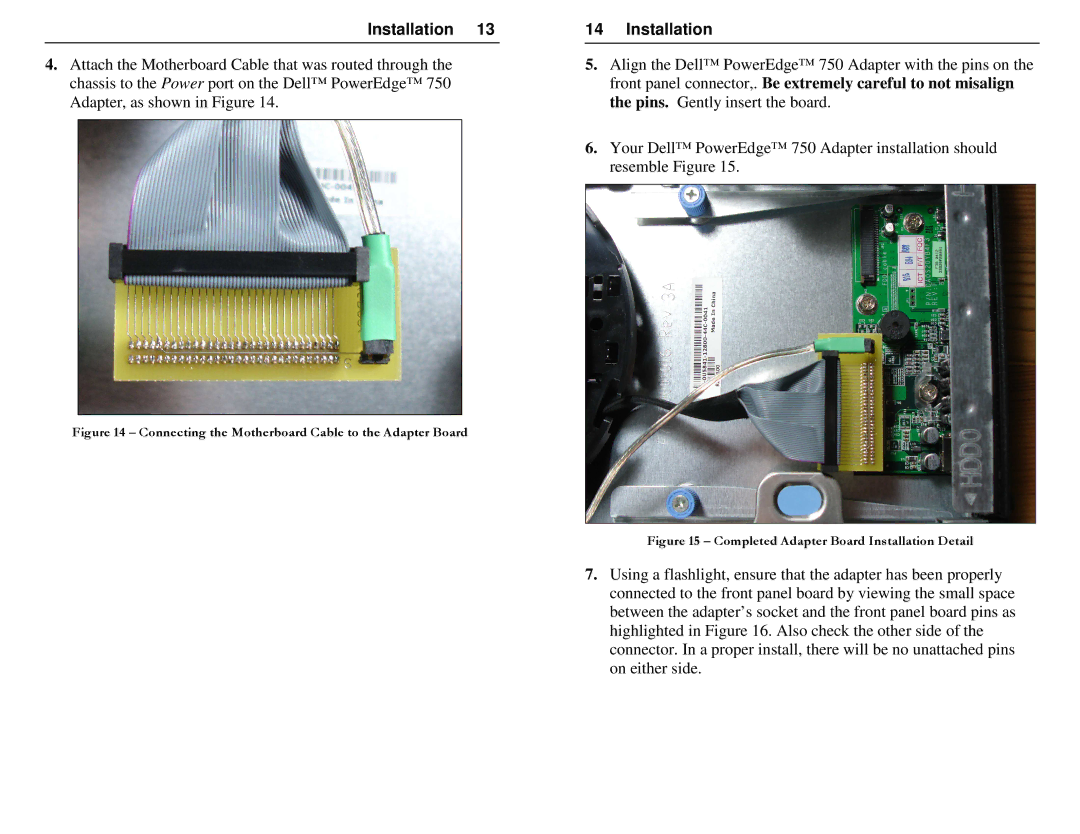
4. Attach the Motherboard Cable that was routed through the | 5. | Align the Dell™ PowerEdge™ 750 Adapter with the pin | s on the | |||
chassis to the Power port on the Dell™ PowerEdge™ 750 |
|
| front panel connector,. Be extremely careful to not misalign | |||
Adapter, as shown in Figure 14. |
|
| the pins. Gently insert the board. |
| ||
|
|
| 6. | Your Dell™ PowerEdge™ 750 Adapter installation shou | ld | |
|
|
| ||||
|
|
|
|
| resemble Figure 15. |
|
|
|
|
|
|
|
|
Figure 14 – Connecting the Motherboard Cable to the Adapter Board
Figure 15 – Completed Adapter Board Installation Detail
7. Using a flashlight, ensure that the adapter has been properly connected to the front panel board by viewing the small space between the adapter’s socket and the front panel board pins as highlighted in Figure 16. Also check the other side of the connector. In a proper install, there will be no unattached pins on either side.
