ENGLISH

2.

Press

or

to set the number of prints of all stored images in the SD


card, for up to a maximum of 9 copies.


3.

Follow the rest of the options to confirm the DPOF setting.


Slide (Slideshow)

You can play back all the images and movies in

PLAY

SETUP

a slideshow format. The interval between images

Slide


can be specified.


During the slideshow, press MENU to stop. From here, you may choose to continue or exit the current slideshow.

The OSD is automatically off when the camera is connected to a TV.

Use an AC Adapter if you intend to connect the camera to a TV for a long period of time.

CONNECTING TO A WINDOWS-BASED PC

Use the USB cable included to connect to your Windows PC. This enables you to upload, download, edit, and playback pictures and movies onto your PC. However, the software must be installed first.

Pre-Installation Checklist

FRANÇAIS ENGLISH

Slideshow Options

Settings

Descriptions

Start

Start Slideshow according to


the specified Interval and


Repeat options.

Interval

Specifies the amount of time


the camera will display an image


before moving on to the next


image. The options are 3 sec.,


5 sec., and 10 sec.

Repeat

When set to On, the slideshow


immediately replays when the


final image is displayed.


2/2 Menu Exit OK OK

Slide Show

Start

Interval 5s

Repeat Off

Menu Exit OK OK

Pentium 166MHz

16-bit colour display at 800x600

64MBytes RAM

USB 1.1 interface

• 350MBytes Hard disk space

Windows 98/98SE/ME/2000/XP

CD-ROM drive

Installing Drivers and Software

1.Insert the CD labelled “DS8118_8238” into your CD-ROM drive. The installation will start automatically.

If the “autorun” feature is disabled on your PC, start the installation by running [x:\setup.exe] where “x:” is the drive letter of the CD-ROM drive.

2. Follow the on-screen instruction to complete the installation of the camera drivers and software. When done, click on the [Finish] button on-screen to restart the PC.

ITALIANO DEUTSCH

CONNECTING TO EXTERNAL DEVICES

USING A TRIPOD WITH THE CAMERA

You can secure your digital camera to a tripod to prevent camera shakes. To install, screw the tripod to the Tripod Hole ( p.3).

CONNECTING TO A TV

You can playback the images and movies you have recorded on your TV. Connect your digital camera to the TV via the video/audio cable included in the camera’s gift box.

Be sure to adjust the TV Out setting ( p.14) to correspond with your country’s system (PAL or NTSC) before connecting the camera to the TV.

Caution: Turn off the TV and digital camera before connecting the video/audio cable.

1.Plug the video/audio cable into the Video/Audio Socket of the camera ( p.3).

2.Connect the cable’s yellow connector to the yellow AV input terminal of your TV. Likewise, connect the white connector to the TV’s white terminal. Refer to your TV’s manual for more information.

3.Turn the TV and digital camera on. Make sure to switch the TV to the

appropriate AV channel display.

26

DS8118 Manual-6 Lang. (086-002937-017)

Connecting the Camera to the PC

For file transfer, select under USB mode before connecting the Camera to the PC ( p.15). To use the camera as a Webcam, make sure that a video conferencing software is installed first (sold separately). Then, select under USB mode before connecting the Camera to the PC ( p.15).

Only the images and movies stored in the camera’s current memory device (SD card or internal memory) will be visible on the PC.

The OSD is automatically off when the camera is connected to the PC.

1. Turn on your PC and allow your system’s Windows operating system to boot up.

2.Turn off your digital camera. Connect the camera and your PC via the USB cable. The USB terminal on your camera is located inside the Terminal Cover ( p.3). Refer to your PC’s manual to locate the USB connection on the PC.

3.Turn on your digital camera to any Mode. The Status LCD on the camera now shows - PC -.

4.The digital camera now appears as Removable Disk drive on your system’s [My

Computer] when is selected.

27

ESPAÑOL PORTUGUÊS

Page 16
Image 16
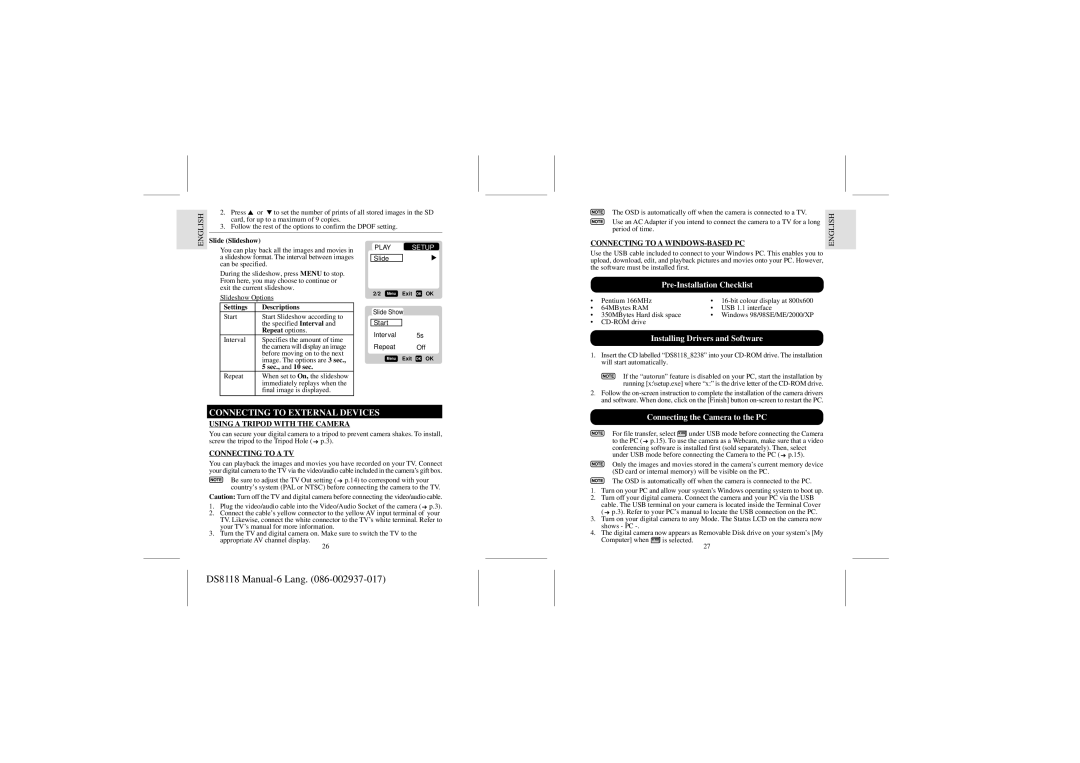
Dell DS8118 user manual Pre-Installation Checklist, Installing Drivers and Software, Connecting to External Devices

DS8118 specifications

The Dell DS8118 is a cutting-edge storage solution designed to meet the demands of modern data centers and businesses. As part of Dell's PowerStore family, the DS8118 stands out due to its advanced features, robust technologies, and exceptional performance characteristics that cater to both traditional and cloud-native applications.

One of the main features of the DS8118 is its scalability. The system supports a variety of storage configurations, allowing organizations to easily expand their storage capacity as their data needs grow. With support for up to 8PB of effective capacity, it can handle massive workloads while maintaining high performance. This scalability is crucial for businesses experiencing rapid growth or fluctuating workloads.

In terms of technology, the DS8118 utilizes a hybrid architecture that combines both SSD and HDD storage. This allows organizations to strike a balance between speed and cost-effectiveness. SSDs deliver rapid access times and high input/output operations per second (IOPS), while HDDs provide an economical solution for larger data sets that do not require the same level of performance. This flexibility helps organizations optimize their storage expenditure while ensuring that they have the speed required for mission-critical applications.

Another significant characteristic of the Dell DS8118 is its support for NVMe (Non-Volatile Memory Express) technology. NVMe dramatically increases throughput and reduces latency compared to traditional protocols, which is essential for today’s high-performance applications. By incorporating NVMe, the DS8118 is capable of handling large volumes of transactions with minimal delay, making it an ideal choice for databases, virtualization, and big data analytics.

Furthermore, the DS8118 is designed with seamless integration into multi-cloud environments. It supports various data services and includes advanced features such as data encryption, efficient replication, and robust data reduction technologies like deduplication and compression. This not only ensures data security but also maximizes storage efficiency, significantly lowering the total cost of ownership.

The management of the DS8118 is made simple through the use of intuitive, user-friendly interfaces and automated tools. Its smart management capabilities allow IT teams to monitor performance, optimize resources, and implement best practices swiftly, which enhances operational efficiency.

In summary, the Dell DS8118 represents a powerful, flexible, and scalable storage solution that is built to tackle today’s data challenges. With its combination of hybrid architecture, NVMe support, and advanced data management capabilities, it positions itself as a key player in modern data environments, empowering businesses to thrive in an increasingly data-driven world.