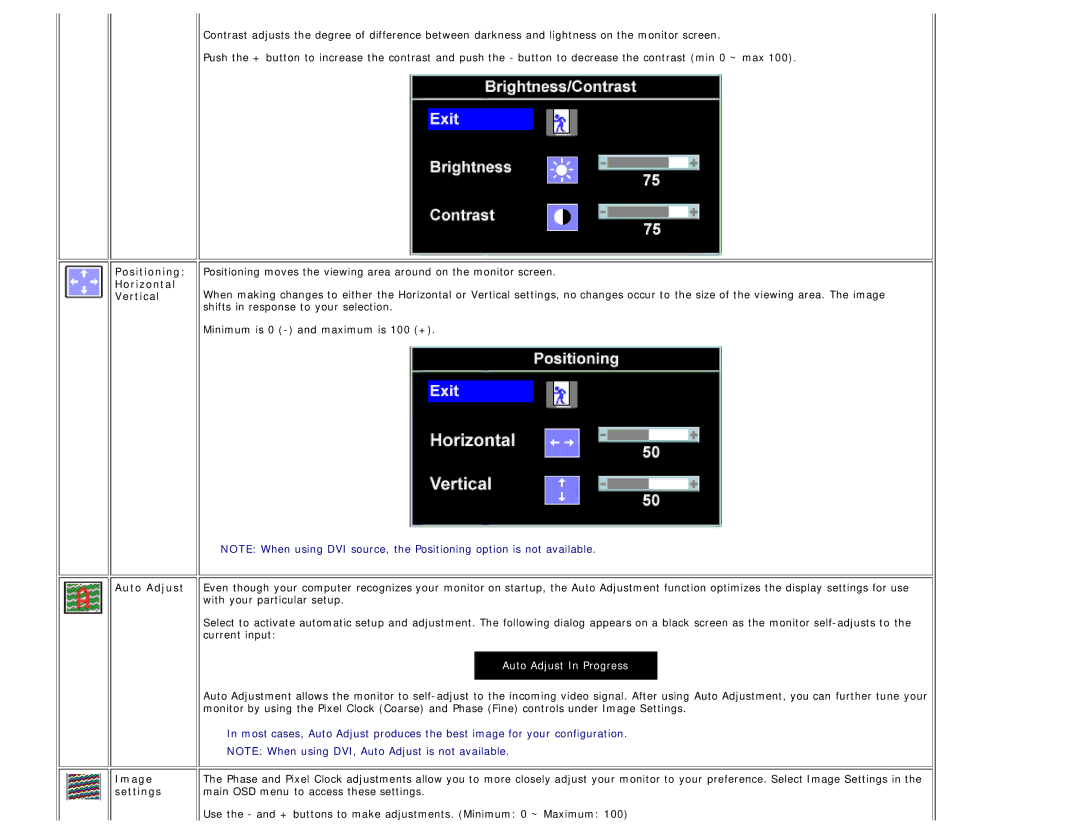
Contrast adjusts the degree of difference between darkness and lightness on the monitor screen.
Push the + button to increase the contrast and push the - button to decrease the contrast (min 0 ~ max 100).
Positioning: Positioning moves the viewing area around on the monitor screen.
Horizontal
Vertical When making changes to either the Horizontal or Vertical settings, no changes occur to the size of the viewing area. The image shifts in response to your selection.
Minimum is 0
| NOTE: When using DVI source, the Positioning option is not available. | ||
Auto Adjust | Even though your computer recognizes your monitor on startup, the Auto Adjustment function optimizes the display settings for use | ||
| with your particular setup. | ||
| Select to activate automatic setup and adjustment. The following dialog appears on a black screen as the monitor | ||
| current input: | ||
|
|
| |
|
| Auto Adjust In Progress |
|
|
|
|
|
| Auto Adjustment allows the monitor to | ||
| monitor by using the Pixel Clock (Coarse) and Phase (Fine) controls under Image Settings. | ||
| In most cases, Auto Adjust produces the best image for your configuration. | ||
| NOTE: When using DVI, Auto Adjust is not available. | ||
Image | The Phase and Pixel Clock adjustments allow you to more closely adjust your monitor to your preference. Select Image Settings in the | ||
settings | main OSD menu to access these settings. | ||
| Use the - and + buttons to make adjustments. (Minimum: 0 ~ Maximum: 100) | ||
