
E6400 ATG, E6400 specifications
The Dell Latitude E6400 and E6400 ATG are part of the renowned Latitude series from Dell, designed specifically for business professionals who require durability, portability, and performance. Launched in the late 2000s, these laptops have been popular choices among users seeking reliable devices that can withstand everyday rigors.The Dell E6400 stands out for its robust design and is built to last, featuring a magnesium alloy chassis and a reinforced palm rest. This model is equipped with a 14.1-inch display that offers resolution options including HD and WXGA, making it suitable for various tasks, from spreadsheets to presentations. The screen's anti-glare coating ensures visibility in different lighting conditions, enhancing user experience during prolonged usage.
Powering the E6400 is Intel’s Core 2 Duo processor, providing substantial performance for multitasking and business applications. It supports up to 8GB of RAM, allowing users to run multiple applications seamlessly. The laptop also incorporates a range of storage options, accommodating HDDs or SSDs, which contributes to faster boot times and application launch speeds.
On the connectivity front, the E6400 offers several ports including USB 2.0, an HDMI port, and an Ethernet port, making it versatile for both local and remote work. An optional docking station enhances expansion possibilities, turning it into a powerful workstation.
The E6400 ATG, or All-Terrain Grade, is designed for more demanding environments. It features a rugged exterior, meeting military specifications (MIL-STD-810F) for durability against shocks, drops, and extreme temperatures. The laptop is sealed to protect from dust and moisture, making it an excellent choice for workers in construction, field services, or any outdoor profession.
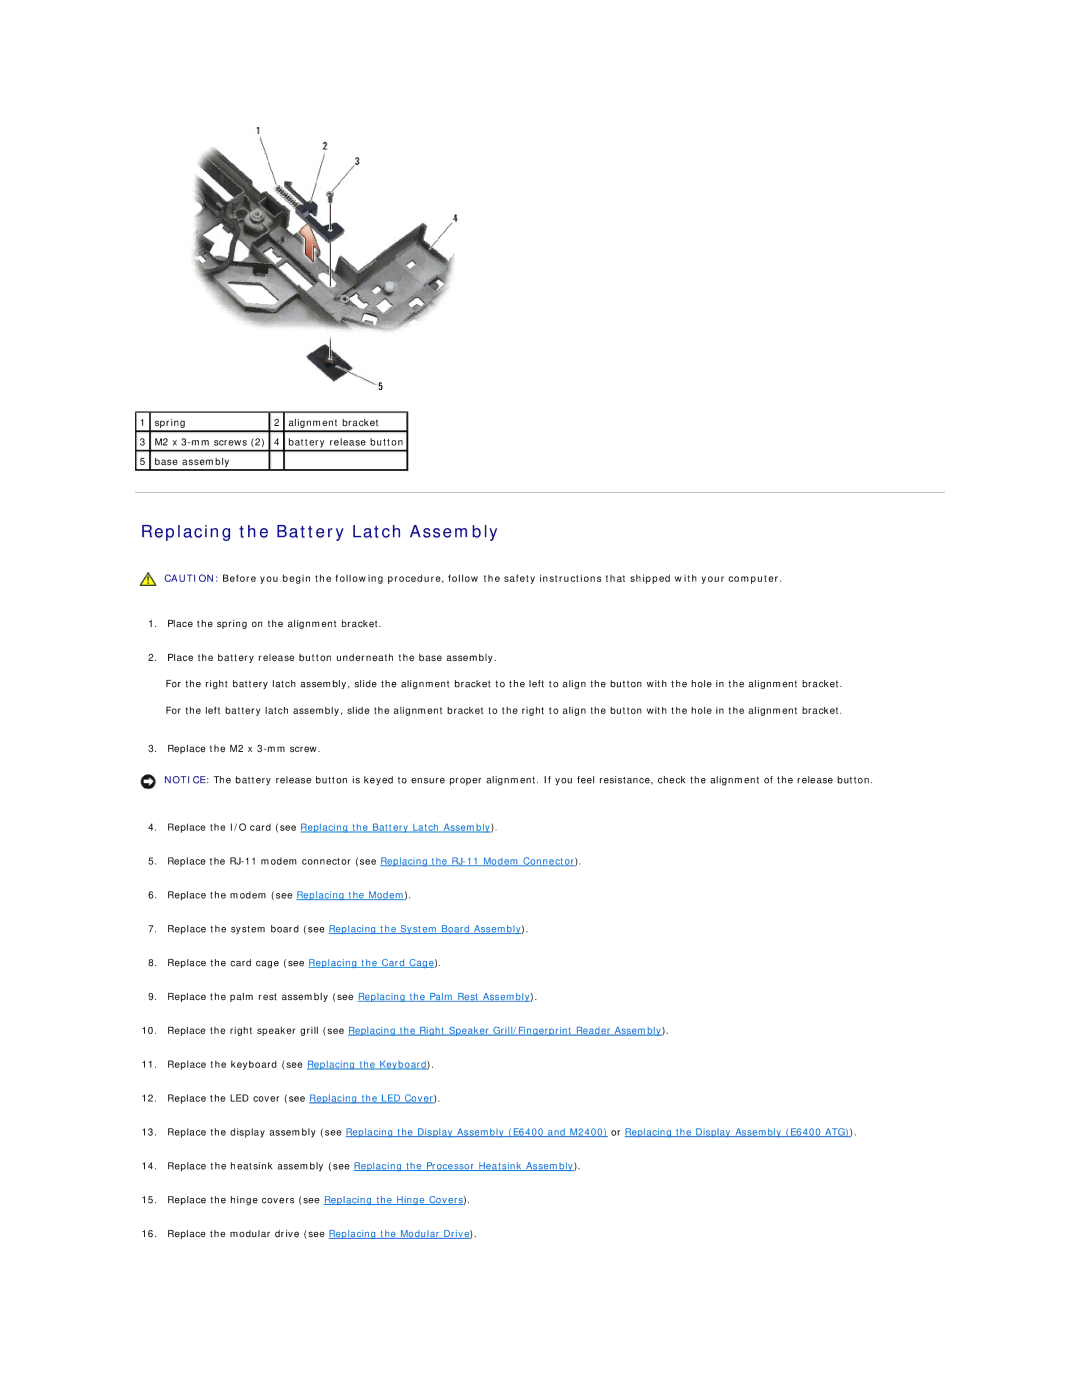
In terms of power efficiency, both models boast outstanding battery life, often lasting up to 8 hours on a single charge, depending on usage and configuration. The inclusion of Trusted Platform Module (TPM) and optional biometric fingerprint readers enhances security, ensuring sensitive business data remains protected.
Overall, the Dell Latitude E6400 and E6400 ATG balance performance and robustness, making them ideal for professionals on the go and those who require a rigorous workhorse in challenging environments. These models reflect Dell's commitment to quality and innovation in the business laptop segment, catering to a wide array of user needs.