
EC860 specifications
The DeLonghi EC860 is an innovative espresso machine that combines convenience, functionality, and style, making it a popular choice for coffee enthusiasts. With its sleek and compact design, this machine is perfect for homes and small kitchens where space is limited.One of the standout features of the EC860 is its dual-function filter holder. This versatile component allows users to brew both ground coffee and E.S.E. (Easy Serving Espresso) pods, catering to various preferences. It empowers users to experiment with different coffee experiences, ensuring they can enjoy their favorite espresso beverages with ease.
The EC860 is equipped with a powerful 15-bar pressure pump, which is essential for extracting rich and flavorful espresso. This level of pressure guarantees that users can enjoy a robust crema on their shots, uplifted by the rich flavor profile that coffee aficionados crave. Furthermore, the machine boasts a stainless-steel boiler that heats water quickly and maintains optimal temperatures for brewing, enhancing the overall coffee quality.
The Thermoblock heating system in the EC860 is another highlight, ensuring that the machine heats up swiftly and can deliver consistent temperatures for both espresso and steamed milk. The steam wand provides users with the ability to froth milk and create a perfect microfoam for lattes and cappuccinos, elevating their home coffee bar experience.
An intuitive control panel simplifies the brewing process with user-friendly buttons for quick access to functions such as brewing, steaming, and cleaning. The machine integrates a cup warmer on the top, which preheats cups for serving, ensuring that the espresso retains its full flavor without being compromised by cold serving vessels.
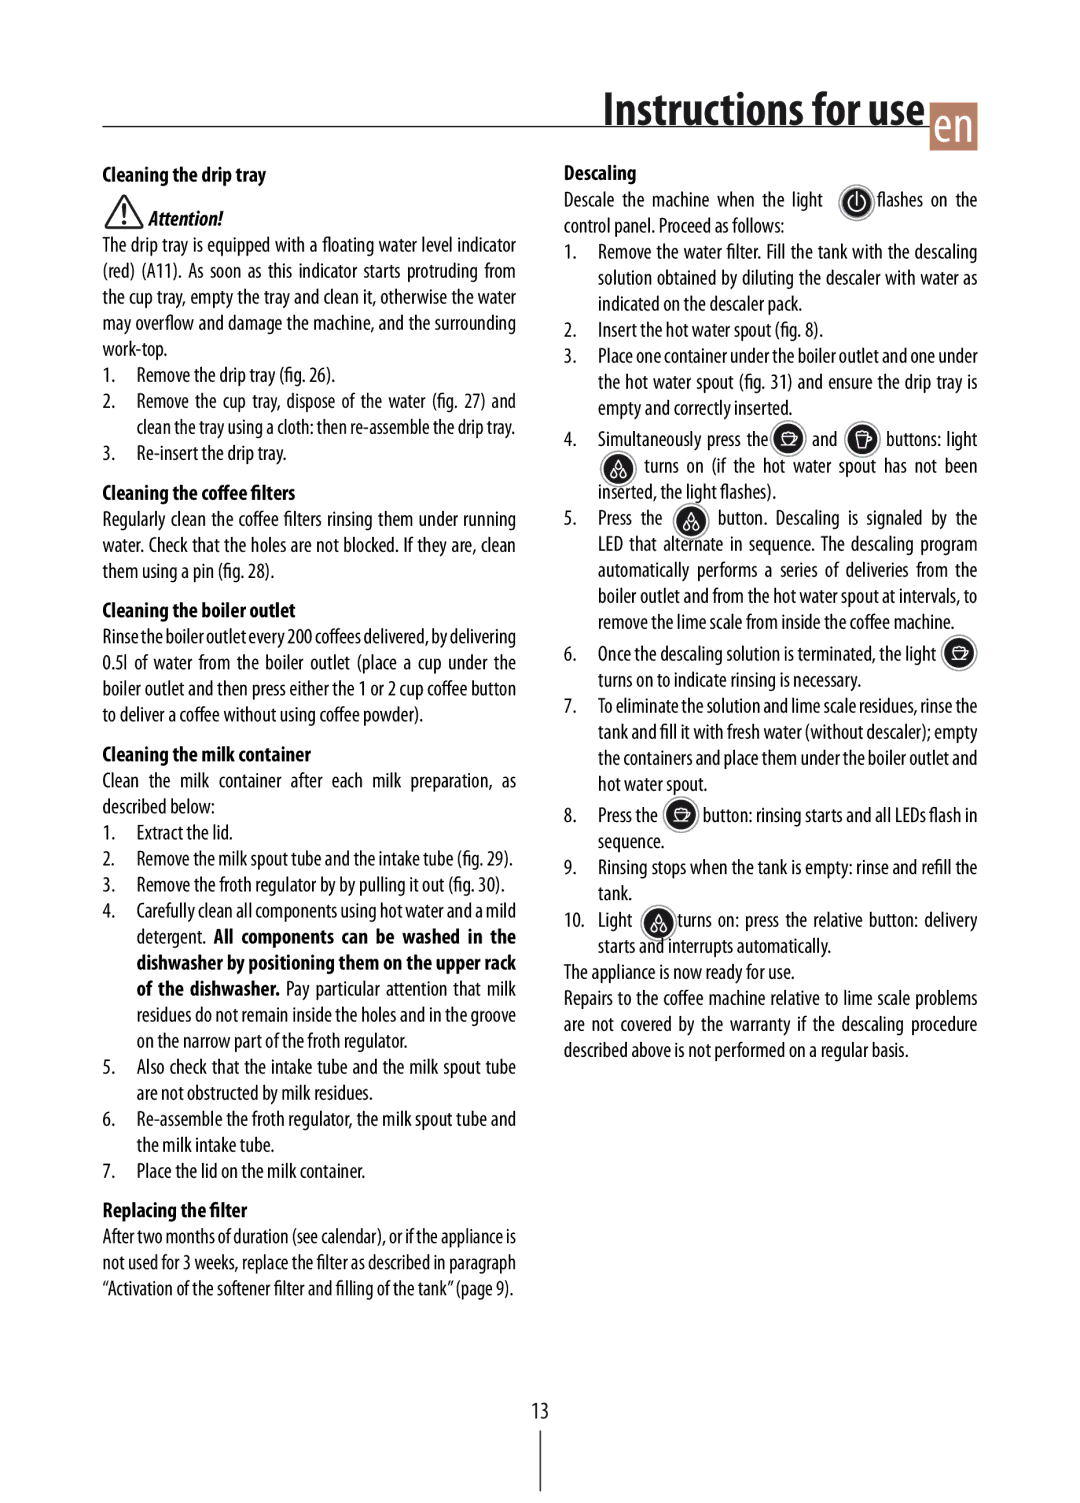
Cleaning and maintenance of the EC860 are hassle-free, with a removable water tank and drip tray that make it easy to keep the machine in top condition. Additionally, the EC860 is designed with a self-priming function that allows for immediate use without complicated setups, making it a convenient choice for busy mornings.
In conclusion, the DeLonghi EC860 stands out for its thoughtful combination of user-friendly features, powerful brewing technologies, and stylish design. Suitable for both novice and experienced baristas, it promises to deliver exceptional espresso drinks at home, making it an indispensable tool for coffee lovers.