
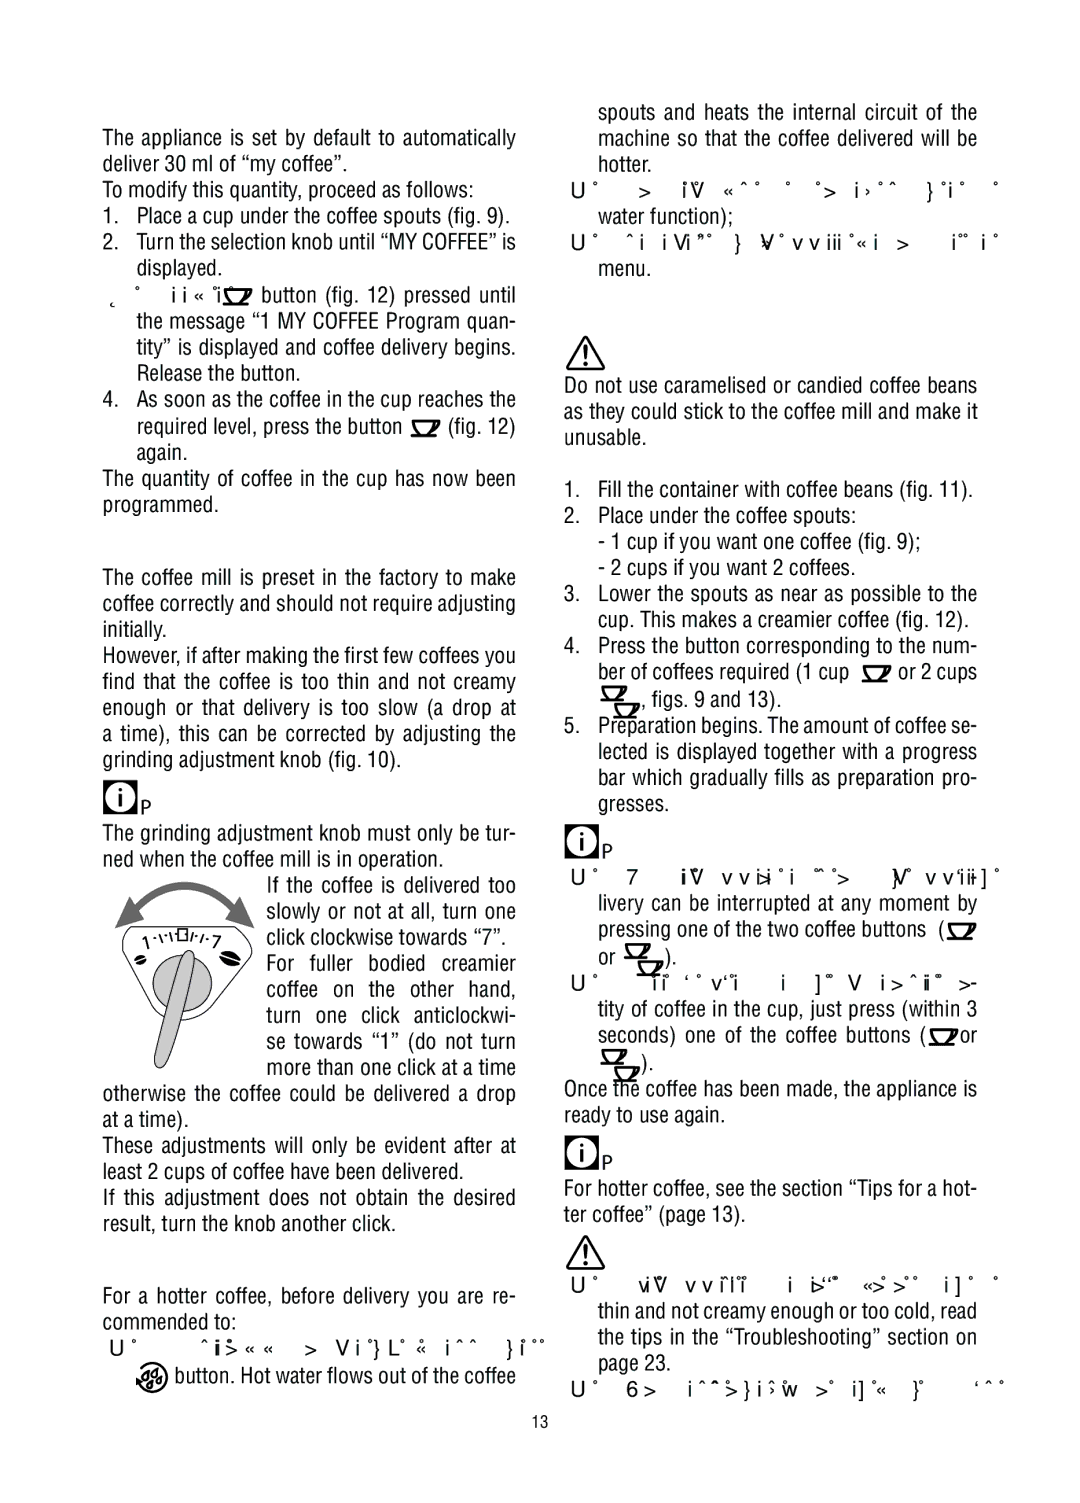
ECAM23.450 specifications
The DeLonghi ECAM23.450 is a remarkable bean-to-cup coffee machine that epitomizes convenience and quality in home brewing. One of its standout features is the integrated grinder, which allows users to enjoy freshly ground coffee at the touch of a button. The machine features a 13-setting adjustable grinder, enabling coffee enthusiasts to customize the grind size according to their preference, whether they seek a rich espresso shot or a milder brew.Equipped with a user-friendly control panel, the ECAM23.450 makes it easy to navigate through various settings and options. Its backlit LCD display provides clear information, making the preparation of coffee not only straightforward but also enjoyable. Users can choose from a variety of coffee drinks, including espresso, cappuccino, and latte macchiato, each with customizable strength and temperature preferences.
The machine excels in its milk frothing capabilities thanks to the patented "Cappuccino System." This technology combines steam, air, and milk to create a rich and creamy froth, perfect for crafting café-style drinks at home. Moreover, the ECAM23.450 features a separate milk container that can be easily detached and stored in the refrigerator, ensuring that milk remains fresh and ready for use.
In terms of maintenance, this coffee machine includes a removable brew unit and a convenient automatic cleaning function, ensuring that users can keep their machine in optimal condition with minimal effort. The water tank is easy to access for refilling and cleaning, further enhancing its user-friendly design.
Energy efficiency is a priority for the DeLonghi ECAM23.450, which features an energy-saving mode that automatically turns the machine off after a period of inactivity. With a sleek and compact design, this coffee maker easily fits into any kitchen space while making a bold statement with its modern aesthetics.
Overall, the DeLonghi ECAM23.450 stands out for its combination of convenience, versatility, and performance. From its customizable options to its innovative technologies, it caters to both novice coffee drinkers and seasoned baristas alike, making it an excellent addition to any home coffee setup.