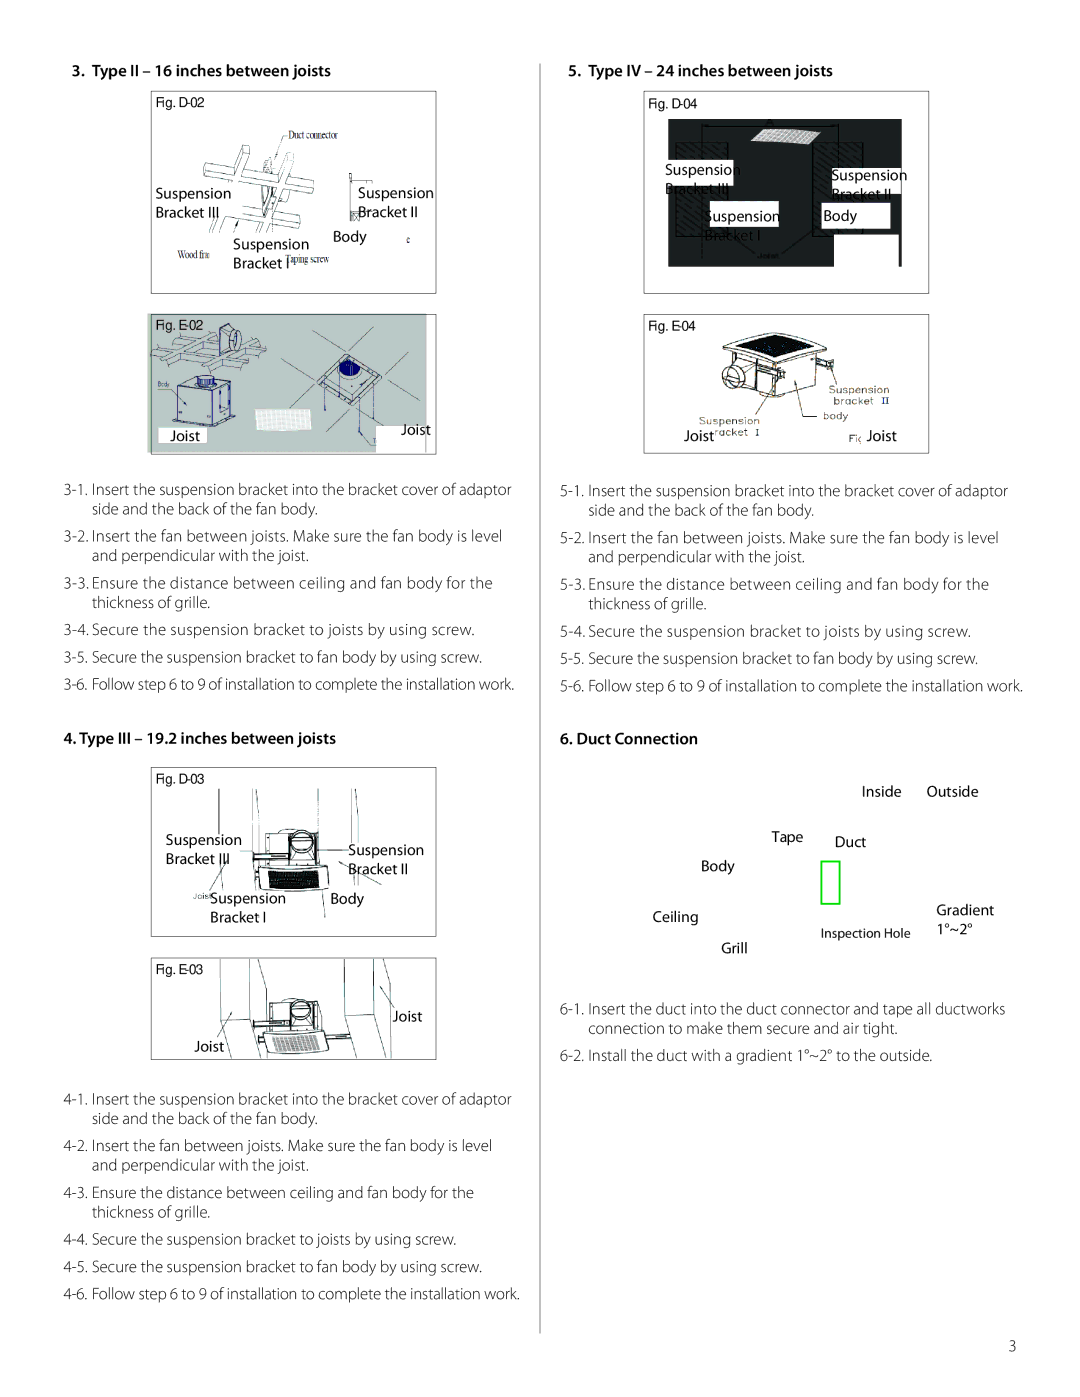
VFB25AEH, VFB25ADH, VFB25AD, VFB25AC, VFB25ACH specifications
Delta VFB25 series includes five different models: VFB25AD, VFB25ACH, VFB25AX, VFB25AEH, and VFB25ADH. These models are widely recognized in the realm of industrial automation and control systems. Their versatility and robust design cater to various applications, making them suitable for users in diverse industries.The VFB25AD model is primarily designed for temperature control applications. It features an advanced PID control algorithm, ensuring precise temperature regulation. The model is equipped with a user-friendly interface that allows for easy setup and operation. Its compact size makes it suitable for installations where space is a premium.
Moving on to the VFB25ACH, this model is tailored for applications requiring a high degree of accuracy in controlling humidity levels. It includes integrated sensors that monitor ambient conditions in real-time, enabling dynamic adjustments. This feature is particularly beneficial in environments such as laboratories and manufacturing facilities where temperature and humidity must be closely regulated.
The VFB25AX is designed with flexibility in mind. It incorporates multiple communication protocols, including MODBUS and RS-485, allowing seamless integration with different control systems. This model is an excellent choice for users looking to incorporate automation into their existing setups. It can handle a wide range of input signals, making it ideal for multi-faceted industrial applications.
The VFB25AEH is unique due to its energy efficiency features. This model employs advanced algorithms that minimize energy consumption while maximizing performance. Its also supports eco-friendly operations, making it a fitting choice for companies committed to sustainability. The design incorporates a heat recovery system, allowing for reduced operational costs and lower environmental impact.
Lastly, the VFB25ADH combines the features of its predecessors, targeting applications that require both temperature and humidity control. This hybrid model delivers accurate readings and adjustments, meeting the demands of complex environments. The user interface is designed for intuitive navigation, enabling quick configuration even for less experienced users.
In summary, the Delta VFB25 series stands out due to its specialized models that cater to temperature, humidity, and energy-efficient control needs. Each model comes with distinct technologies and features that reflect overriding priorities such as accuracy, flexibility, and sustainability, making them essential tools in modern industrial automation.

