VSGF36PR, VSGF36NR, VSGF36PT, VSGF36NT specifications
The Desa VSGF36NR, VSGF36PT, VSGF36PR, and VSGF36NT are remarkable fireplace solutions that cater to diverse heating needs and aesthetic preferences. Each model is designed to enhance the ambiance of any space while providing efficient warmth.One of the standout features of these gas fireplaces is their efficiency. They are engineered to provide superior heat output while minimizing gas consumption, making them both eco-friendly and economical. Each unit is equipped with advanced modulation technologies that adjust the flame height based on the room temperature, ensuring optimal heating without wasting fuel.
In terms of design, the Desa models boast a sleek and contemporary aesthetic. The VSGF36NR features a traditional linear design that meshes well with modern interiors. Its large viewing window offers an unobstructed view of the flames, creating a cozy environment. Conversely, the VSGF36PT and VSGF36PR models are designed with a more classical touch, integrating ornate details that enhance the beauty of any room while still maintaining modern functionality.
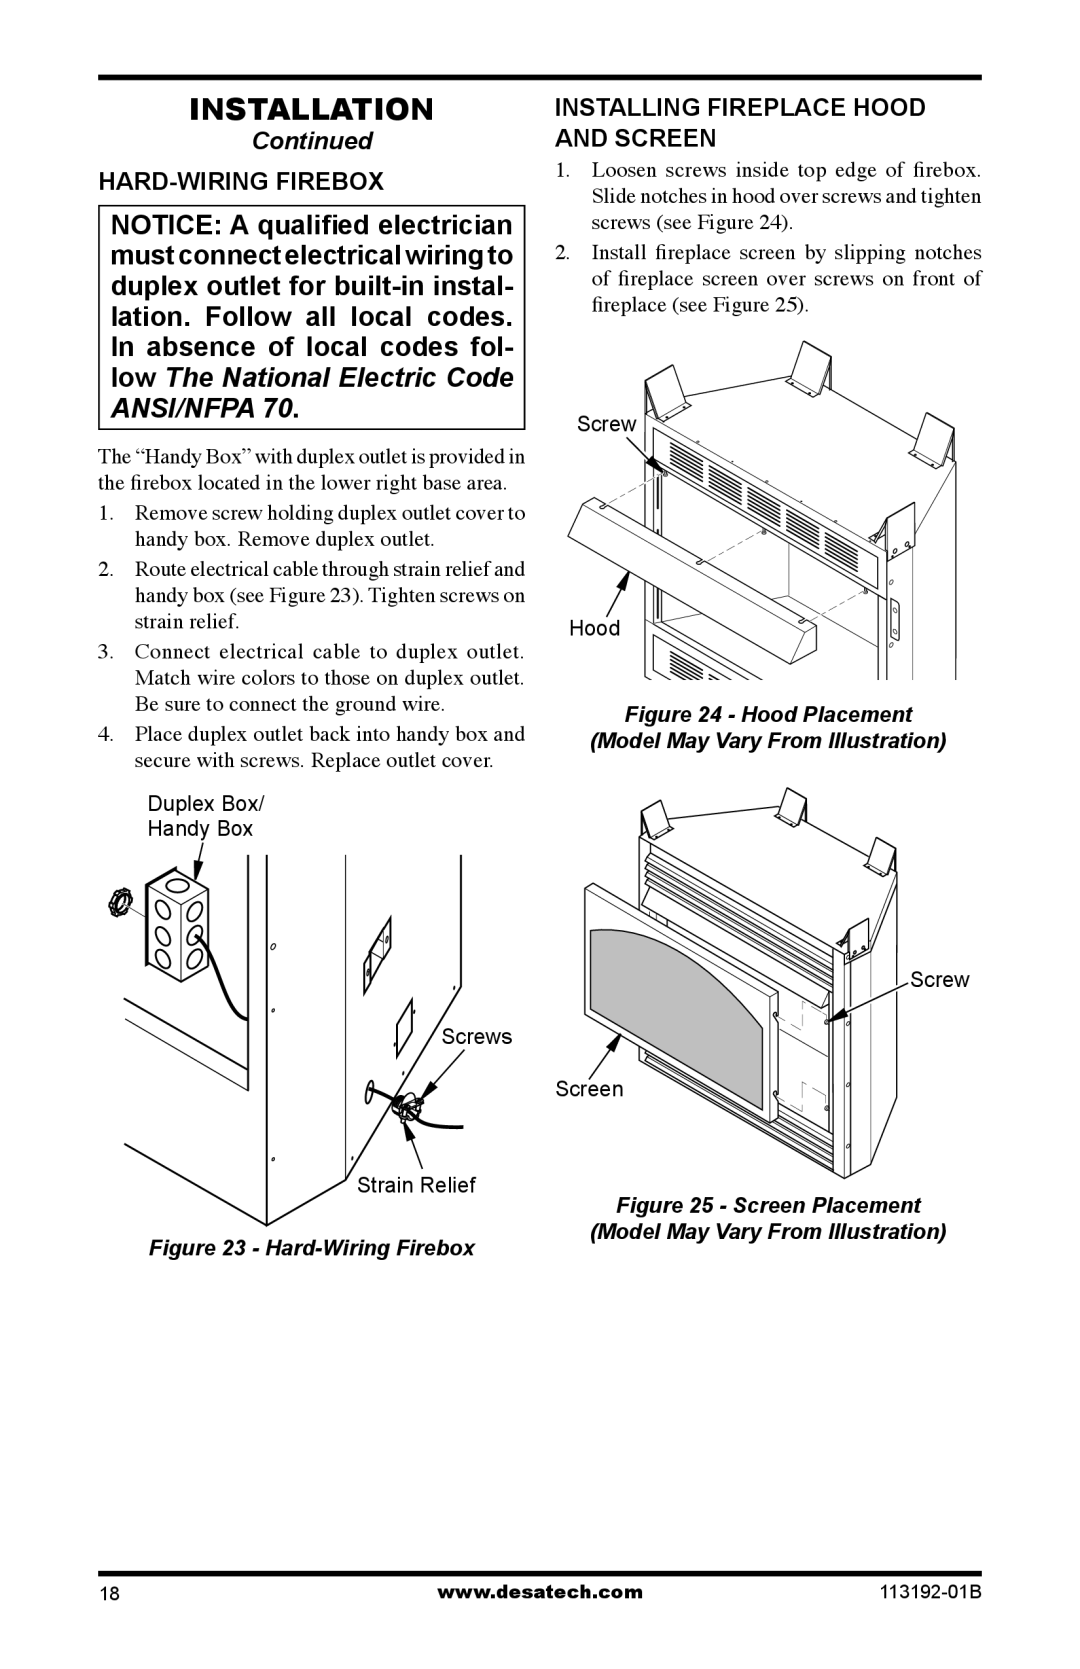
A key characteristic of these fireplaces is the ease of installation. They come pre-assembled with straightforward installation instructions, allowing homeowners to set them up quickly and conveniently. Additionally, each model can be configured for either vented or vent-free operation, providing versatility based on individual preferences and home requirements.
Convenience is further amplified by remote control options, allowing users to operate the fireplace from the comfort of their seat. The user-friendly interface enables easy temperature adjustments and flame settings. Safety features have also been prioritized; built-in oxygen depletion sensors ensure that the air quality in the room remains safe while the fireplace is in operation.
Another critical aspect of the VSGF series is their ability to integrate seamlessly with smart home technologies. Homeowners can connect their fireplaces to Wi-Fi, allowing for remote monitoring and control via smartphone applications. This ensures that heating can be adjusted from anywhere, adding a layer of modern convenience.
In conclusion, the Desa VSGF36NR, VSGF36PT, VSGF36PR, and VSGF36NT models are not just fireplaces; they are efficient, stylish heating solutions equipped with advanced technology designed for comfort, safety, and convenience. With their blend of design and functionality, these models are an excellent choice for anyone looking to enhance their living space with the warmth and charm of a gas fireplace.

