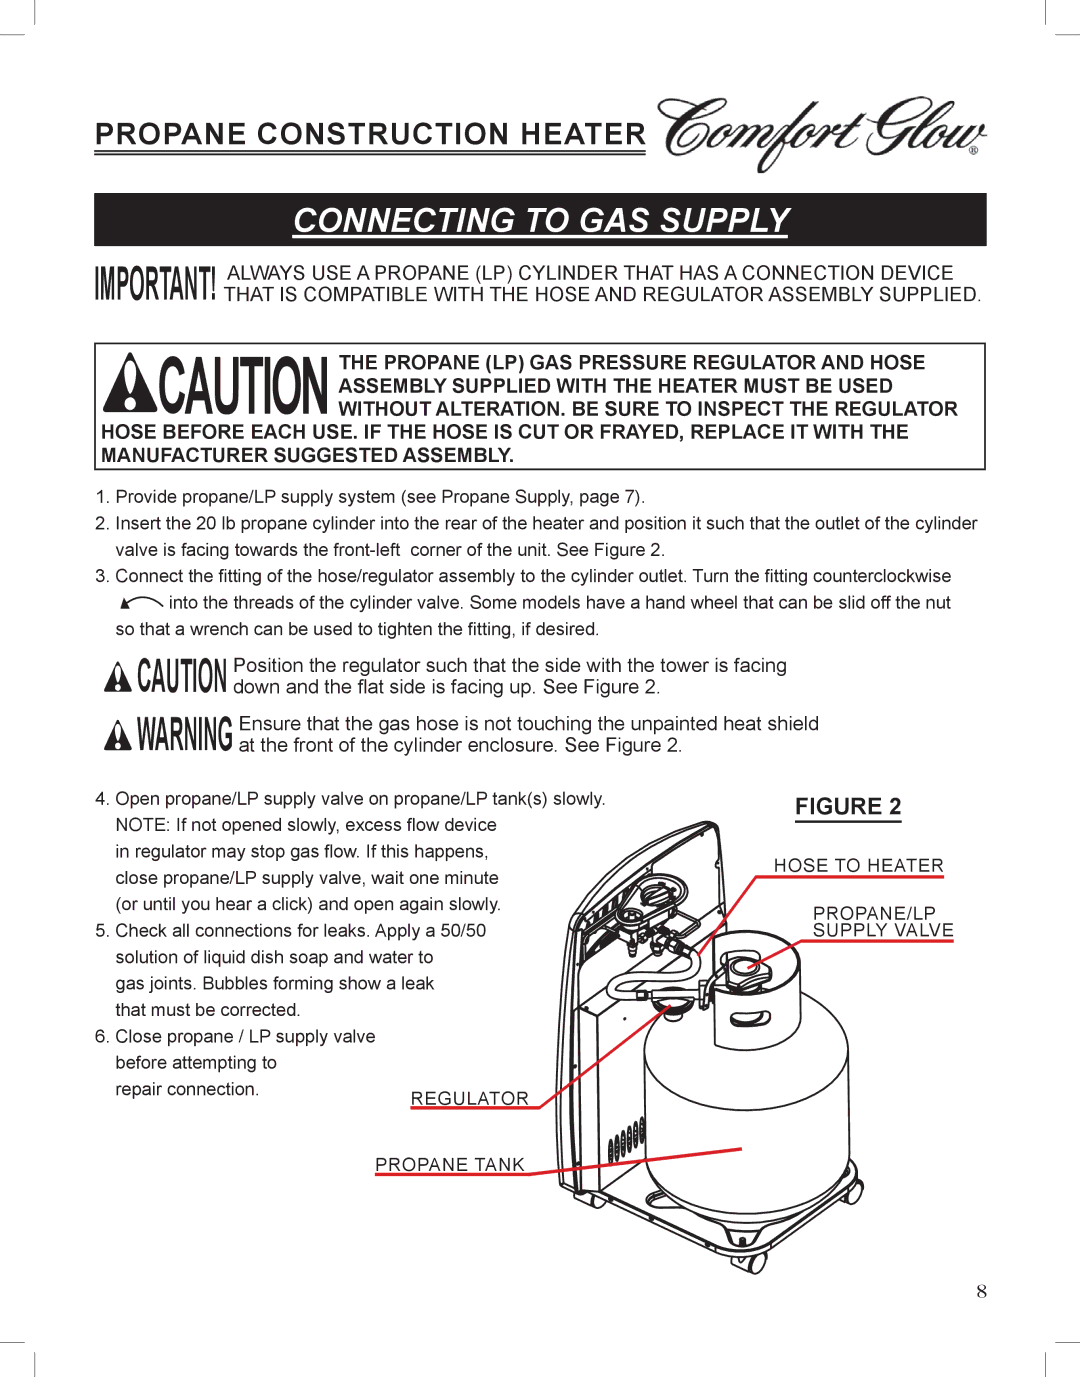
GCH480 specifications
The Desa Tech GCH480 is an advanced gas-powered heater that exemplifies innovation in heating technology. Designed with efficiency and user-friendliness in mind, the GCH480 is ideal for both residential and commercial applications.One of its standout features is the high heat output, which provides effective warmth in large areas. With an impressive heating capacity, this unit can efficiently heat spaces up to 1,200 square feet, making it perfect for workshops, garages, or even open living areas. The GCH480 operates on natural gas, which is not only economical but also environmentally friendly compared to other fossil fuels.
The GCH480 incorporates advanced safety features, including an automatic shut-off mechanism that activates in the event of a malfunction. This ensures that users can have peace of mind while using the heater, knowing that safety is a top priority. Additionally, it features a built-in oxygen depletion sensor that automatically turns off the heater if oxygen levels drop below safe thresholds.
An important characteristic of the GCH480 is its sleek and compact design, which allows for easy placement in various settings. It can be mounted on walls or used as a portable unit, adapting to your specific heating needs. Its user-friendly interface, complete with an adjustable thermostat, allows for precise control over the heating settings, ensuring optimum comfort at all times.
The heater utilizes forced air technology, which rapidly circulates warm air throughout the space, eliminating cold spots and providing even heat distribution. This technology not only increases efficiency but also reduces energy consumption, enabling users to save on their utility bills.
Furthermore, the Desa Tech GCH480 is built with durable materials designed to withstand the rigors of daily usage. Its robust construction assures longevity, making it a worthwhile investment for those seeking reliable heating solutions.
In conclusion, the Desa Tech GCH480 gas-powered heater combines efficiency, safety, and convenience in one package. With its impressive heating capacity, advanced safety features, and user-friendly design, it stands out as an exceptional choice for anyone looking to enhance their heating system. Whether in a home or commercial environment, the GCH480 promises reliable performance and lasting comfort.


