UNPACKING AND CLEANING
Carefully unpack the machine and all loose items from the shipping container(s). Remove the
Do not use highly volatile solvents such as gasoline, naphtha, acetone or lacquer thinner for cleaning your machine.
After cleaning, cover the unpainted surfaces with a good quality household floor paste wax.
ASSEMBLY
![]() For your own safety, do not connect the machine to the power source until the machine is completely assembled and you read and understand the entire instruction manual.
For your own safety, do not connect the machine to the power source until the machine is completely assembled and you read and understand the entire instruction manual.
ASSEMBLY TOOLS REQUIRED
1/2” and 9/16” Wrench,
ASSEMBLY TIME ESTIMATE
Assembly for this machine takes approximately
CASTERS
1.Locate the bag of hardware with the four 3/8 hex nuts and four 3/8 lockwashers for the four casters.
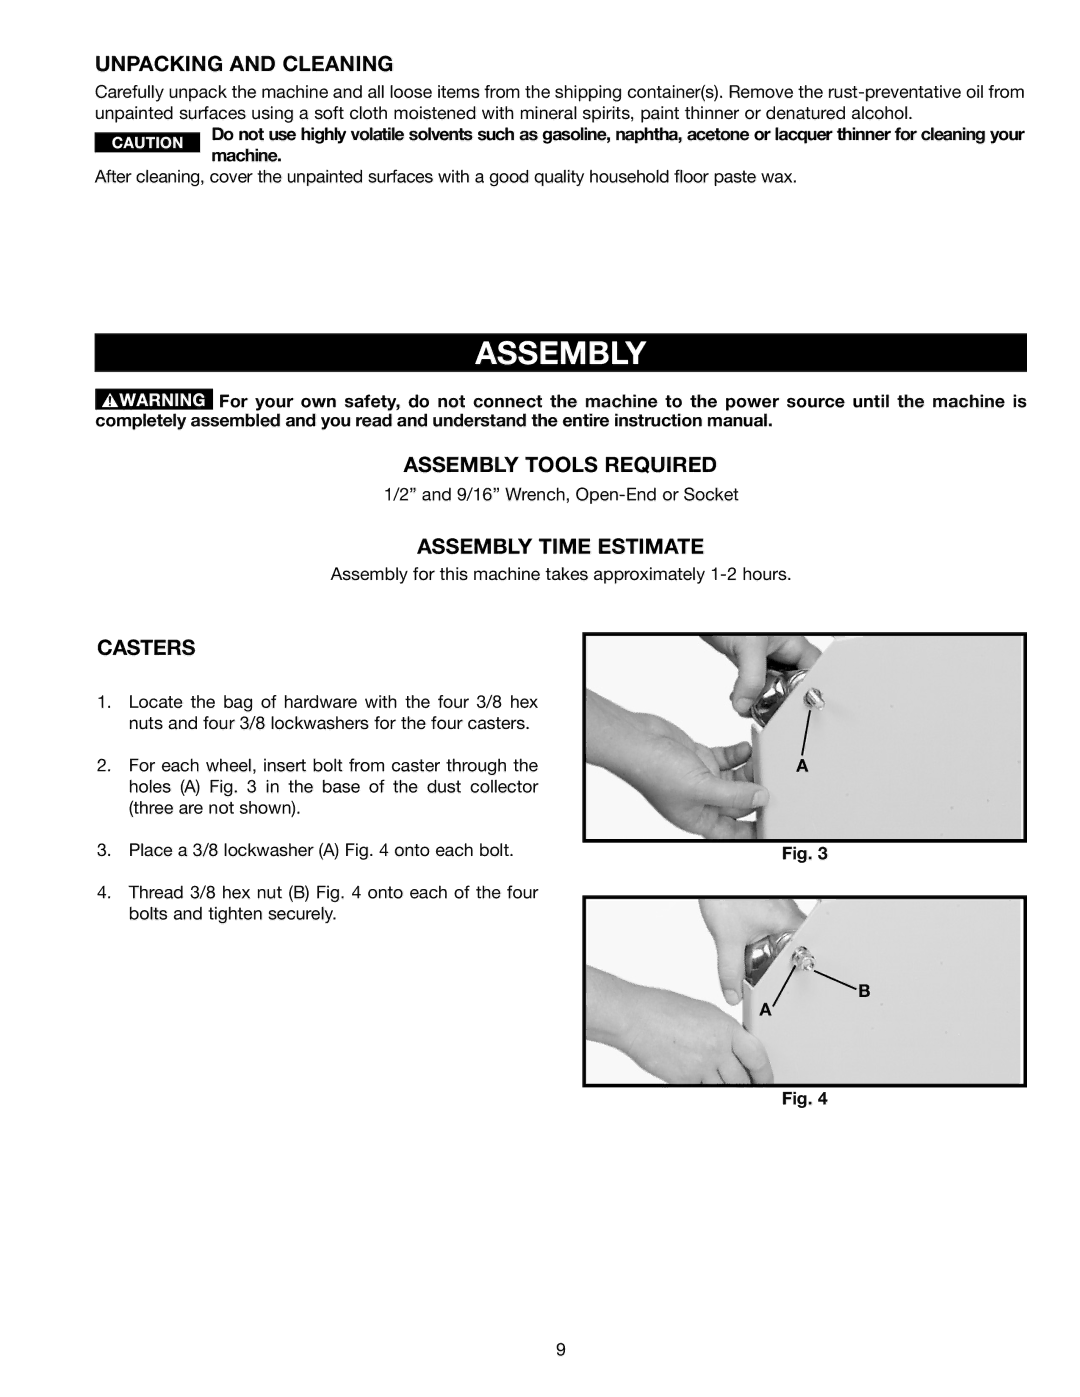
2.For each wheel, insert bolt from caster through the holes (A) Fig. 3 in the base of the dust collector (three are not shown).
A
3. Place a 3/8 lockwasher (A) Fig. 4 onto each bolt. | Fig. 3 |
4.Thread 3/8 hex nut (B) Fig. 4 onto each of the four bolts and tighten securely.
B
A
Fig. 4
9
