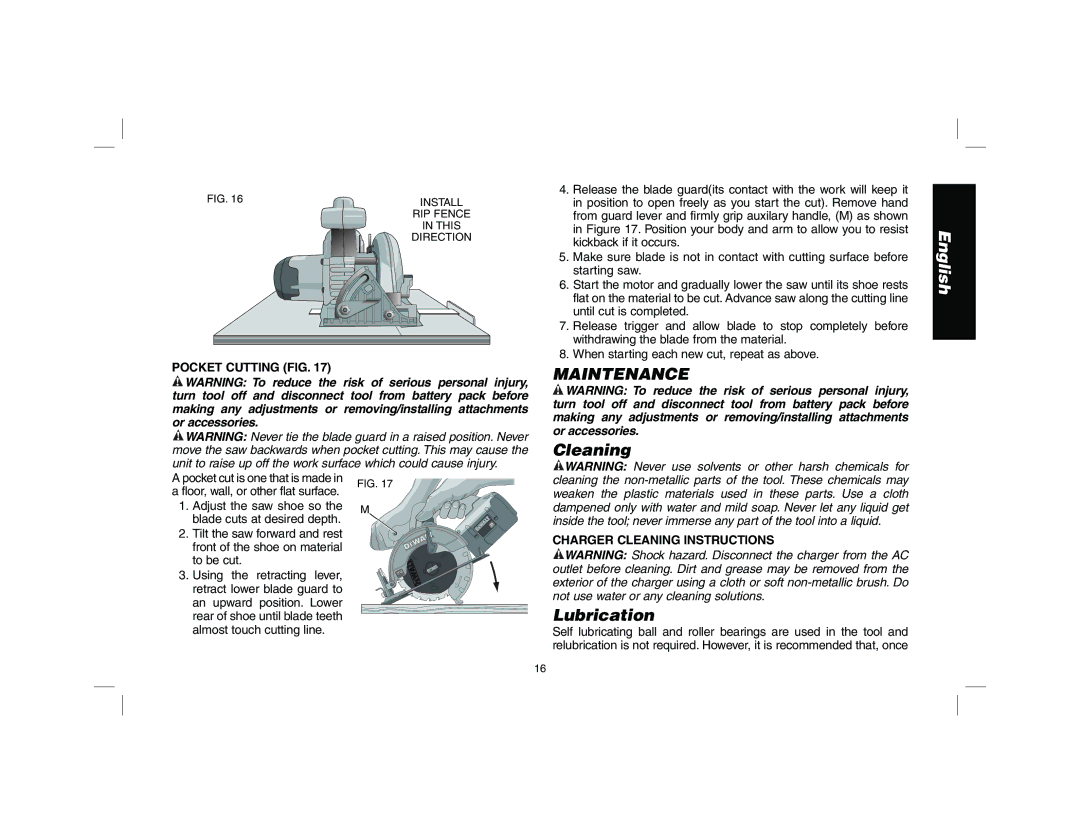
FIG. 16 INSTALL
RIP FENCE
IN THIS
DIRECTION
POCKET CUTTING (FIG. 17)
![]() WARNING: To reduce the risk of serious personal injury, turn tool off and disconnect tool from battery pack before making any adjustments or removing/installing attachments or accessories.
WARNING: To reduce the risk of serious personal injury, turn tool off and disconnect tool from battery pack before making any adjustments or removing/installing attachments or accessories.
![]() WARNING: Never tie the blade guard in a raised position. Never move the saw backwards when pocket cutting. This may cause the unit to raise up off the work surface which could cause injury.
WARNING: Never tie the blade guard in a raised position. Never move the saw backwards when pocket cutting. This may cause the unit to raise up off the work surface which could cause injury.
A pocket cut is one that is made in a floor, wall, or other flat surface.
1. Adjust the saw shoe so the blade cuts at desired depth.
2. Tilt the saw forward and rest front of the shoe on material to be cut.
3. Using the retracting lever, retract lower blade guard to an upward position. Lower rear of shoe until blade teeth almost touch cutting line.
4.Release the blade guard(its contact with the work will keep it in position to open freely as you start the cut). Remove hand from guard lever and firmly grip auxilary handle, (M) as shown in Figure 17. Position your body and arm to allow you to resist kickback if it occurs.
5.Make sure blade is not in contact with cutting surface before starting saw.
6.Start the motor and gradually lower the saw until its shoe rests flat on the material to be cut. Advance saw along the cutting line until cut is completed.
7.Release trigger and allow blade to stop completely before withdrawing the blade from the material.
8.When starting each new cut, repeat as above.
MAINTENANCE
![]() WARNING: To reduce the risk of serious personal injury, turn tool off and disconnect tool from battery pack before making any adjustments or removing/installing attachments or accessories.
WARNING: To reduce the risk of serious personal injury, turn tool off and disconnect tool from battery pack before making any adjustments or removing/installing attachments or accessories.
Cleaning
![]() WARNING: Never use solvents or other harsh chemicals for cleaning the
WARNING: Never use solvents or other harsh chemicals for cleaning the
CHARGER CLEANING INSTRUCTIONS
![]() WARNING: Shock hazard. Disconnect the charger from the AC outlet before cleaning. Dirt and grease may be removed from the exterior of the charger using a cloth or soft
WARNING: Shock hazard. Disconnect the charger from the AC outlet before cleaning. Dirt and grease may be removed from the exterior of the charger using a cloth or soft
Lubrication
Self lubricating ball and roller bearings are used in the tool and relubrication is not required. However, it is recommended that, once
English
16
