User Manual DataDesk 100
InstallationInstallation ofof youryour Notebookotebook
1)Place the Notebook power supply in the rear pocket of the bottom part of the case.
2)Now connect the 220 V plug with the Notebook’s power supply.
3)Route the low voltage power supply outlet cable beneath the flap lid through the designated groove, so that the cable can not be damaged when the lid is closed!
4)The power supply outlet plug is now connected with the Notebook.
Now you have two options of fastening your Notebook:
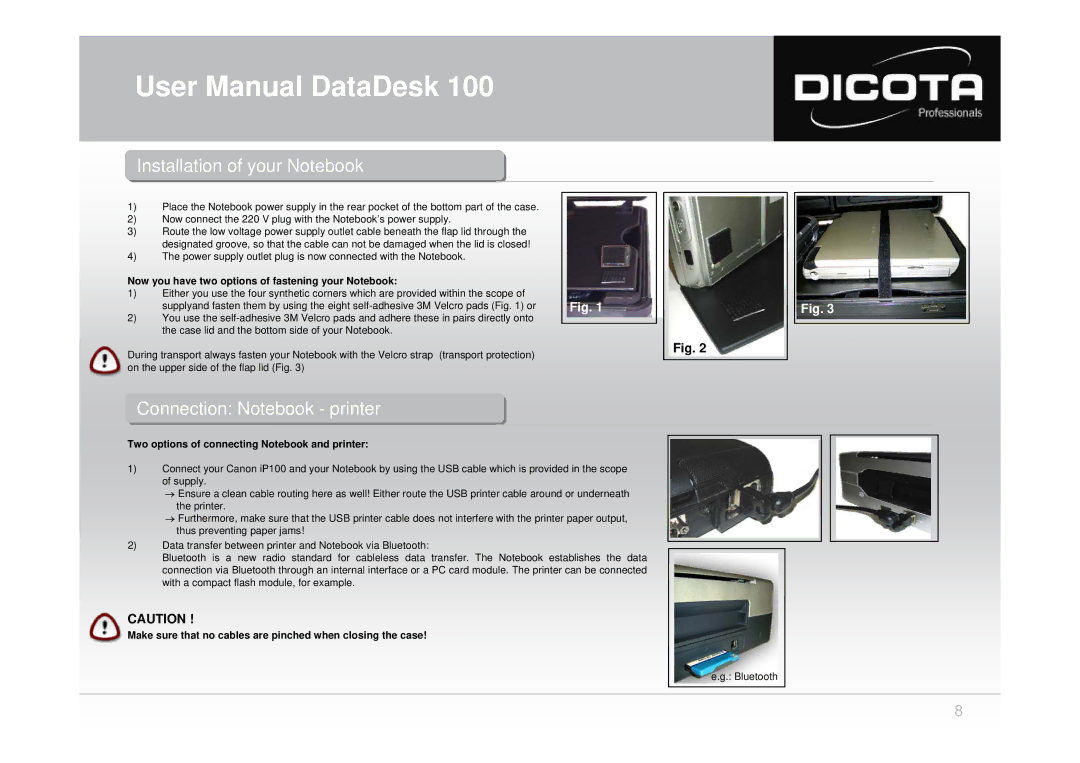
1)Either you use the four synthetic corners which are provided within the scope of supplyand fasten them by using the eight
2)You use the
During transport always fasten your Notebook with the Velcro strap (transport protection) on the upper side of the flap lid (Fig. 3)
Fig. 1
Fig. 2
Fig. 3
Connection:onnection: Notebookotebook -- printerprinter
Two options of connecting Notebook and printer:
1)Connect your Canon iP100 and your Notebook by using the USB cable which is provided in the scope of supply.
→Ensure a clean cable routing here as well! Either route the USB printer cable around or underneath the printer.
→Furthermore, make sure that the USB printer cable does not interfere with the printer paper output, thus preventing paper jams!
2) Data transfer between printer and Notebook via Bluetooth:
Bluetooth is a new radio standard for cableless data transfer. The Notebook establishes the data connection via Bluetooth through an internal interface or a PC card module. The printer can be connected with a compact flash module, for example.
CAUTION !
Make sure that no cables are pinched when closing the case!
e.g.: Bluetooth
8
