User Manual DataBox Allround XL
Connectiononnection Notebookotebook –– printerprinter
Switch on your Notebook and proceed as follows:
There are two options for connecting the Notebook to your printer:
1) Connect printer and Notebook with a USB cable. This cable is not included in the DataBox Allround XL!
→Ensure correct cabling here as well! It is best to lead the USB cable around the printer.
→Also make sure that the USB cable is not obstructing the paper bin, thus causing paper jams!
2)Data transfer between printer and Notebook via Bluetooth: (only possible if Notebook and printer are
Bluetooth is an
is established via an internal interface or a
CAUTION!
Always place your Notebook in the middle compartment between the divider pads, front side down, to prevent damaging Notebooks cables and plugs.
Eg.: Bluetooth
Charging the batteries:
Please refer to the manuals of your printer and your Notebook before connecting the power cable to a power socket. (This cable is not included in the scope of supply of DataBox Allround XL) Never close the case lid during operation of the printer or while printer or Notebook are being charged. A closed lid could cause overheating in your DataBox Allround XL that could damage your devices.
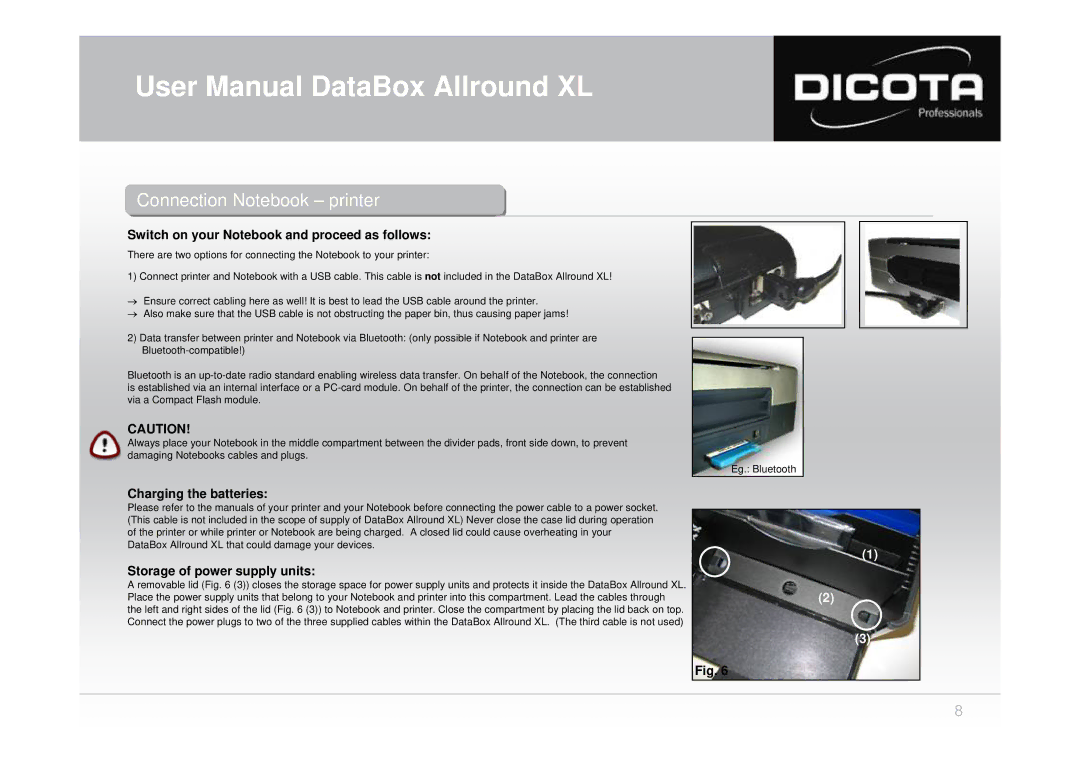
Storage of power supply units:
A removable lid (Fig. 6 (3)) closes the storage space for power supply units and protects it inside the DataBox Allround XL. Place the power supply units that belong to your Notebook and printer into this compartment. Lead the cables through the left and right sides of the lid (Fig. 6 (3)) to Notebook and printer. Close the compartment by placing the lid back on top. Connect the power plugs to two of the three supplied cables within the DataBox Allround XL. (The third cable is not used)
Fig. 6
(1)
(2)
(3)
8