MENU (CONSOLE MENU)
Press "MENU" ![]()
![]()
![]() button on the monitor or remote to activate the screen parameters
button on the monitor or remote to activate the screen parameters
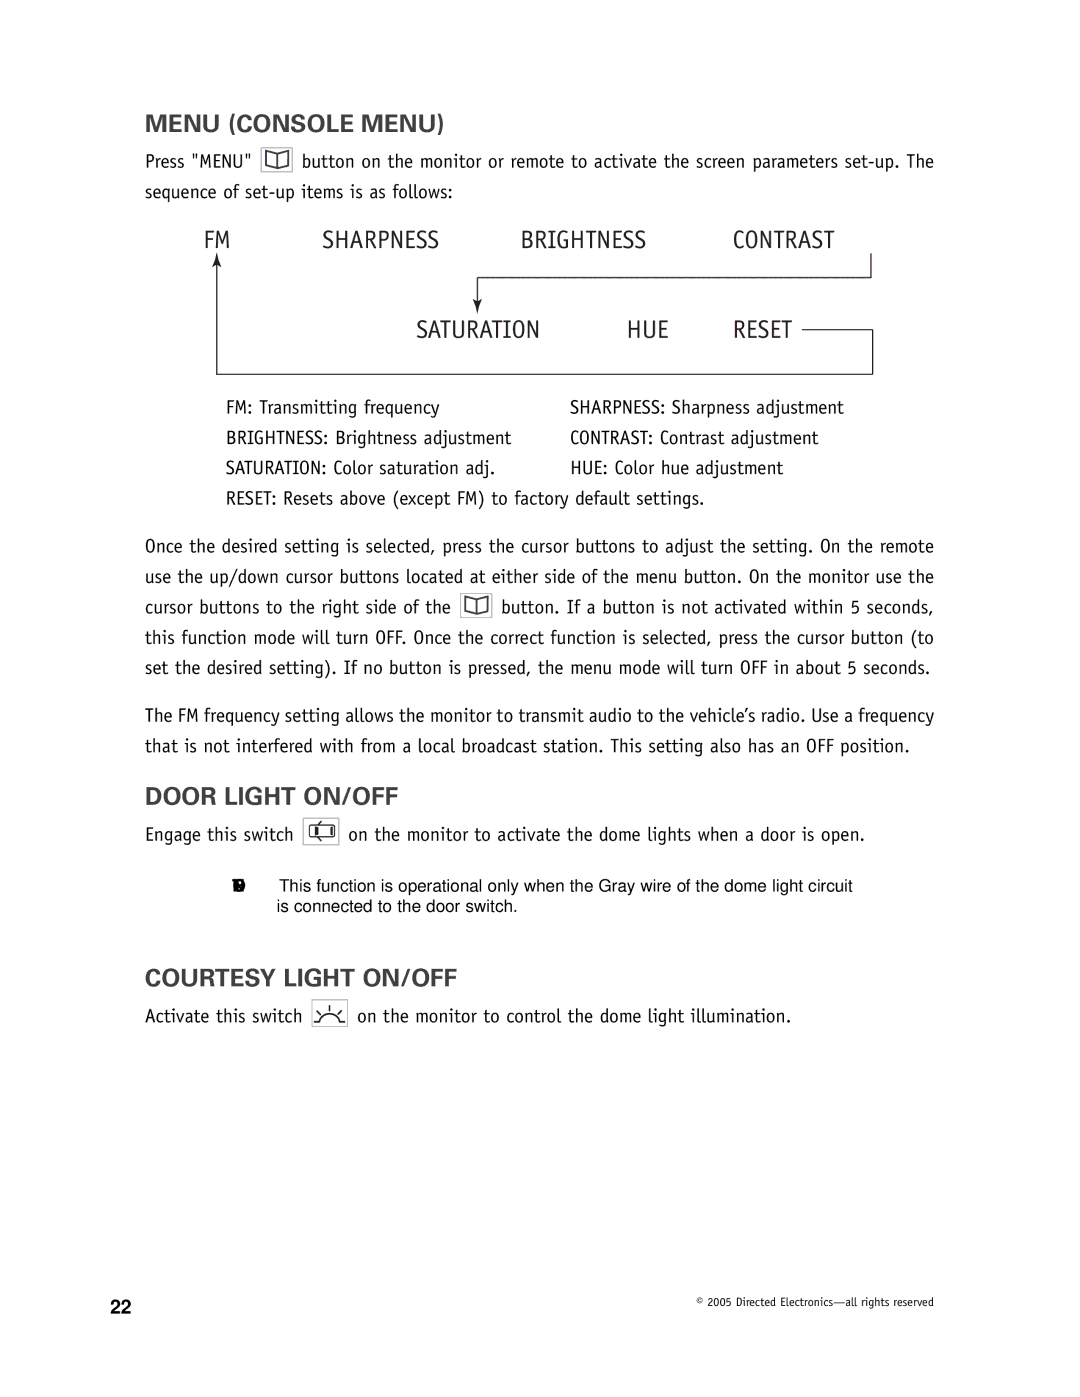
FM → SHARPNESS → BRIGHTNESS → CONTRAST →
|
|
|
|
|
|
|
|
|
|
|
|
SATURATION | → HUE → RESET |
| |
| |||
|
|
| |
FM: Transmitting frequency | SHARPNESS: Sharpness adjustment | ||
BRIGHTNESS: Brightness adjustment | CONTRAST: Contrast adjustment | ||
SATURATION: Color saturation adj. | HUE: Color hue adjustment | ||
RESET: Resets above (except FM) to factory default settings.
Once the desired setting is selected, press the cursor buttons to adjust the setting. On the remote use the up/down cursor buttons located at either side of the menu button. On the monitor use the
cursor buttons to the right side of the ![]()
![]()
![]() button. If a button is not activated within 5 seconds, this function mode will turn OFF. Once the correct function is selected, press the cursor button (to set the desired setting). If no button is pressed, the menu mode will turn OFF in about 5 seconds.
button. If a button is not activated within 5 seconds, this function mode will turn OFF. Once the correct function is selected, press the cursor button (to set the desired setting). If no button is pressed, the menu mode will turn OFF in about 5 seconds.
The FM frequency setting allows the monitor to transmit audio to the vehicle’s radio. Use a frequency that is not interfered with from a local broadcast station. This setting also has an OFF position.
DOOR LIGHT ON/OFF
Engage this switch ![]()
![]()
![]() on the monitor to activate the dome lights when a door is open.
on the monitor to activate the dome lights when a door is open.
NOTE: This function is operational only when the Gray wire of the dome light circuit is connected to the door switch.
COURTESY LIGHT ON/OFF
Activate this switch ![]()
![]()
![]()
![]()
![]() on the monitor to control the dome light illumination.
on the monitor to control the dome light illumination.
22 | © 2005 Directed |
|