B.Check all connections in the LP gas system (at the back of the refrigerator) for gas leaks. The LP gas supply must be turned on. Apply a non-corrosive bubble solution to all LP gas connections.

The appearance of bubbles indicates a leak and should be repaired immediately by a QUALIFIED SERVICEMAN WHO IS FAMILIAR WITH GAS SYS- TEM AND REFRIGERATORS.

! WARNING

DO NOT use a flame to check for gas leaks.

C.Check the AMES control system by connecting/dis- connecting 120 volt AC power, start/stop the engine, etc. Compare the operation with the operation de- scribed in section Operating Instructions.

D.The LP gas pressure should be checked and the main regulator readjusted if pressure is incorrect. The cor- rect operating pressure is 11 inches of water column. The correct place to take the LP gas pressure is at the test port just ahead of the burner jet. (See FIG. 12).

E.Inspect the flue baffle. It should be reasonably clean and free of soot. Heavy soot formation indicates im- proper functioning of the burner. The flue and burner both require cleaning in the following manner:

1.Unplug the refrigerator power cord from the 120 volt AC outlet. (See FIG. 3).

2.Disconnect or shut off the 12 volt DC power to the refrigerator.

3.Turn manual shutoff valve to OFF. (See FIG. 1 & 12).

4.Remove cover from the burner housing. (See FIG. 1).

5.Remove the burner mounting screw and remove the burner assembly. (See FIG. 12).

6.Remove the wire and flue baffle from the top of flue tube. Clean the flue from the top using a flue brush. Blowing compressed air into the flue will not properly clean soot and scale out of the flue tube. Replace the flue baffle.

7.Clean burner tube with a brush. Blow out burner with compressed air.

8.Before removing burner jet, clean burner area of soot and scale that fell out of flue tube. Remove the burner jet. Soak the jet in wood alcohol and blow it out with compressed air. Reinstall and tighten burner jet.

NOTE: The color of the flame shall be clear blue over the slots of the burner. (See FIG. 13).

Clear blue color of flame

FIG. 13

! WARNING

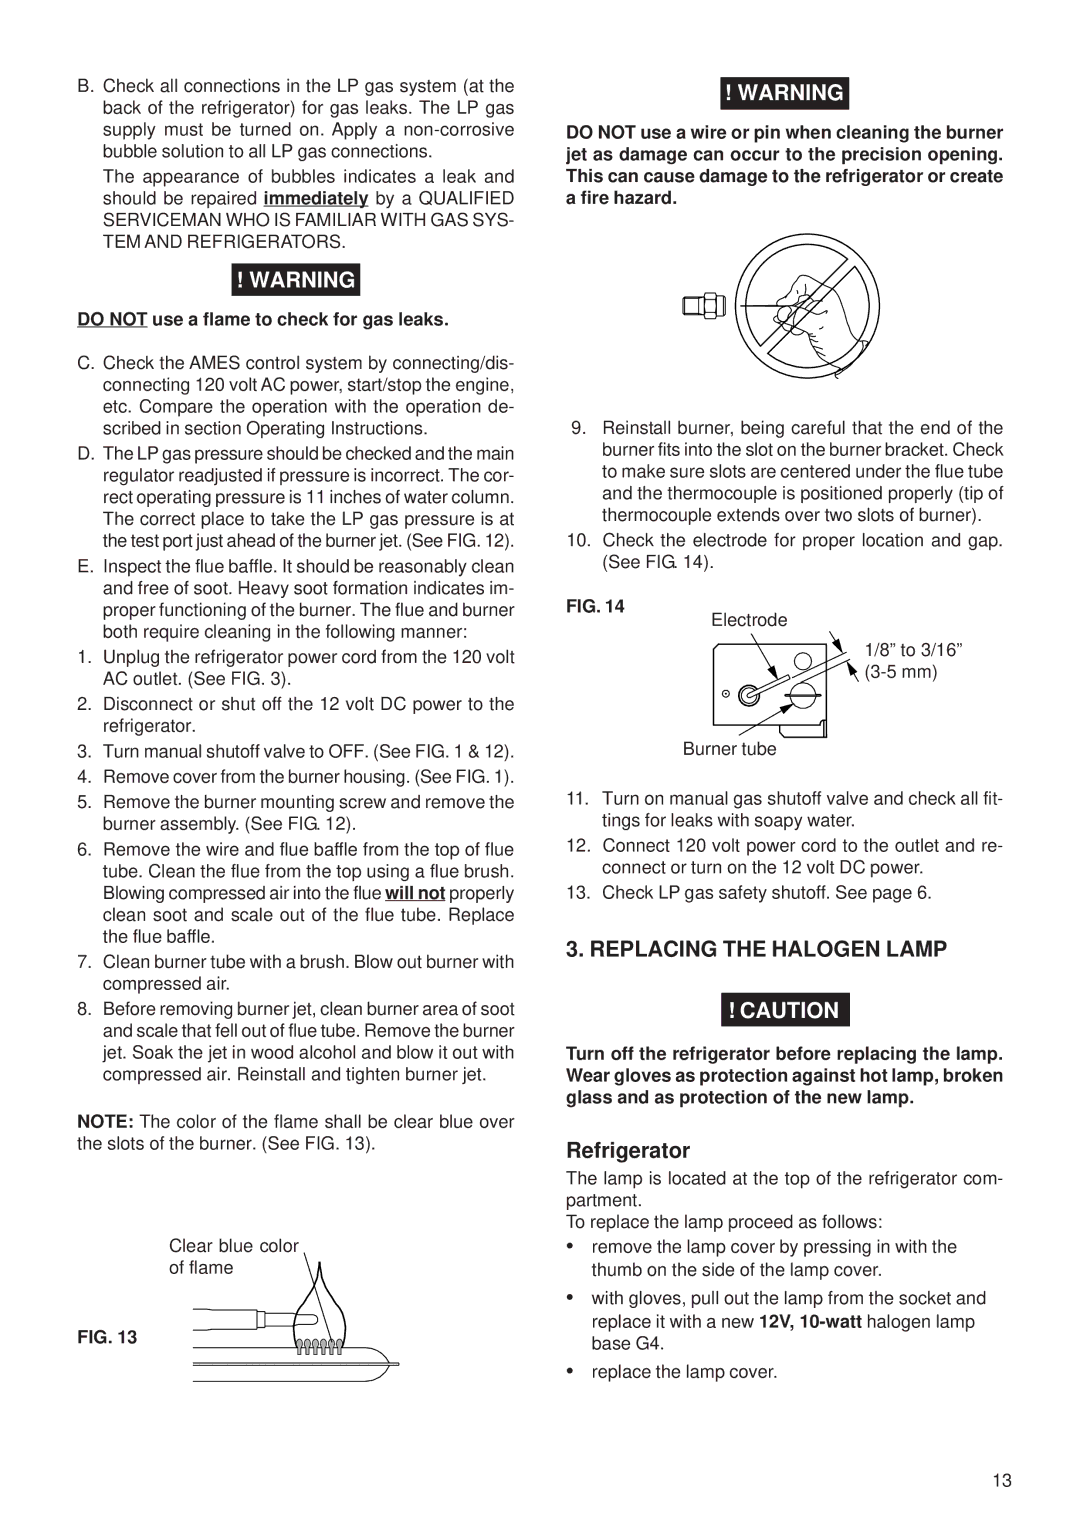
DO NOT use a wire or pin when cleaning the burner jet as damage can occur to the precision opening. This can cause damage to the refrigerator or create a fire hazard.

9.Reinstall burner, being careful that the end of the burner fits into the slot on the burner bracket. Check to make sure slots are centered under the flue tube and the thermocouple is positioned properly (tip of thermocouple extends over two slots of burner).

10.Check the electrode for proper location and gap. (See FIG. 14).

FIG. 14

Electrode

1/8” to 3/16” (3-5 mm)

Burner tube

11.Turn on manual gas shutoff valve and check all fit- tings for leaks with soapy water.

12.Connect 120 volt power cord to the outlet and re- connect or turn on the 12 volt DC power.

13.Check LP gas safety shutoff. See page 6.

3. REPLACING THE HALOGEN LAMP

! CAUTION

Turn off the refrigerator before replacing the lamp. Wear gloves as protection against hot lamp, broken glass and as protection of the new lamp.

Refrigerator

The lamp is located at the top of the refrigerator com- partment.

To replace the lamp proceed as follows:

remove the lamp cover by pressing in with the thumb on the side of the lamp cover.

with gloves, pull out the lamp from the socket and replace it with a new 12V, 10-watthalogen lamp base G4.

replace the lamp cover.

13

Page 13
Image 13
Dometic NDR1062 manual Replacing the Halogen Lamp, Refrigerator

NDR1062 specifications

The Dometic NDR1062 is a highly versatile and efficient refrigerator designed for use in RVs, boats, and other mobile applications. This model caters specifically to travelers who require reliable and effective cooling solutions while on the go.

One of the standout features of the Dometic NDR1062 is its dual power option. It can operate on both 12/24V DC and 110-240V AC, making it adaptable for various environments and power sources. This flexibility allows users to connect the refrigerator to their vehicle’s battery during travel and switch to shore power when parked.

The refrigerator offers spacious storage, with a total capacity of 106 liters. This ample space is ideal for storing food and beverages, accommodating the needs of families or groups on extended trips. Additionally, the fridge is equipped with adjustable shelves, allowing users to customize the interior layout as per their requirements.

Dometic's absorption technology is another key characteristic of the NDR1062. This silent operation system uses a chemical process to move heat away from the fridge interior, ensuring quiet cooling without the noise typically associated with compressor units. As a result, the Dometic NDR1062 is perfect for use in locations where noise is a concern, such as campgrounds or while sleeping in the vehicle.

The design of the Dometic NDR1062 also emphasizes user convenience. The refrigerator features an easy-to-read LED display that provides real-time information about the internal temperature, allowing for precise adjustment to ensure optimal food preservation. Moreover, its sleek, compact design ensures that it can fit seamlessly into various spaces while still offering easy access to contents.

Durability is another crucial aspect of the Dometic NDR1062. Built with high-quality materials, it is designed to withstand the rigors of mobile living, including bumps and vibrations common during travel. The robust construction means that it can handle the demands of outdoor adventures without compromising performance.

In summary, the Dometic NDR1062 stands out as a reliable and efficient cooling solution for anyone needing refrigeration on the road. Its dual power option, spacious storage, low-noise operation, and robust durability make it an excellent choice for those seeking an effective mobile refrigerator. With its thoughtful design and user-friendly features, the NDR1062 is a valuable addition to any traveling setup.