2.Excess hair may be clipped with scissors; do not shave stimulation area.
3.Wipe the area with the skin preparation your clinician has recommended. Let this dry. Apply electrodes as directed.
4.Many skin problems arise from the “pulling stress” from adhesive patches that are excessively stretched across the skin during application. To pre- vent this, apply electrodes from centre outward; avoid stretching over the skin.
5.To minimize “pulling stress”, tape extra lengths of lead wires to the skin in a loop to prevent tugging on electrodes.
6.When removing electrodes, always remove by pulling in the direction of hair growth.
7.It may be helpful to rub skin lotion on electrode placement area when not wearing electrodes.
8.Never apply electrodes over irritated or broken skin.
Chapter 16: APPLICATION OF RE-USABLE SELF ADHESIVE
ELECTRODES
Application
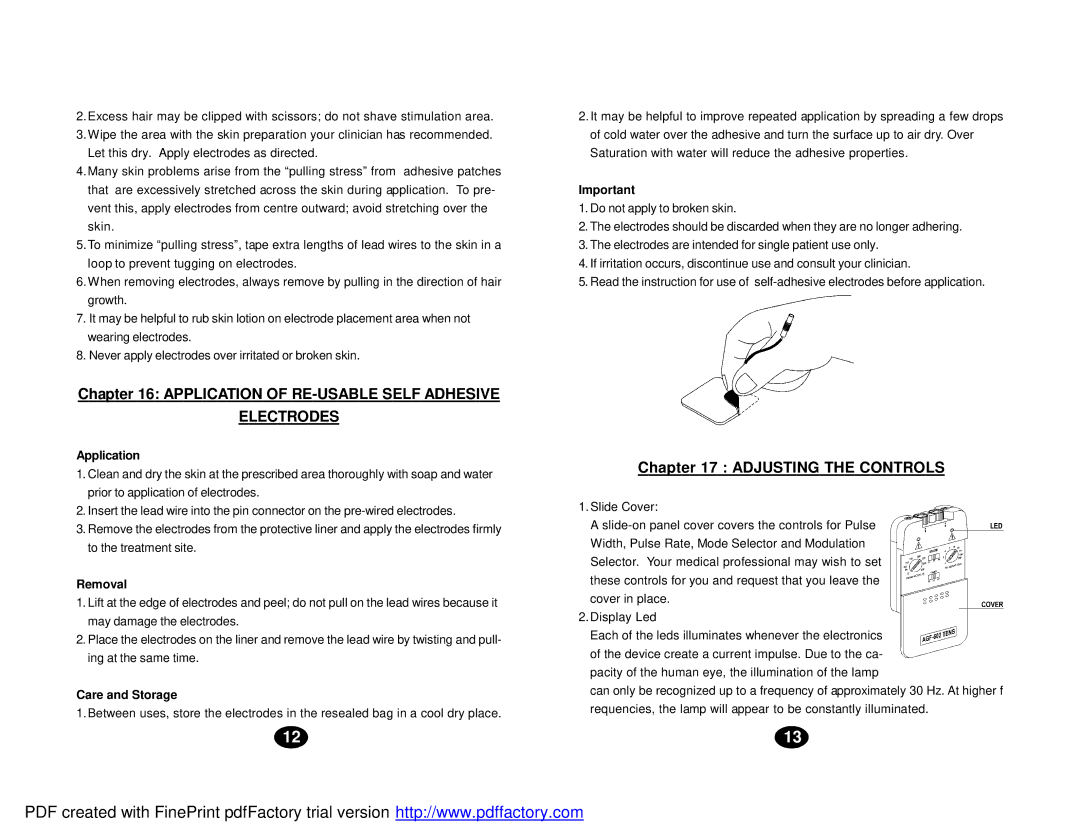
1.Clean and dry the skin at the prescribed area thoroughly with soap and water prior to application of electrodes.
2.Insert the lead wire into the pin connector on the
3.Remove the electrodes from the protective liner and apply the electrodes firmly to the treatment site.
Removal
1.Lift at the edge of electrodes and peel; do not pull on the lead wires because it may damage the electrodes.
2.Place the electrodes on the liner and remove the lead wire by twisting and pull- ing at the same time.
Care and Storage
1. Between uses, store the electrodes in the resealed bag in a cool dry place.
12
2.It may be helpful to improve repeated application by spreading a few drops of cold water over the adhesive and turn the surface up to air dry. Over Saturation with water will reduce the adhesive properties.
Important
1.Do not apply to broken skin.
2.The electrodes should be discarded when they are no longer adhering.
3.The electrodes are intended for single patient use only.
4.If irritation occurs, discontinue use and consult your clinician.
5.Read the instruction for use of
Chapter 17 : ADJUSTING THE CONTROLS
1.Slide Cover:
A
2.Display Led
Each of the leds illuminates whenever the electronics of the device create a current impulse. Due to the ca- pacity of the human eye, the illumination of the lamp
can only be recognized up to a frequency of approximately 30 Hz. At higher f requencies, the lamp will appear to be constantly illuminated.
13
PDF created with FinePrint pdfFactory trial version http://www.pdffactory.com
