420P specifications
The Dymo LabelManager 420P is a versatile and efficient label-making tool designed for both home and professional use. This compact device incorporates advanced features and technologies to simplify the labeling process, making it suitable for organizing, home improvement projects, or even in office settings.One of its standout features is the QWERTY keyboard layout, which resembles a standard computer keyboard, allowing users to type comfortably and quickly. This thoughtful design enhances productivity, enabling users to create labels with ease. Additionally, the device boasts a large, high-resolution LCD screen that displays text in a clear and readable format, making it simple to confirm what you are typing before printing.
The LabelManager 420P uses thermal transfer technology for printing, ensuring that labels are durable and resistant to fading and smudging. This feature is crucial for labels used in environments where they may be exposed to moisture or UV light. The printer accommodates various label sizes and materials, offering flexibility for different labeling needs, from address labels to file folder labels, and even suitable labels for kitchen use.
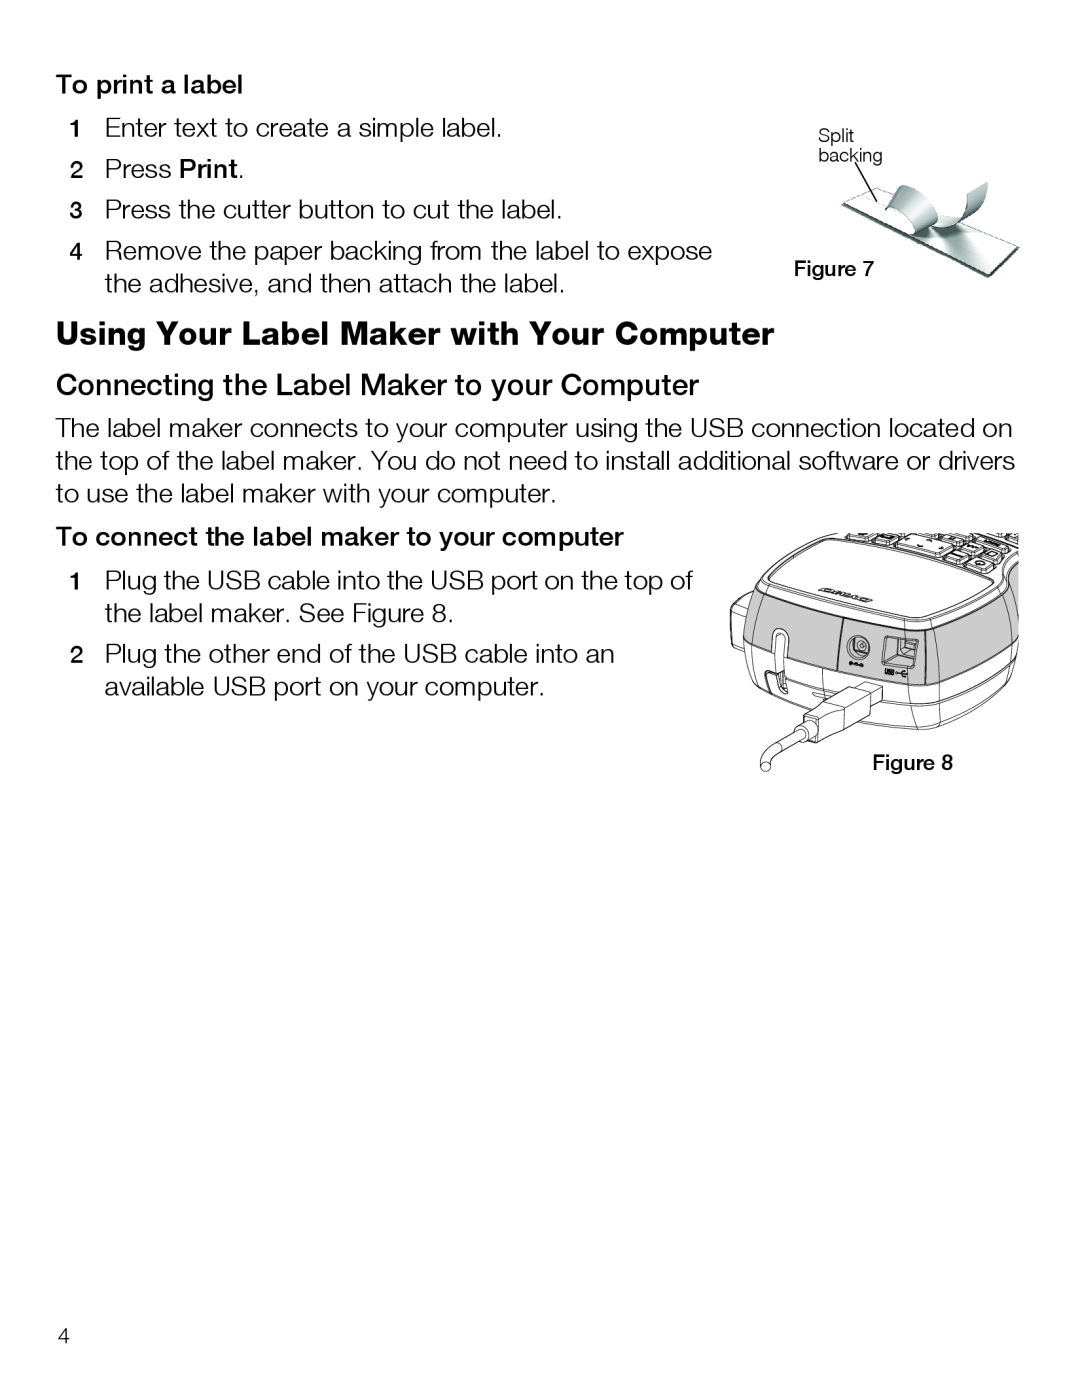
Another notable characteristic of the Dymo 420P is its ability to connect via USB to a computer. The included Dymo Label Software allows users to design custom labels with advanced options like the ability to import graphics, logos, and barcodes, providing an added layer of personalization and professionalism. This connectivity makes it particularly advantageous for businesses looking to streamline their labeling processes.
Furthermore, the LabelManager 420P supports over 100 different label styles, fonts, and symbols, allowing users to create visually appealing labels that stand out. The device also features a built-in rechargeable battery, providing convenience and eliminating the hassle of replacing batteries frequently, ensuring it’s ready for use at any time.
Additionally, the Dymo 420P is remarkably lightweight and portable, making it easy to transport between different locations. Users appreciate its user-friendly interface, allowing them to navigate through functions effortlessly. Overall, the Dymo LabelManager 420P is an excellent choice for anyone seeking a reliable, advanced labeling solution that combines modern technology with ease of use, proving its worth in any labeling endeavor.
