Printing a Fixed-Length Label
Normally, the length of the label is determined by the length of the text entered. However, you may wish to make a label for a specific purpose that is a fixed length regardless of the length of the text.
You can specify a fixed length for a label in
0.1” (2 mm) increments between 1.5” (40 mm) and 15.0” (400 mm). The preset fixed length is
4” (100 mm). Any change you make to the fixed- length setting remains in effect until you change it.
To set the label length
1.Press Shift + ![]()
![]() .
.
2.Press the up arrow to select Fixed Length On and then press ![]() .
.
3.Use the arrow keys to set the length.
4.Press ![]() .
.
After you print the label, you must reset the fixed- length label setting to OFF; otherwise, all your subsequent labels will print with this fixed length.
Adding Barcodes to Labels
The labelmaker can print barcodes in six standard formats:
You can print a barcode on 3/4” (19 mm) and 1” (24 mm) labels; and you can print only one barcode per label.
The barcode prints horizontally along the label with the text in small print underneath the barcode. You can optionally add text before and after the barcode. Or, you can add text above or below the barcode by creating a
Four of the standard barcodes require a fixed number of characters to generate the barcode:
To set the barcode type
1.Press Settings .
2.Select Set Barcode and press ![]() .
.
3.Use the arrow keys to select the barcode type,
and press ![]() .
.
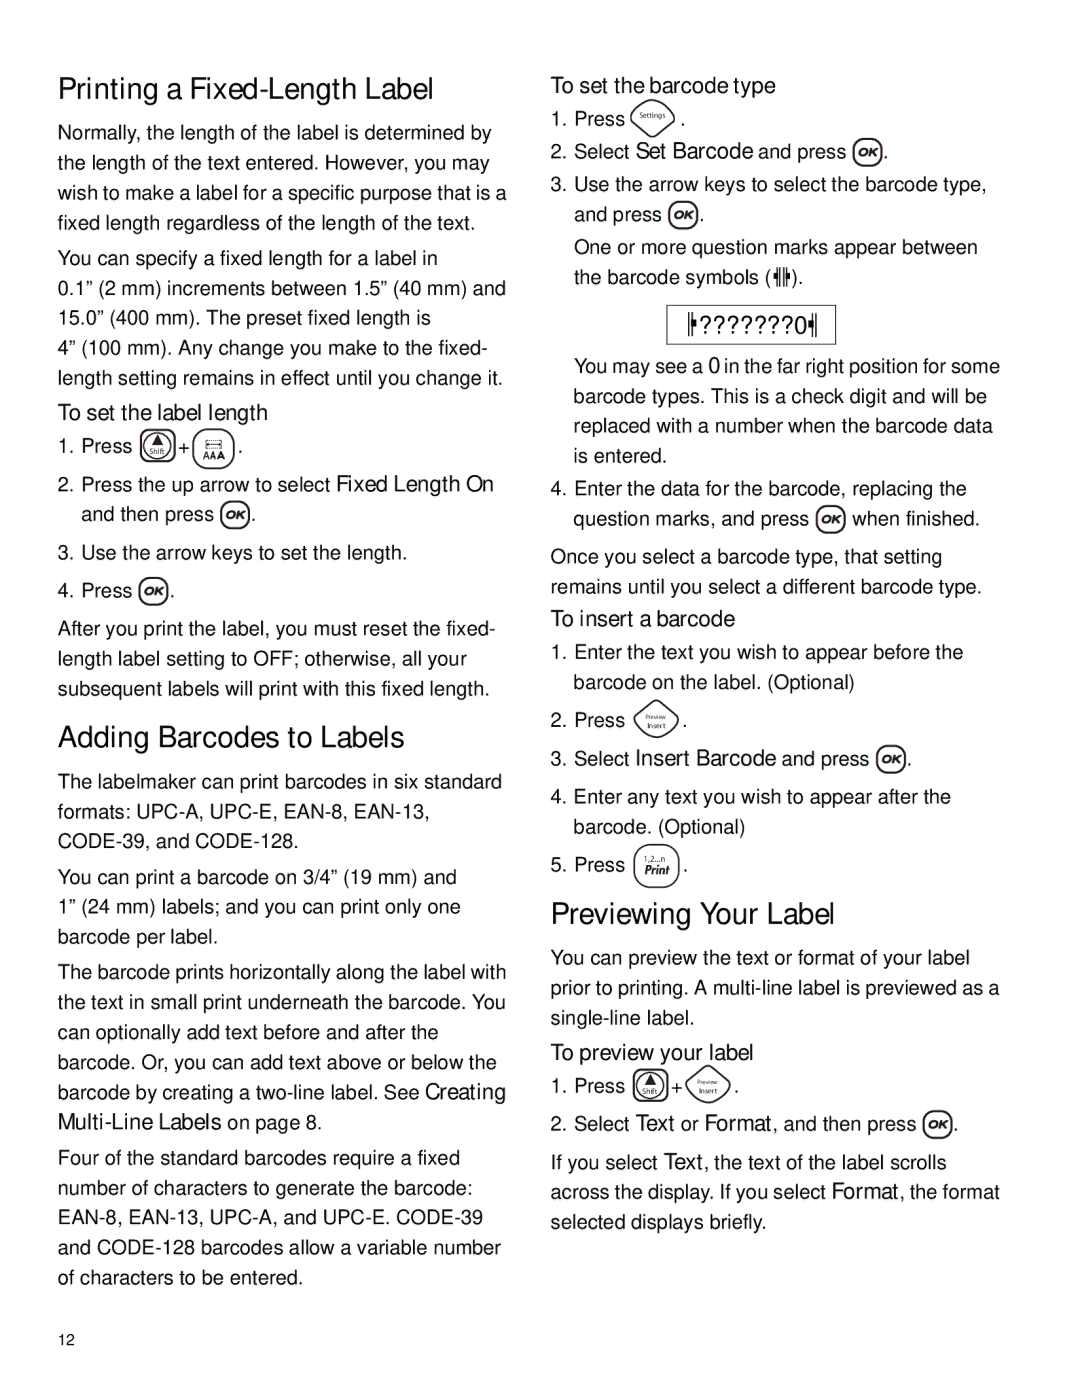
One or more question marks appear between the barcode symbols (![]()
![]()
![]()
![]() ).
).

 ???????0

You may see a 0 in the far right position for some barcode types. This is a check digit and will be replaced with a number when the barcode data is entered.
4.Enter the data for the barcode, replacing the
question marks, and press ![]() when finished.
when finished.
Once you select a barcode type, that setting remains until you select a different barcode type.
To insert a barcode
1.Enter the text you wish to appear before the barcode on the label. (Optional)
2.Press PreviewInsert .
3.Select Insert Barcode and press ![]() .
.
4.Enter any text you wish to appear after the barcode. (Optional)
5.Press 1,2...n![]() .
.
Previewing Your Label
You can preview the text or format of your label prior to printing. A
To preview your label
1. Press Shift + PreviewInsert .
2. Select Text or Format, and then press ![]() .
.
If you select Text, the text of the label scrolls across the display. If you select Format, the format selected displays briefly.
12