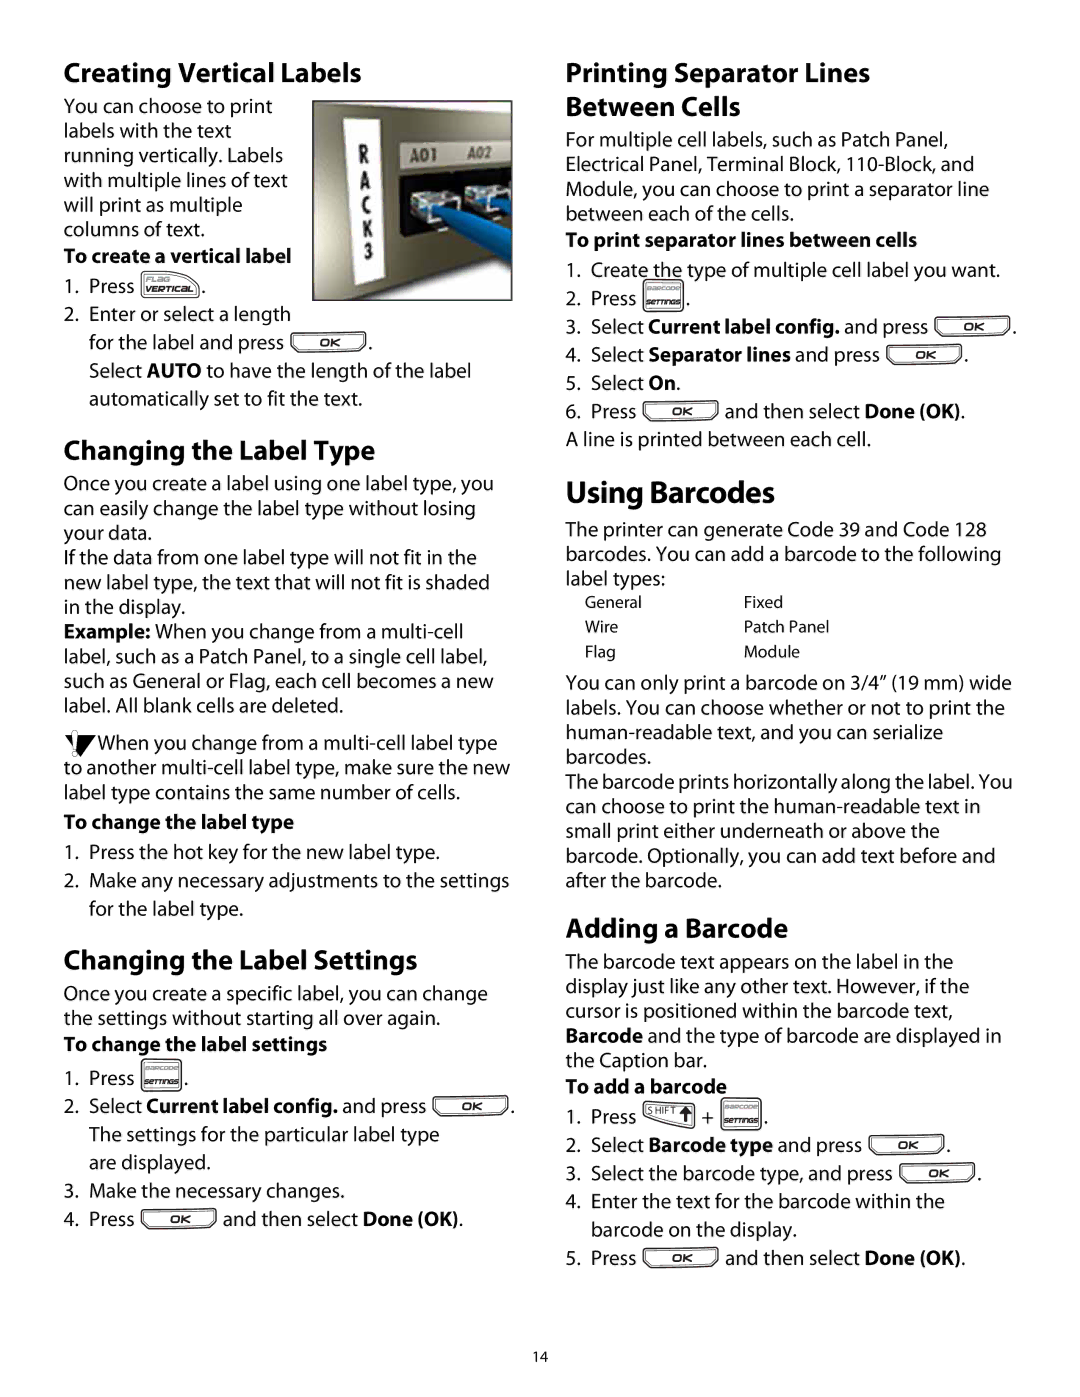
Creating Vertical Labels

You can choose to print labels with the text running vertically. Labels with multiple lines of text will print as multiple columns of text.

To create a vertical label

1.Press .

2.Enter or select a length

for the label and press .

Select AUTO to have the length of the label automatically set to fit the text.

Changing the Label Type

Once you create a label using one label type, you can easily change the label type without losing your data.

If the data from one label type will not fit in the new label type, the text that will not fit is shaded in the display.

Example: When you change from a multi-cell label, such as a Patch Panel, to a single cell label, such as General or Flag, each cell becomes a new label. All blank cells are deleted.

When you change from a multi-cell label type to another multi-cell label type, make sure the new label type contains the same number of cells.

To change the label type

1.Press the hot key for the new label type.

2.Make any necessary adjustments to the settings for the label type.

Changing the Label Settings

Once you create a specific label, you can change the settings without starting all over again.

To change the label settings

1.Press .

2.Select Current label config. and press . The settings for the particular label type

are displayed.

3.Make the necessary changes.

4.Press and then select Done (OK).

Printing Separator Lines

Between Cells

For multiple cell labels, such as Patch Panel, Electrical Panel, Terminal Block, 110-Block, and Module, you can choose to print a separator line between each of the cells.

To print separator lines between cells

1.Create the type of multiple cell label you want.

2.Press .

3.Select Current label config. and press .

4.Select Separator lines and press .

5.Select On.

6.Press and then select Done (OK).

A line is printed between each cell.

Using Barcodes

The printer can generate Code 39 and Code 128 barcodes. You can add a barcode to the following label types:

General

Fixed

Wire

Patch Panel

Flag

Module

You can only print a barcode on 3/4” (19 mm) wide labels. You can choose whether or not to print the human-readable text, and you can serialize barcodes.

The barcode prints horizontally along the label. You can choose to print the human-readable text in small print either underneath or above the barcode. Optionally, you can add text before and after the barcode.

Adding a Barcode

The barcode text appears on the label in the display just like any other text. However, if the cursor is positioned within the barcode text, Barcode and the type of barcode are displayed in the Caption bar.

To add a barcode

1. Press S HIF T +

.

2.Select Barcode type and press .

3.Select the barcode type, and press .

4.Enter the text for the barcode within the barcode on the display.

5.Press and then select Done (OK).

14

Page 14
Image 14
Dymo Rhino 5200 manual Using Barcodes

Rhino 5200 specifications

The Dymo Rhino 5200 is a robust label maker designed specifically for professionals seeking efficiency and accuracy in their labeling tasks. Housed within a rugged, compact body, this device is ideal for both on-the-job use and everyday office needs. The Rhino 5200 stands out due to its user-friendly interface and variety of features that streamline the labeling process.

One of the main features of the Dymo Rhino 5200 is its fast and easy labeling capabilities. With its built-in keyboard, users can quickly input text, and the device boasts a display that shows how the label will look before printing. This preview feature minimizes errors and saves time, making it an essential tool for anyone who requires multiple labels or extensive inventories.

The Rhino 5200 utilizes thermal printing technology, which means it doesn’t require ink or toner. Instead, it heats the printing element to create clear and durable labels—an environmentally friendly option that reduces waste. This technology also results in sharp, legible prints that can endure various conditions, including exposure to moisture and harsh chemicals, making them suitable for both indoor and outdoor applications.

The device supports a wide range of label sizes and materials, including flexible nylon, heat-shrink tubes, and long-lasting polyester. Users can select from over 150 different symbols and a variety of font styles, enhancing creativity and utility. This flexibility makes the Rhino 5200 perfect for labeling cables, shelves, bins, and even electrical panels.

Additionally, it features a memory function capable of storing up to 100 of your most frequently used labels. This function significantly speeds up repetitive tasks, allowing users to produce labels with ease. Another notable characteristic is its ability to quickly switch between different label types, adding to the efficiency of operations.

With its rugged design, the Dymo Rhino 5200 is also built to handle tough work environments, resistant to drops and bumps while ensuring reliability. Its long-lasting battery life further enhances portability, making it accessible for professionals who are on the move.

In summary, the Dymo Rhino 5200 is an advanced label maker designed for efficiency, reliability, and ease of use. Whether for professional or personal use, its combination of durability, versatility, and innovative features ensures it meets the diverse needs of users across various fields.