3Do one of the following:
•For Windows: Click Install and follow the instructions in the installer.
•For Mac OS:
4When prompted, connect the printer to your computer. See “Connecting the Printer”.
Mac OS If the printer is not in the printer list when the installation is complete, refer to the ReadMe file for instructions on how to add the printer.
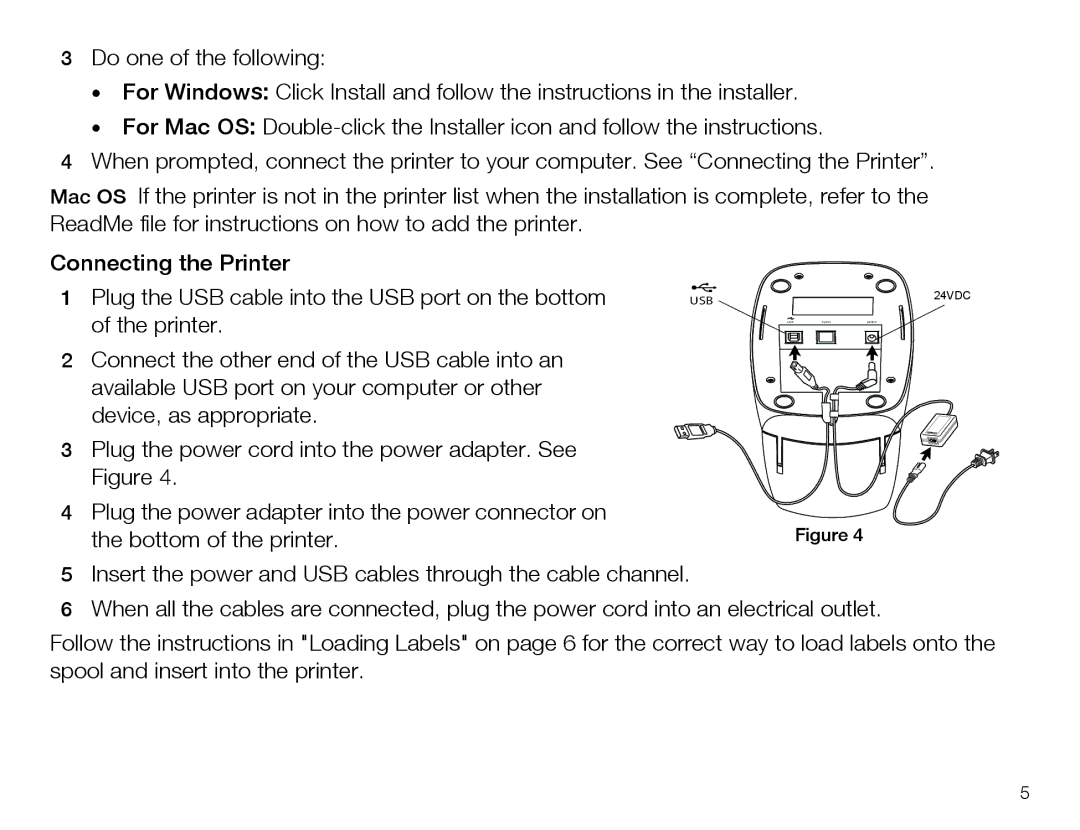
Connecting the Printer
1Plug the USB cable into the USB port on the bottom of the printer.
2Connect the other end of the USB cable into an available USB port on your computer or other device, as appropriate.
3Plug the power cord into the power adapter. See Figure 4.
4Plug the power adapter into the power connector on the bottom of the printer.
USB |
| 24VDC |
USB | 10101 | 24VDC |
Figure 4
5Insert the power and USB cables through the cable channel.
6When all the cables are connected, plug the power cord into an electrical outlet.
Follow the instructions in "Loading Labels" on page 6 for the correct way to load labels onto the spool and insert into the printer.
5