sg82 amend p8.qxd 19/01/00 12:35 Page 10
Fig 8
Momentarily trigger the spray gun to disperse the oil around the piston and cylinder.
LONG TERM CLEAN-UP
If the spray gun is being stored for a period of time the following should also be undertaken in addition to the above cleaning instructions:
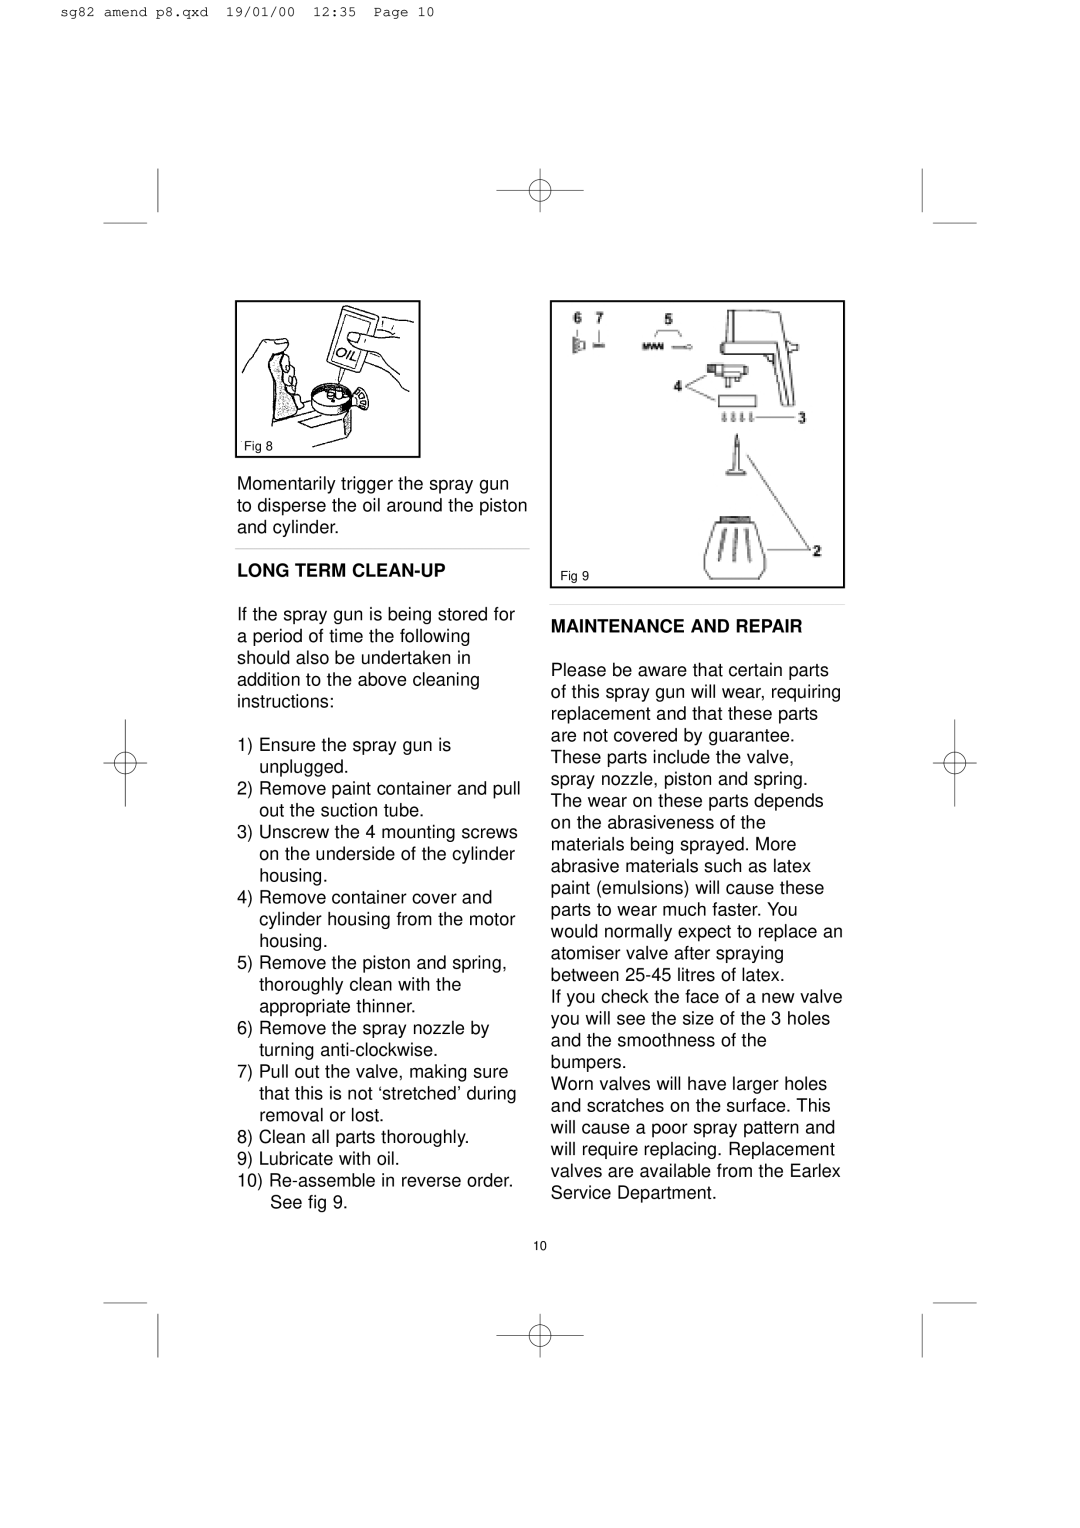
1)Ensure the spray gun is unplugged.
2)Remove paint container and pull out the suction tube.
3)Unscrew the 4 mounting screws on the underside of the cylinder housing.
4)Remove container cover and cylinder housing from the motor housing.
5)Remove the piston and spring, thoroughly clean with the appropriate thinner.
6)Remove the spray nozzle by turning
7)Pull out the valve, making sure that this is not ‘stretched’ during removal or lost.
8)Clean all parts thoroughly.
9)Lubricate with oil.
10)
Fig 9
MAINTENANCE AND REPAIR
Please be aware that certain parts of this spray gun will wear, requiring replacement and that these parts are not covered by guarantee. These parts include the valve, spray nozzle, piston and spring. The wear on these parts depends on the abrasiveness of the materials being sprayed. More abrasive materials such as latex paint (emulsions) will cause these parts to wear much faster. You would normally expect to replace an atomiser valve after spraying between
If you check the face of a new valve you will see the size of the 3 holes and the smoothness of the bumpers.
Worn valves will have larger holes and scratches on the surface. This will cause a poor spray pattern and will require replacing. Replacement valves are available from the Earlex Service Department.
10