CLA37 specifications
The EAW CLA37 is a highly regarded compact line array system designed for a variety of live sound applications, from small to medium-sized events. Engineered by Eastern Acoustic Works (EAW), the CLA37 is known for its impressive audio performance, versatility, and user-friendly design.One of the standout features of the CLA37 is its arrayable design, which enables seamless integration with other units to create a powerful, coherent sound field. The system can deliver consistent coverage and high-quality output across various listening environments, making it ideal for both indoor and outdoor applications. EAW’s innovative approach to array design ensures that the CLA37 can be configured to meet the specific requirements of each event, whether it’s a corporate event, concert, or public address.
The CLA37 utilizes advanced transducer technology, featuring dual 7-inch woofers and a 1.4-inch compression driver. This combination allows for a balanced sound reproduction with clear highs and robust lows. The frequency response of the system spans from 60 Hz to 20 kHz, providing a wide range that caters to various audio content types, including music and spoken word.
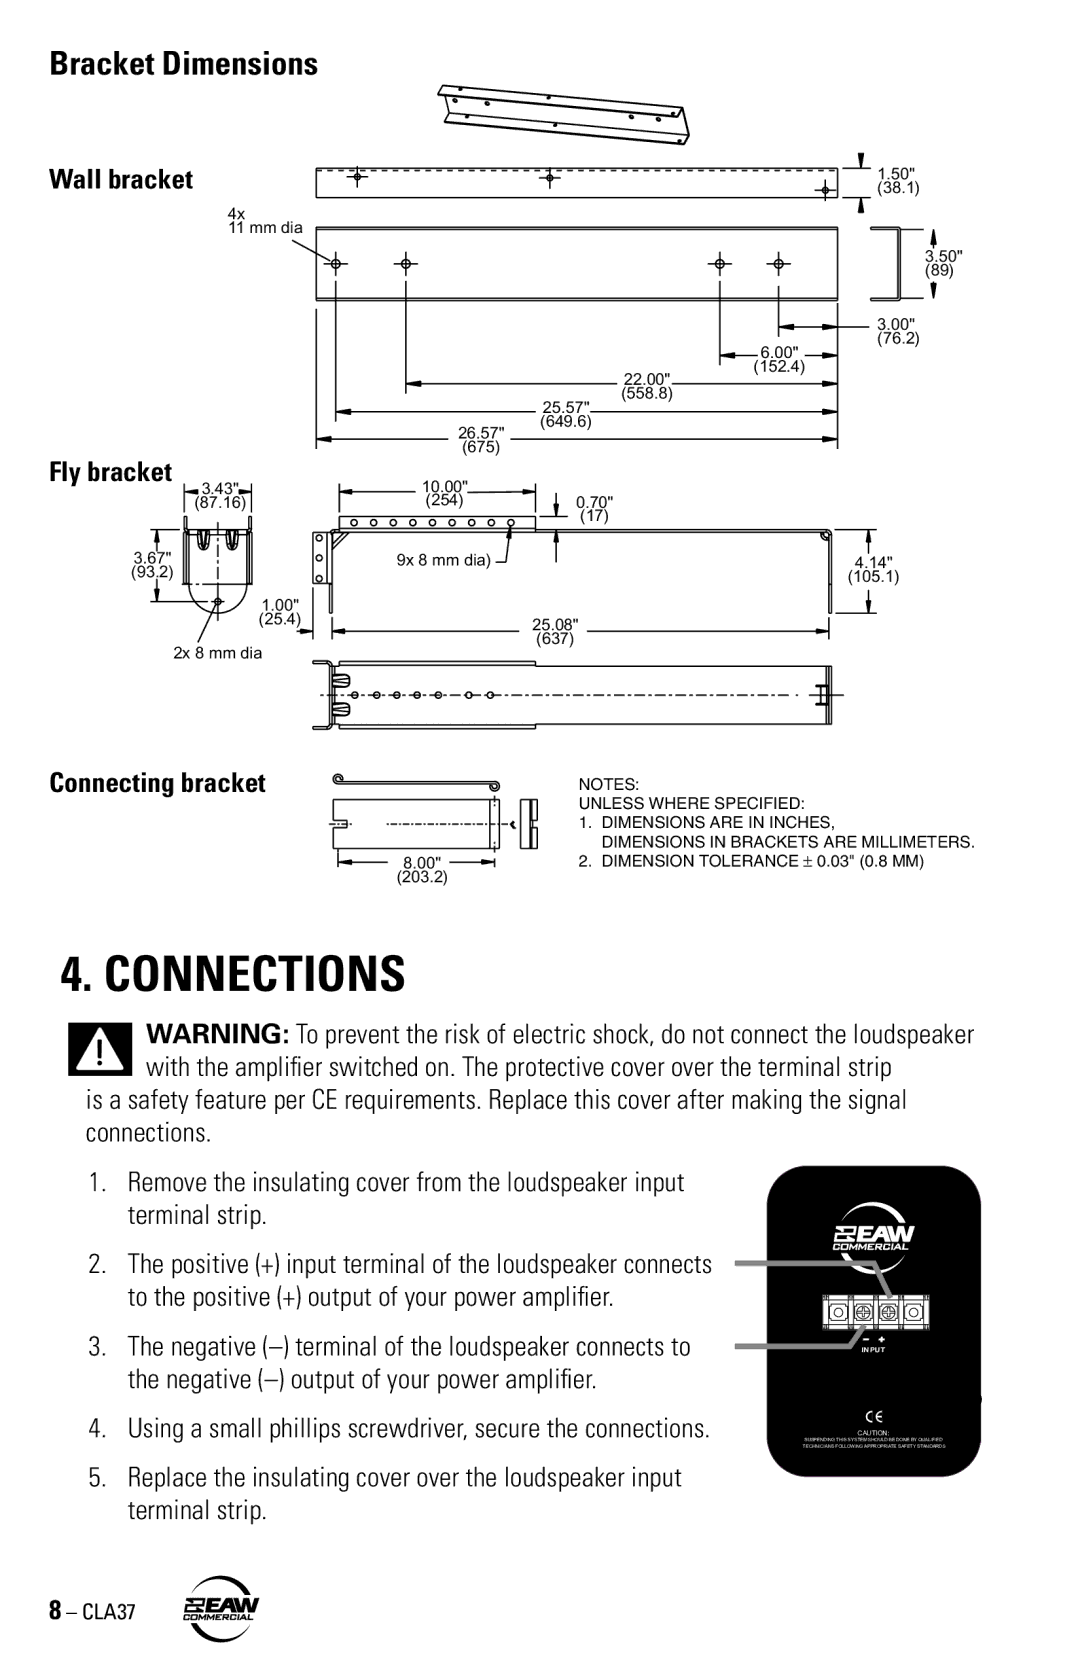
Another hallmark of the CLA37 is its remarkable power handling capabilities. The system can handle up to 600 watts of program power, making it suitable for high-energy performances and larger audiences. Furthermore, it offers a variety of rigging and mounting options, allowing for easy setup, transport, and storage. The integrated rigging hardware simplifies the process of linking multiple units together, ensuring stability and safety during operation.
EAW has also placed an emphasis on the aesthetics of the CLA37, ensuring that it can blend seamlessly into different environments. Its sleek design not only contributes to its portability but also allows for unobtrusive placement at events, enhancing the overall visual appeal.
Connectivity is another strong point of the CLA37, with multiple input options that facilitate integration into existing sound systems. The system is designed to work efficiently with EAW's proprietary software, allowing sound engineers to easily configure and optimize the performance based on the specifics of the venue.
Overall, the EAW CLA37 stands out as an exceptional choice for sound professionals seeking a reliable and high-quality compact line array system. Its combination of innovative technologies, robust build quality, and user-focused features make it a standout performer in a competitive landscape.

