Ei405TY RF specifications
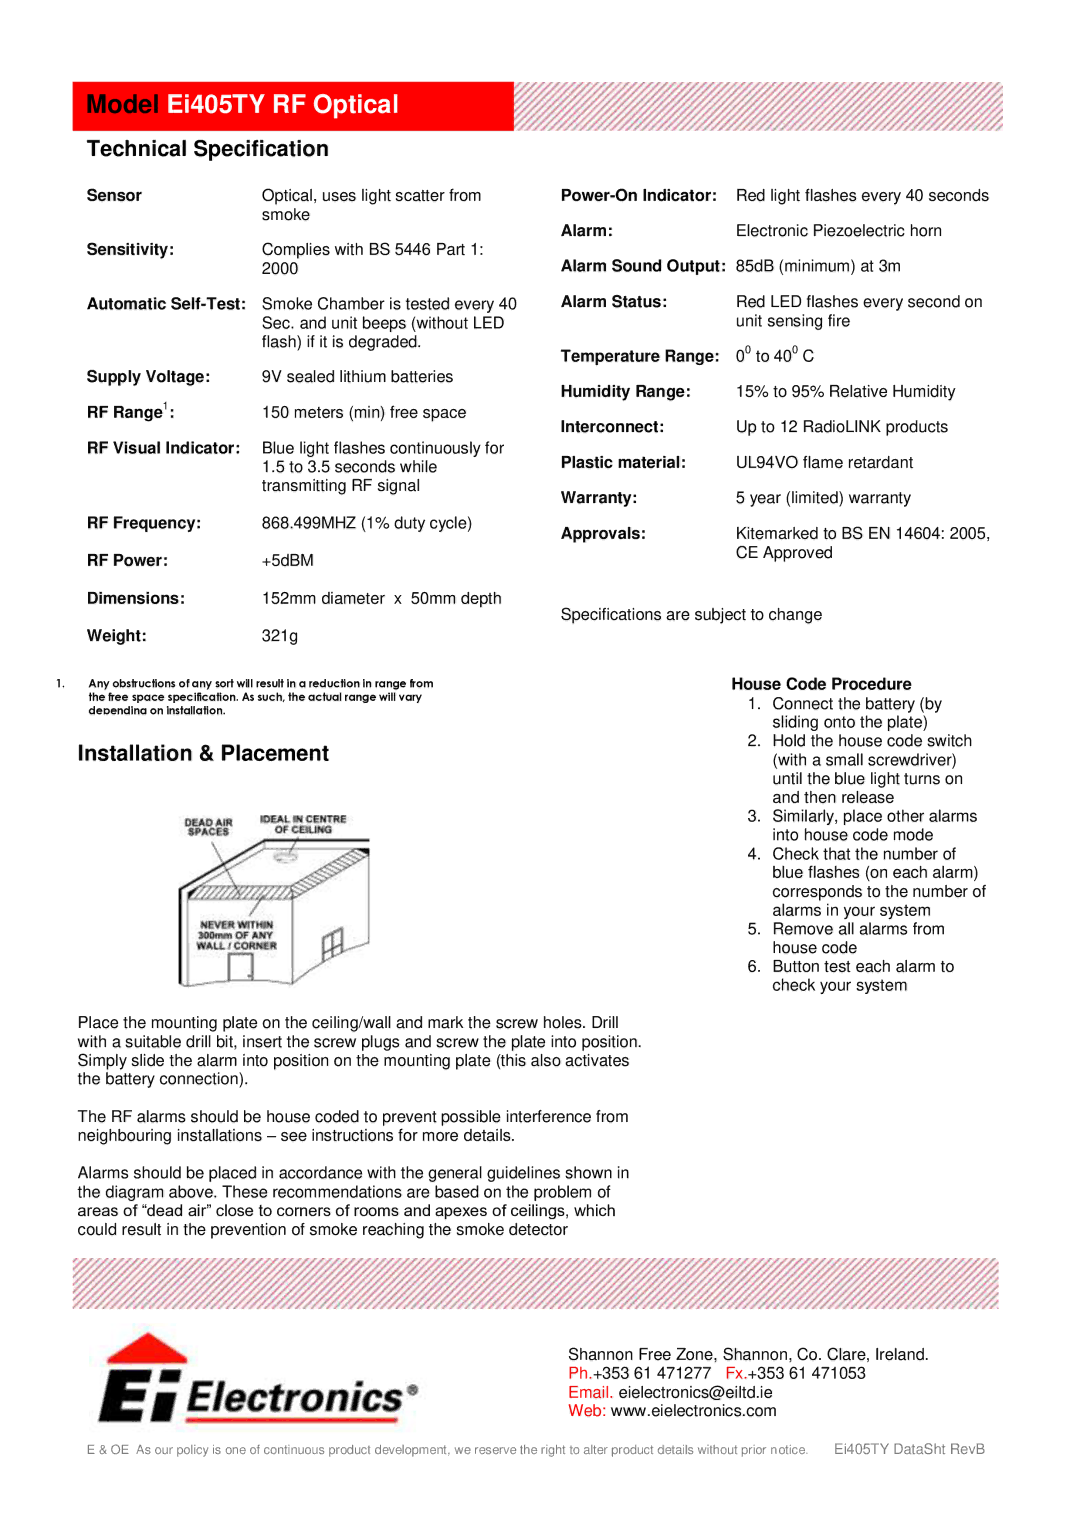
The Ei Electronics Ei405TY RF is a state-of-the-art wireless smoke alarm designed to ensure the safety of residential and commercial spaces. Known for its reliability and advanced features, the Ei405TY RF utilizes cutting-edge technology to detect smoke and fire effectively, providing peace of mind to users.One of the main features of the Ei405TY RF is its radio frequency (RF) interconnectivity. This allows multiple alarms to communicate with each other, ensuring that when one alarm detects smoke, all connected units will sound an alert. This feature is particularly beneficial in larger buildings or homes with multiple levels, providing comprehensive coverage and immediate notification in case of a fire emergency.
The Ei405TY RF is equipped with a high-performance photoelectric smoke sensing technology. This type of sensor is adept at detecting slow-burning fires, which often produce substantial smoke before bursting into flames. By using this technology, the alarm minimizes false alarms typically triggered by cooking or other household activities, thus ensuring that users only receive alerts when it's truly necessary.
Another remarkable characteristic of the Ei405TY RF is its long battery life. The unit is powered by a sealed lithium battery that can last up to 10 years, eliminating the need for frequent battery replacements. This feature not only ensures continuous operation but also enhances user convenience, making it an ideal choice for those who prioritize both safety and ease of use.
In addition to its advanced detection capabilities, the Ei405TY RF is designed with user-friendliness in mind. It features a simple test and reset button that allows users to easily check the functionality of the alarm. Furthermore, the alarm has a low battery warning indicator, which alerts users when the battery is running low, ensuring that the unit is always functioning optimally.
The compact and modern design of the Ei405TY RF blends seamlessly into various home décors, making it a versatile option for any environment. With its robust construction and reliability, this smoke alarm is not only an essential safety device but also an aesthetically pleasing addition to any space.
Overall, the Ei Electronics Ei405TY RF smoke alarm is a top-tier safety device that combines advanced technology, user-friendly features, and a stylish design, making it an excellent choice for fire safety in homes and businesses alike. With its comprehensive smoke detection capabilities and reliable interconnectivity, users can rest assured that they are well-protected against fire hazards.

