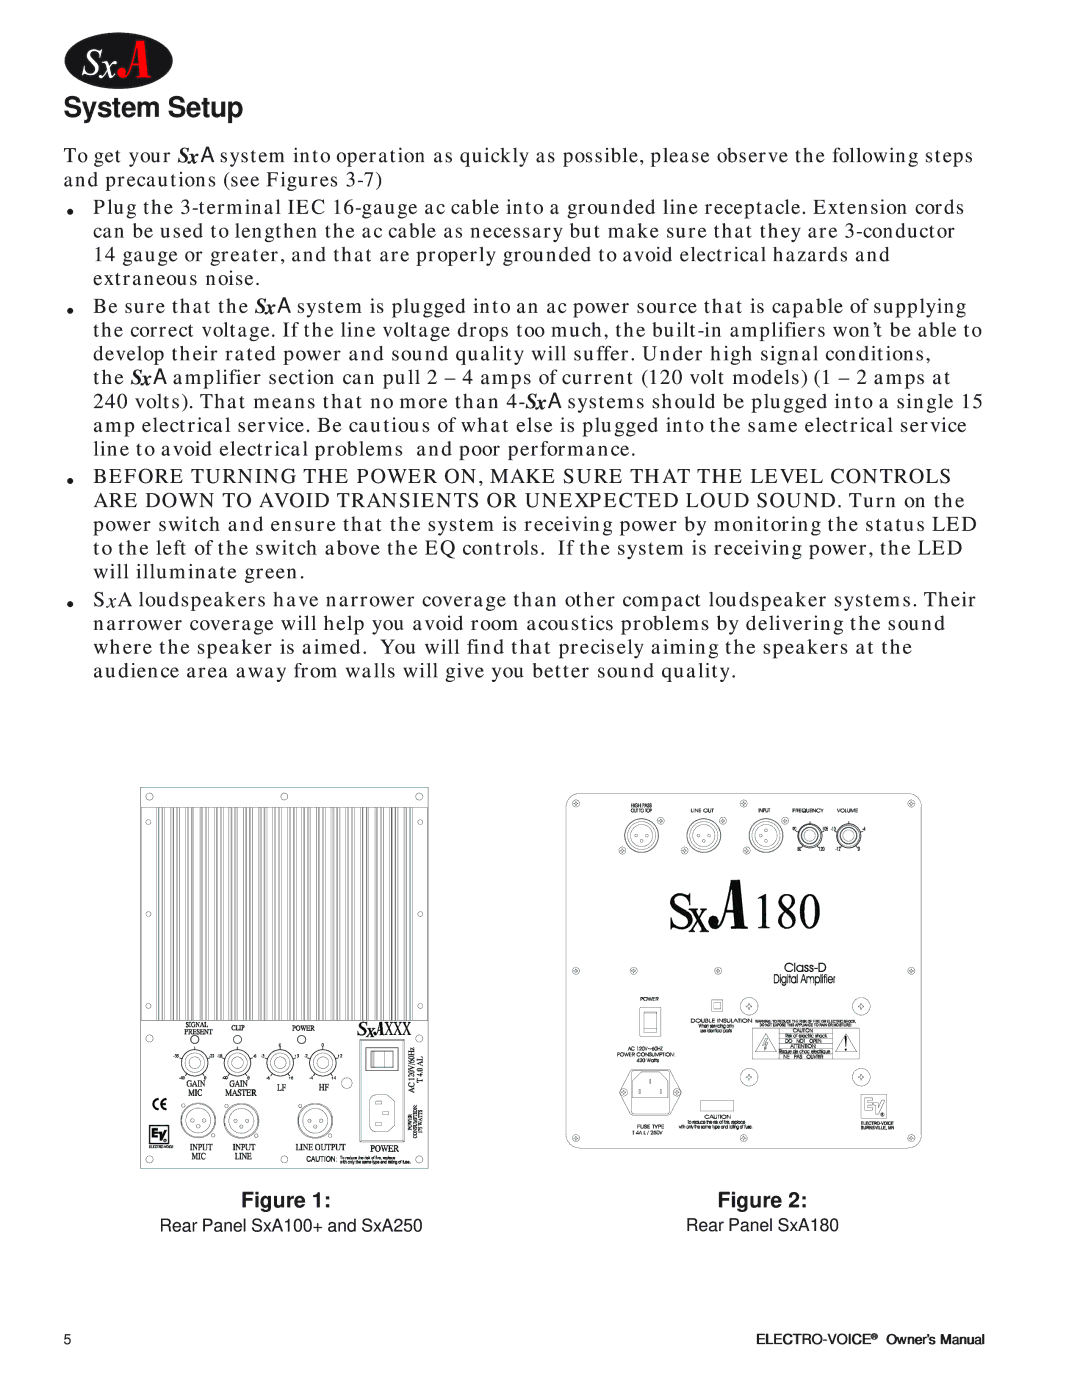
SxA100+ specifications
The Electro-Voice SxA100+ is a highly regarded portable loudspeaker that combines advanced technologies with powerful performance, making it a popular choice among musicians, DJs, and audio professionals. This versatile speaker is designed to deliver clear sound in various settings, from small venues to larger parties and events.One of the standout features of the SxA100+ is its bi-amplified design, which consists of a dedicated 100-watt low-frequency amplifier and a 40-watt high-frequency amplifier. This bi-amping approach enhances sound clarity and overall output efficiency, allowing the speaker to produce robust bass while maintaining crisp highs. The speaker is equipped with a 10-inch woofer and a 1-inch titanium compression driver, ensuring a full-range audio response that can handle a variety of musical genres.
Another notable characteristic of the SxA100+ is its portability. Weighing in at just around 40 pounds, this speaker features a rugged yet lightweight enclosure, making it easy to transport and set up. Its compact design allows it to fit seamlessly into any performance space, whether in a corner of a club or a small outdoor venue. The integrated carry handle further enhances its mobility.
The SxA100+ also includes a comprehensive set of input options, with a mix of XLR and TRS connectors, allowing it to accommodate a wide range of sound sources. This flexibility ensures compatibility with various instruments, microphones, or mix consoles, empowering users to tailor their sound setup as needed. Additionally, the speaker features a built-in mixer with volume controls, making it simple to adjust levels on the fly.
For added convenience, the SxA100+ is equipped with a pole mount socket for easy integration with stands, providing versatility for different configurations. Its rugged construction, including a durable grille and scratch-resistant finish, ensures the speaker remains reliable under the rigors of frequent use.
Overall, the Electro-Voice SxA100+ stands out due to its exceptional sound quality, versatile connectivity options, and portability, making it an excellent choice for anyone seeking a powerful and reliable sound reinforcement solution. Whether for live performances, events, or personal use, the SxA100+ delivers an impressive audio experience that is hard to match.