Timer and Changing | Programmable |
the Message Display Language | Timer |
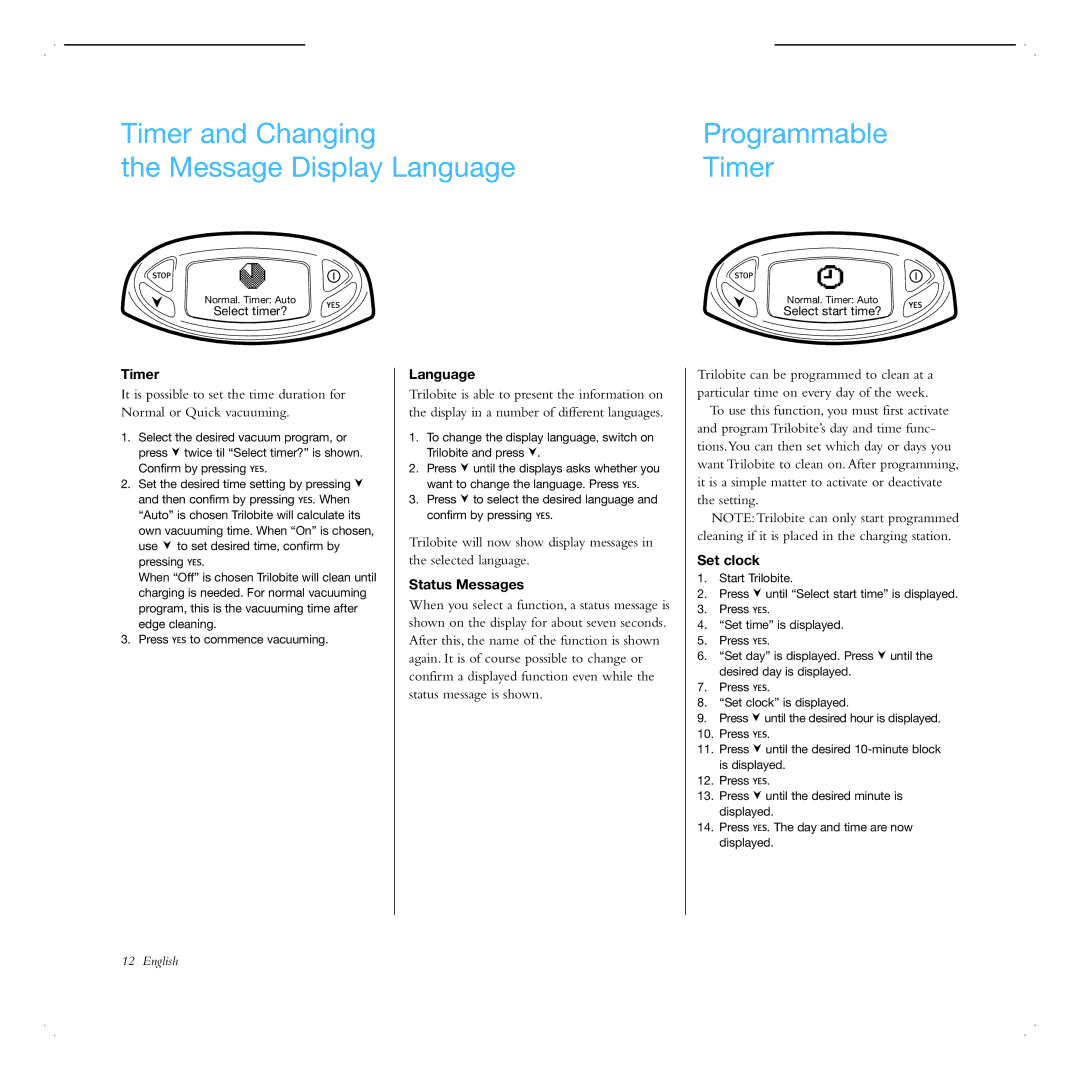
Normal. Timer: Auto | Normal. Timer: Auto |
Select timer? | Select start time? |
Timer
It is possible to set the time duration for Normal or Quick vacuuming.
1.Select the desired vacuum program, or press ![]() twice til “Select timer?” is shown. Confirm by pressing
twice til “Select timer?” is shown. Confirm by pressing ![]() .
.
2.Set the desired time setting by pressing ![]() and then confirm by pressing
and then confirm by pressing ![]() . When
. When
“Auto” is chosen Trilobite will calculate its own vacuuming time. When “On” is chosen, use to set desired time, confirm by pressing .
When “Off” is chosen Trilobite will clean until charging is needed. For normal vacuuming program, this is the vacuuming time after edge cleaning.
3. Press ![]() to commence vacuuming.
to commence vacuuming.
Language
Trilobite is able to present the information on the display in a number of different languages.
1.To change the display language, switch on Trilobite and press ![]() .
.
2.Press ![]() until the displays asks whether you want to change the language. Press
until the displays asks whether you want to change the language. Press ![]() .
.
3.Press ![]() to select the desired language and confirm by pressing
to select the desired language and confirm by pressing ![]() .
.
Trilobite will now show display messages in the selected language.
Status Messages
When you select a function, a status message is shown on the display for about seven seconds. After this, the name of the function is shown again. It is of course possible to change or confirm a displayed function even while the status message is shown.
Trilobite can be programmed to clean at a particular time on every day of the week.
To use this function, you must first activate and program Trilobite’s day and time func- tions.You can then set which day or days you want Trilobite to clean on. After programming, it is a simple matter to activate or deactivate the setting.
NOTE:Trilobite can only start programmed cleaning if it is placed in the charging station.
Set clock
1. | Start Trilobite. |
2. | Press until “Select start time” is displayed. |
3.Press .
4.“Set time” is displayed.
5.Press ![]() .
.
6.“Set day” is displayed. Press ![]() until the desired day is displayed.
until the desired day is displayed.
7.Press ![]() .
.
8.“Set clock” is displayed.
9. Press until the desired hour is displayed.
10.Press .
11.Press ![]() until the desired
until the desired
12.Press ![]() .
.
13.Press ![]() until the desired minute is displayed.
until the desired minute is displayed.
14.Press ![]() . The day and time are now displayed.
. The day and time are now displayed.
12 English