2.Slide the Extruded Hanging Bracket (D) through the rail located below the slide channel until it meets with the top of the Bolt (B) and slightly secure the
3.Mark the installation location to drill your hole. Insert the proper screw and secure the bolts to the bracket.
Top hole for ceiling installation
Back hole for wall installation
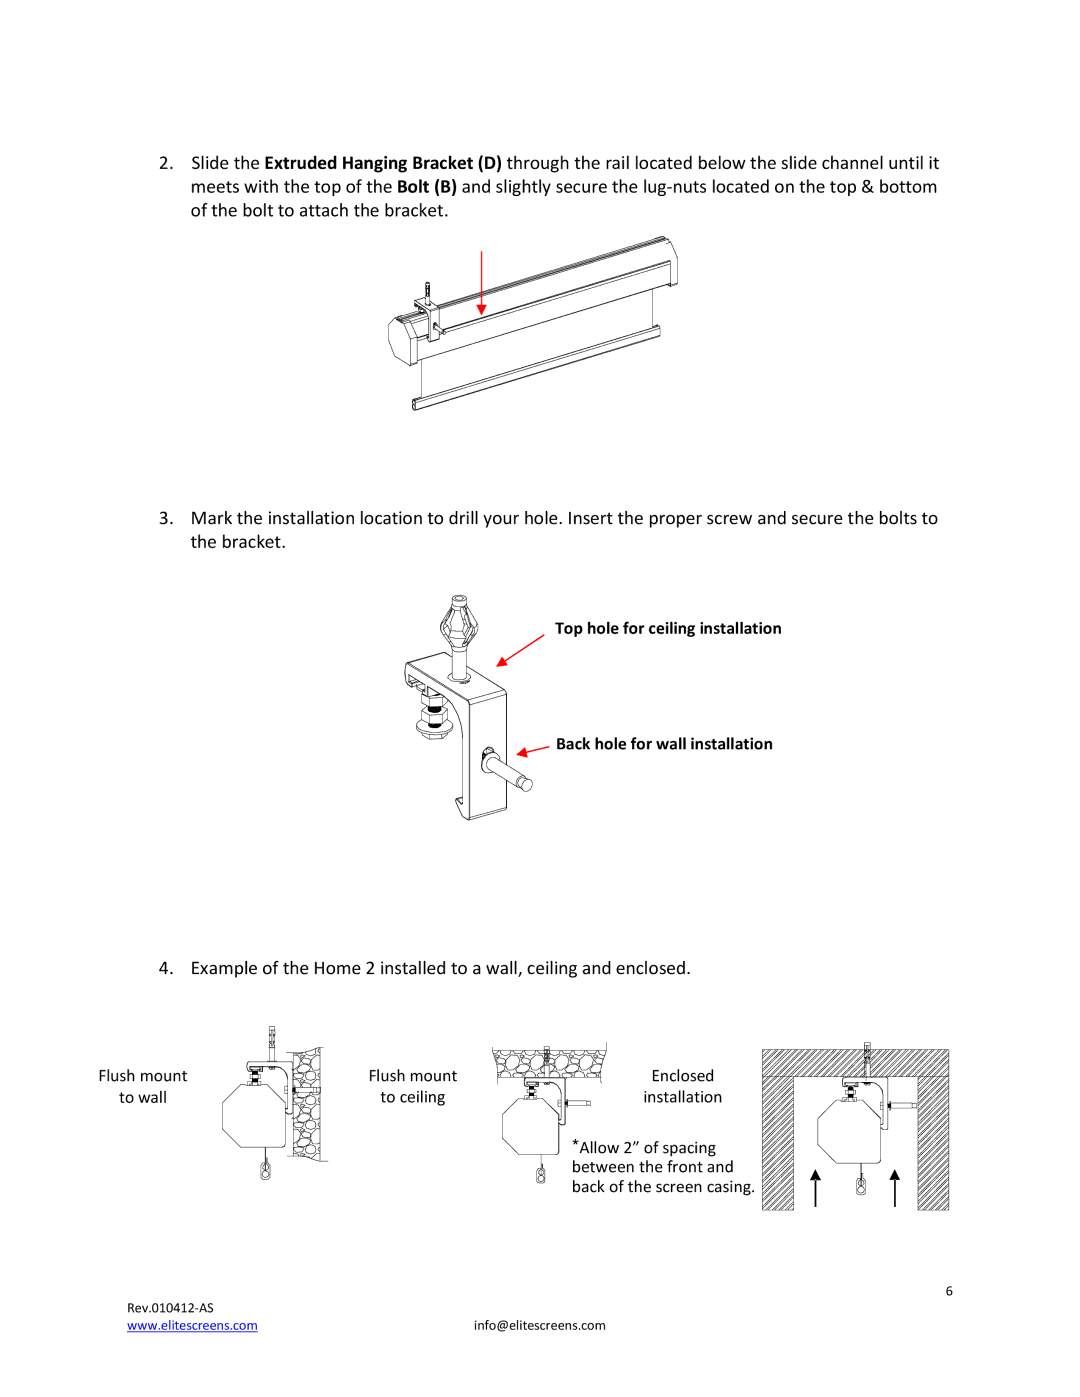
4. Example of the Home 2 installed to a wall, ceiling and enclosed.
Flush mount
to wall
Flush mount
to ceiling
Enclosed |
installation |
*Allow 2” of spacing |
between the front and |
back of the screen casing. |
6
| |
www.elitescreens.com | info@elitescreens.com |