BP7280, Olympia, KF100 7/31/06 10:57 AM Page 5

2. Slide the four switch levers on the code switch to your choice of ON (up) or down positions. Use a ball-point pen or small screwdriver and slide the levers firmly up or down.

3. In the receiver (Figure 1), slide the four switch levers to the same positions as set in the transmitter. Make sure the levers on both switches are in the same positions, otherwise the fan will not operate.

4. Position the battery in the transmitter battery compartment and replace the battery cover.

CEILING FAN

PROCEDURES

Electrical Requirements

Your new ceiling fan will require a ground- ed electrical supply line of 120 volts AC, 60 Hz, 15 amp circuit.

The outlet box must be securely anchored and capable of withstanding a load of at least 50 pounds.

!WARNING

To reduce the risk of fire, electric shock, or personal injury, mount fan to outlet box marked “Acceptable for Fan Support”, and use screws sup- plied with outlet box. Most outlet boxes commonly used for support of light fixtures are not acceptable for fan support and may need to be replaced. Consult a qualified electri- cian if in doubt.

!WARNING

To avoid possible fire or shock, fol- low all wiring instructions carefully.

Any electrical work not described in these instructions should be done or approved by a licensed electrician.

If your fan is to replace an existing ceiling light fixture, turn electricity off at the main fuse box at this time and remove the exist- ing light fixture.

!WARNING

Turning off wall switch is not suffi- cient. To avoid possible electrical shock, be sure electricity is turned off at the main fuse box before wiring. All wiring must be in accordance with National and Local codes and the ceil- ing fan must be properly grounded as a precaution against possible electri- cal shock.

How to Assemble Your Ceiling Fan

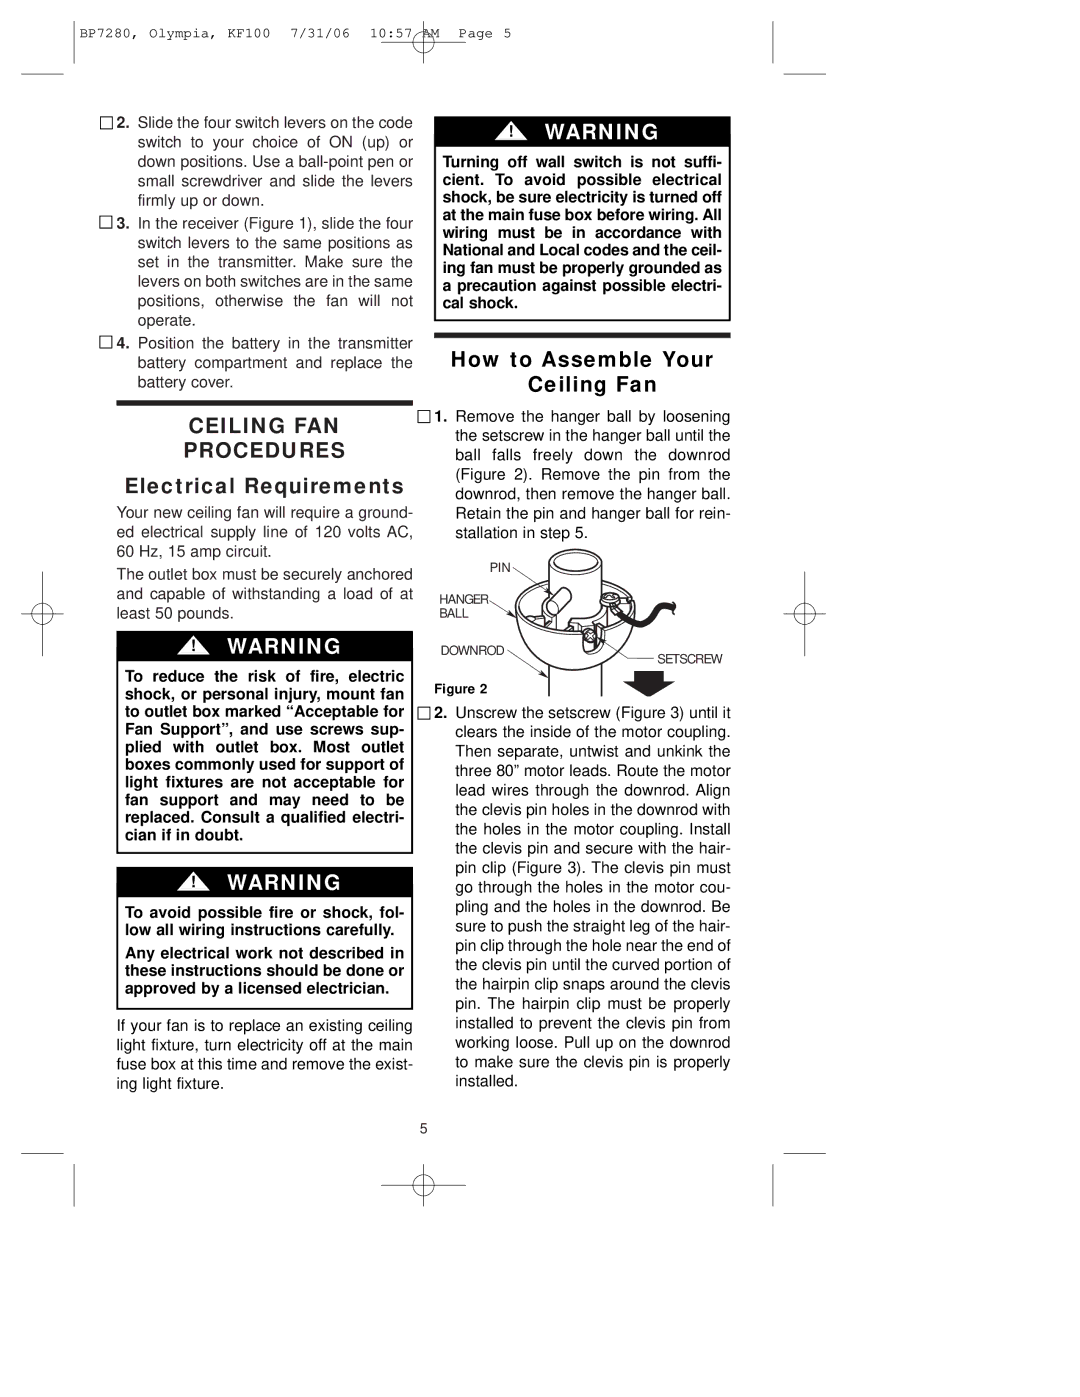
1. Remove the hanger ball by loosening the setscrew in the hanger ball until the ball falls freely down the downrod (Figure 2). Remove the pin from the downrod, then remove the hanger ball. Retain the pin and hanger ball for rein- stallation in step 5.

PIN


HANGER


BALL


DOWNROD

SETSCREW


Figure 2

2. Unscrew the setscrew (Figure 3) until it clears the inside of the motor coupling. Then separate, untwist and unkink the three 80” motor leads. Route the motor lead wires through the downrod. Align the clevis pin holes in the downrod with the holes in the motor coupling. Install the clevis pin and secure with the hair- pin clip (Figure 3). The clevis pin must go through the holes in the motor cou- pling and the holes in the downrod. Be sure to push the straight leg of the hair- pin clip through the hole near the end of the clevis pin until the curved portion of the hairpin clip snaps around the clevis pin. The hairpin clip must be properly installed to prevent the clevis pin from working loose. Pull up on the downrod to make sure the clevis pin is properly installed.

5

Page 5
Image 5
Emerson KF100DBK01, KF100AP01, KF100OZ01 owner manual Electrical Requirements, How to Assemble Your Ceiling Fan

KF100DBK01, KF100OZ01, KF100AP01 specifications

The Emerson KF100OZ01, KF100DBK01, and KF100AP01 are advanced kitchen appliances designed to enhance the culinary experience for home cooks and professional chefs alike. Each model showcases unique features, cutting-edge technologies, and user-friendly characteristics that set them apart in the market.

The KF100OZ01 is known for its sleek design and versatile functionality. It boasts an intelligent cooking system that adjusts cooking times and temperatures based on the type of food being prepared. This model features a touch-sensitive control panel that allows users to select various cooking modes, including sauté, bake, steam, and slow cook. Its stainless steel construction not only offers durability but also adds a modern aesthetic to any kitchen. Additionally, the KF100OZ01 comes equipped with a high-efficiency heating element, ensuring consistent and rapid heat distribution for perfectly cooked meals every time.

On the other hand, the KF100DBK01 is a high-capacity model designed for those who love to entertain. With a larger cooking space, it can accommodate multiple dishes simultaneously, making it perfect for family gatherings or dinner parties. This model features a programmable timer and auto shut-off function, promoting safety and convenience during meal preparation. The KF100DBK01 is also designed with an easy-to-clean non-stick coating, reducing the hassle of post-cooking cleanup. The addition of a built-in sous-vide function reflects Emerson's commitment to versatility and innovation, allowing users to achieve restaurant-quality dishes at home.

Lastly, the KF100AP01 is the ultimate multifunctional appliance that combines several cooking methods in one compact unit. It offers features such as air frying, roasting, broiling, and dehydrating, catering to diverse cooking preferences. The KF100AP01 incorporates a digital LCD display, providing users with real-time cooking information and easy navigation through its various functions. This model also emphasizes energy efficiency, utilizing advanced insulation technology to minimize heat loss and reduce energy consumption. The inclusion of a safety lock mechanism ensures that the appliance is secure during operation, adding an essential layer of protection.

Together, the Emerson KF100OZ01, KF100DBK01, and KF100AP01 models represent the pinnacle of culinary technology, blending functionality with modern design. Each appliance is tailored to meet the needs of a wide range of users, from busy families to passionate cooks, ensuring that meal preparation is both efficient and enjoyable. With their innovative features and robust construction, these appliances are set to become indispensable tools in any kitchen.