PROGRAMMING

Set Current Time and Day

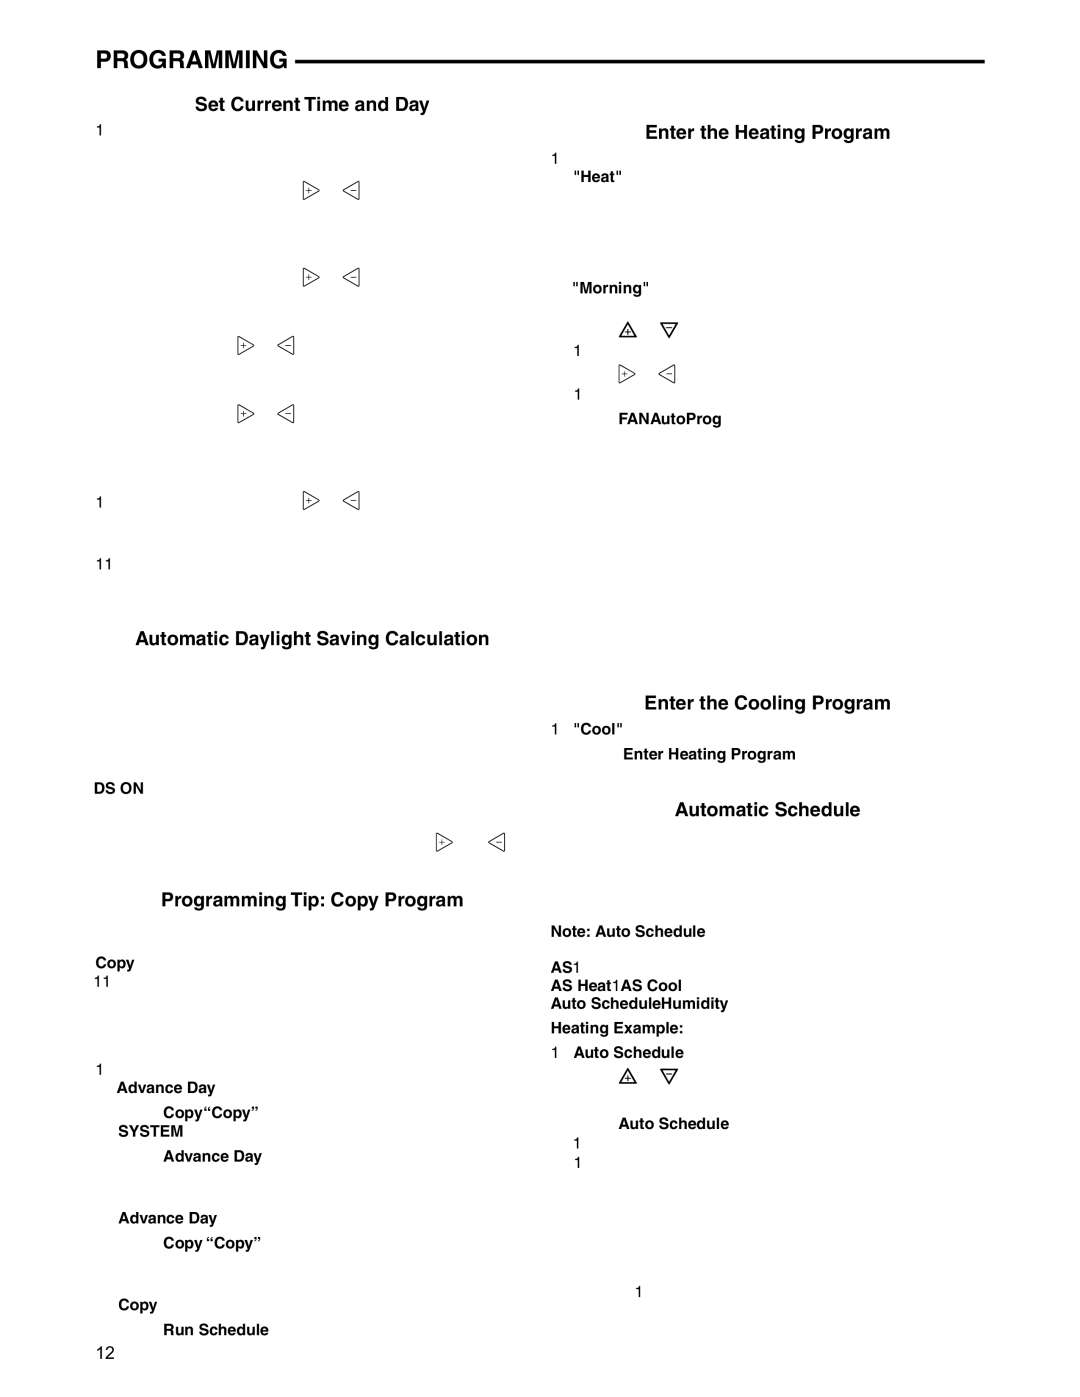
1.Press Menu key to enter installer menu. Then press Set Time once to indicate hour & AM or PM designation in clock display.

2. Press and hold either the or touch key until you reach the correct hour and AM or PM designation.

3.Press Set Time again to display minutes only in clock display.

4. Press and hold either the

or


touch keys until you


reach the correct minutes.


5. Press Set Time once again to display year.

6. Press either the

or


touch key until you reach the


correct year.


7. Press Set Time once again to display month.

8. Press either the

or


touch key until you reach the


correct month.


9.Press Set Time once again to display date of the month along with day of the week at top row (which is automatic).

10. Press and hold either the or touch key until you reach the correct day of the month and day of the week displayed at the top row.

11.Press Run Schedule once or twice to remove the key. Now the display will show the correct time and room tem- perature.

Automatic Daylight Saving Calculation

The Real Time Clock will adjust automatically for daylight sav- ings time, in the following manner:

Increment one hour at 2 AM on the second Sunday of March and decrement one hour at 2 AM on the first Sunday of November.

The daylight saving feature can be enabled or disabled in installer configuration menu. Default is DS ON (enabled). After entering installer configuration mode, momentarily press touch key until the display indicates dS (in actual tem- perature digits) and on (default – in clock digits). and keys will toggle display and operation from on to OFF.

Programming Tip: Copy Program

When programming your thermostat, you may copy the pro- gram from one day to another day or group of days using the Copy key. In 7 day programming mode, a day can be copied to another day or all six other days. In 5+1+1 day program- ming mode the weekday (Mon – Fri) program can be copied into Sat and Sun or either Sat or Sun.

To copy a program from one day to another:

1.In Set Schedule mode, enter the program for the day or select the day you wish to copy by pressing Advance Day.

2.Press Copy. The display will show “Copy” next to the SYSTEM key and the day of the week that will be copied.

3.Press Advance Day. The day being copied will be indi- cated and the other days will be flashing.

4.If you wish to copy to all days skip to next step or press Advance Day until the day you wish to copy to is flashing.

5.Press Copy. “Copy” will disappear, the day you copied from will disappear and the day(s) you copied to will be on.

6.If you wish to copy this same program into other days, press Copy and repeat steps 3, 4 and 5.

7.Press Run Schedule to return to normal operation.

Fill in the blank schedule on the next page then:

Enter the Heating Program

1.Press the Menu key and then press Set Schedule. Press SYSTEM key to select "Heat" in the system switch area indicating the active mode being programmed. You can switch to the other mode by pressing the system switch at any time.

2.The top of the display will show the day(s) being pro- grammed. The time and set at temperature are also displayed. "Morning" will also be displayed to indicate the period.

3.Pressorkey to change the temperature to your selected temperature for the 1st heating period (Morning).

4. Press or key to adjust the start time for period. The time will change in 15 minute increments.

5.Press FAN to select Auto or Prog.

6.After you have set the time and the temperature for the period to begin, press Set Schedule to advance to the next program period.

7.Repeat steps 2 through 6 until all of the program times and temperatures are set for all program periods on that day.

8.Press "Advance Day" to change to the next day and repeat steps 2 through 8.

9.When programming is complete and all of the times and temperatures match your desired heating schedule, press Run Schedule. The thermostat will now run your program.

Enter the Cooling Program

1.Press the SYSTEM key until the "Cool" icon appears.

2.Follow Enter Heating Program instructions for entering cooling times and temperatures.

Automatic Schedule

Auto Schedule Heat is a fast way to program all the heating temperatures during the day to a comfortable temperature and then lower the temperature 6° at night. Auto Schedule Cool will program all of the cooling time periods to the same temperature.

Note: Auto Schedule is available only when the thermostat is first powered on, after the thermostat has been reset, or anytime you turn AS on in the Configuration Menu (item 17 AS Heat or 18 AS Cool). After use in heating and cooling, Auto Schedule on the display will change to Humidity.

Heating Example:

1.In Heat mode, press Auto Schedule once.

2.Pressorto select a comfortable day time tempera- ture (example 72°).

3.Press Auto Schedule again. Your thermostat is now pro- grammed for 72° from 6:30 AM until 10:30 PM at 72°. At 10:30 PM, your thermostat will set back 6° to 66°.

Your heating program for each day of the week will look like this:

6:30 72°

8:00 72°

5:00 72°

10:30 66°

12

Page 12
Image 12
Emerson Process Management 1F95-1291 specifications Programming

1F95-1291 specifications

Emerson Process Management has established itself as a leader in providing innovative automation solutions to various industries. One of its notable offerings is the 1F95-1291, a highly advanced and reliable component specially designed for process control systems. This device is essential for optimizing operational efficiency and enhancing the performance of various industrial applications.

One of the main features of the 1F95-1291 is its robust design, which ensures reliability even in harsh industrial environments. The device is carefully constructed to withstand high levels of vibration, temperature fluctuations, and other challenging conditions. This durability reduces downtime and maintenance costs, allowing operators to focus on productivity.

Technologically, the 1F95-1291 integrates seamlessly with Emerson's extensive suite of control systems, providing compatibility and ease of integration. Its advanced communication capabilities allow it to interface with various field devices, enhancing the overall functionality of the automation system. The device supports various industrial communication protocols, ensuring versatile connectivity options that meet the diverse needs of modern industries.

The 1F95-1291 also features sophisticated algorithms that enable real-time data processing and analysis. This capability empowers operators to make informed decisions based on accurate and timely information. The built-in diagnostics function continuously monitors the system's health, providing alerts and insights that help in preemptive maintenance planning.

A standout characteristic of the 1F95-1291 is its user-friendly interface, designed to simplify operation and reduce training time. The intuitive display allows users to access critical information quickly, facilitating efficient management of operations. Additionally, firmware updates are easily manageable, ensuring that users can take advantage of the latest advancements without significant downtime.

In summary, Emerson Process Management's 1F95-1291 is a cutting-edge solution that exemplifies the company's commitment to innovation, reliability, and user-centric design. With its robust construction, advanced technologies, and user-friendly features, the 1F95-1291 is an essential asset for any organization seeking to enhance its process control capabilities and drive operational excellence. The device's adaptability to various industrial environments further underscores its value, making it a preferred choice among professionals in the field.