bonnet in place on the multiport body with the seal injection fitting over the group outlet. The bonnet stud holes must be aligned with the body’s tapped stud holes.
NOTE:Ensure the bonnet is flat and lowered slowly onto the top of the multiport body in order to prevent damaging the body
8.Install the bonnet studs (180). Use
9.For NPS 4" ANSI 600/900 and NPS 3" ANSI 900/1500 Multiports, install the two lifting lugs (179) 90° from the group outlet.
NOTE:The actual lifting lug position is 90° from the position shown in the typical assembly drawing on page 8.
10.Tighten two of the bonnet nuts (182) at 180° interval. Then ensure that the plug (130) rotates freely through one revolution.
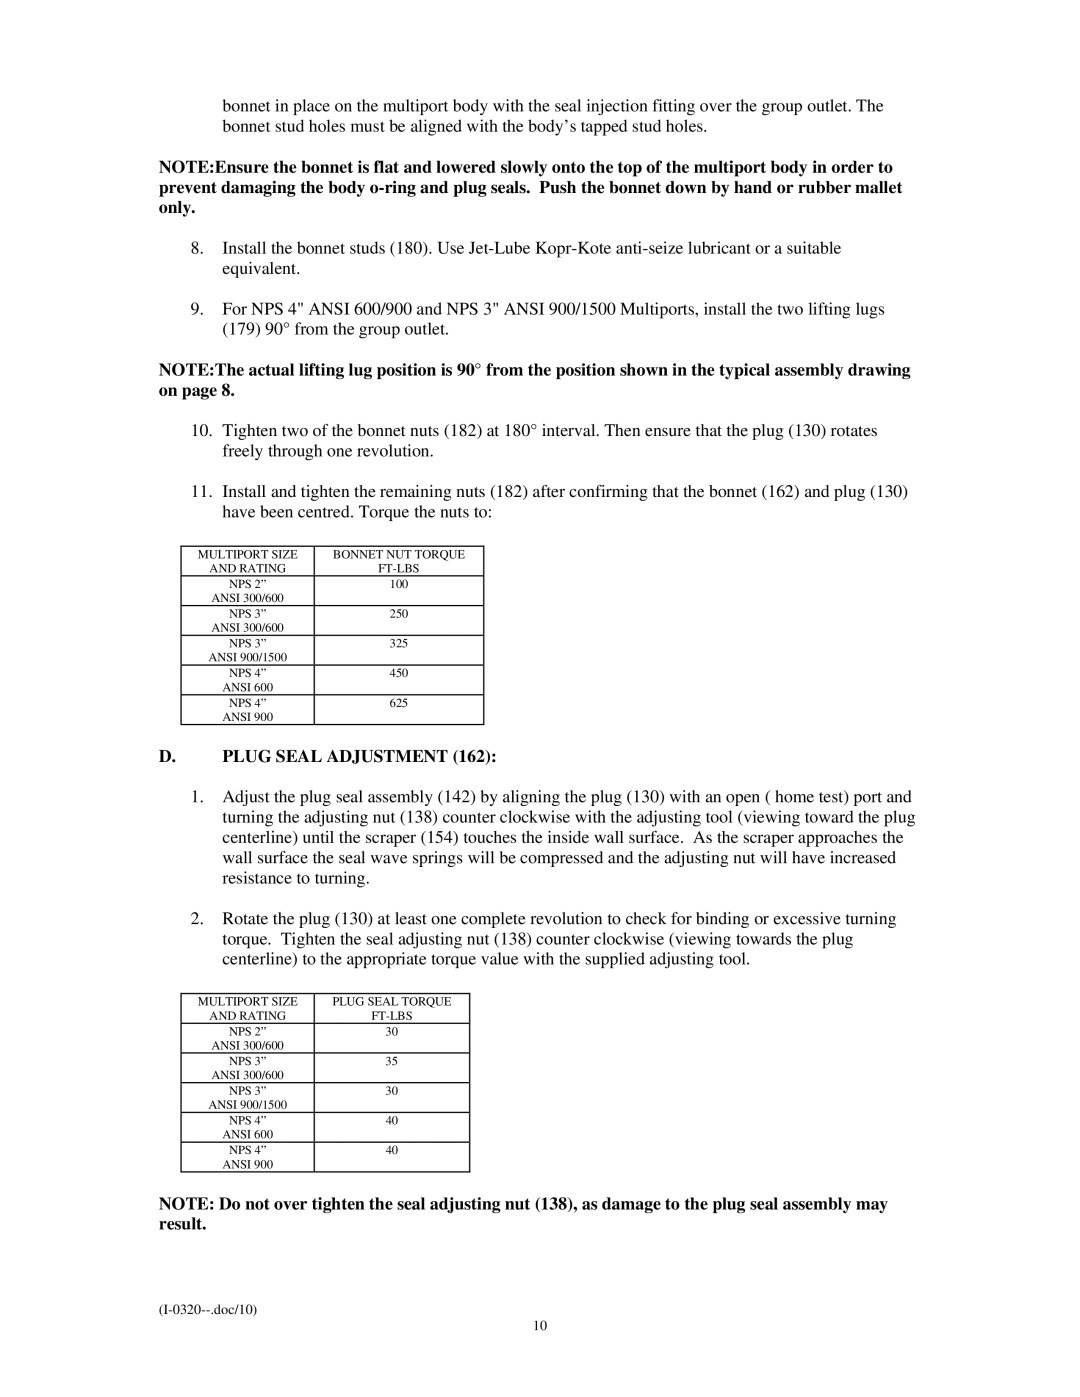
11.Install and tighten the remaining nuts (182) after confirming that the bonnet (162) and plug (130) have been centred. Torque the nuts to:
MULTIPORT SIZE | BONNET NUT TORQUE |
AND RATING | |
NPS 2” | 100 |
ANSI 300/600 |
|
NPS 3” | 250 |
ANSI 300/600 |
|
NPS 3” | 325 |
ANSI 900/1500 |
|
NPS 4” | 450 |
ANSI 600 |
|
NPS 4” | 625 |
ANSI 900 |
|
D.PLUG SEAL ADJUSTMENT (162):
1.Adjust the plug seal assembly (142) by aligning the plug (130) with an open ( home test) port and turning the adjusting nut (138) counter clockwise with the adjusting tool (viewing toward the plug centerline) until the scraper (154) touches the inside wall surface. As the scraper approaches the wall surface the seal wave springs will be compressed and the adjusting nut will have increased resistance to turning.
2.Rotate the plug (130) at least one complete revolution to check for binding or excessive turning torque. Tighten the seal adjusting nut (138) counter clockwise (viewing towards the plug centerline) to the appropriate torque value with the supplied adjusting tool.
MULTIPORT SIZE | PLUG SEAL TORQUE |
AND RATING | |
NPS 2” | 30 |
ANSI 300/600 |
|
NPS 3” | 35 |
ANSI 300/600 |
|
NPS 3” | 30 |
ANSI 900/1500 |
|
NPS 4” | 40 |
ANSI 600 |
|
NPS 4” | 40 |
ANSI 900 |
|
NOTE: Do not over tighten the seal adjusting nut (138), as damage to the plug seal assembly may result.
10