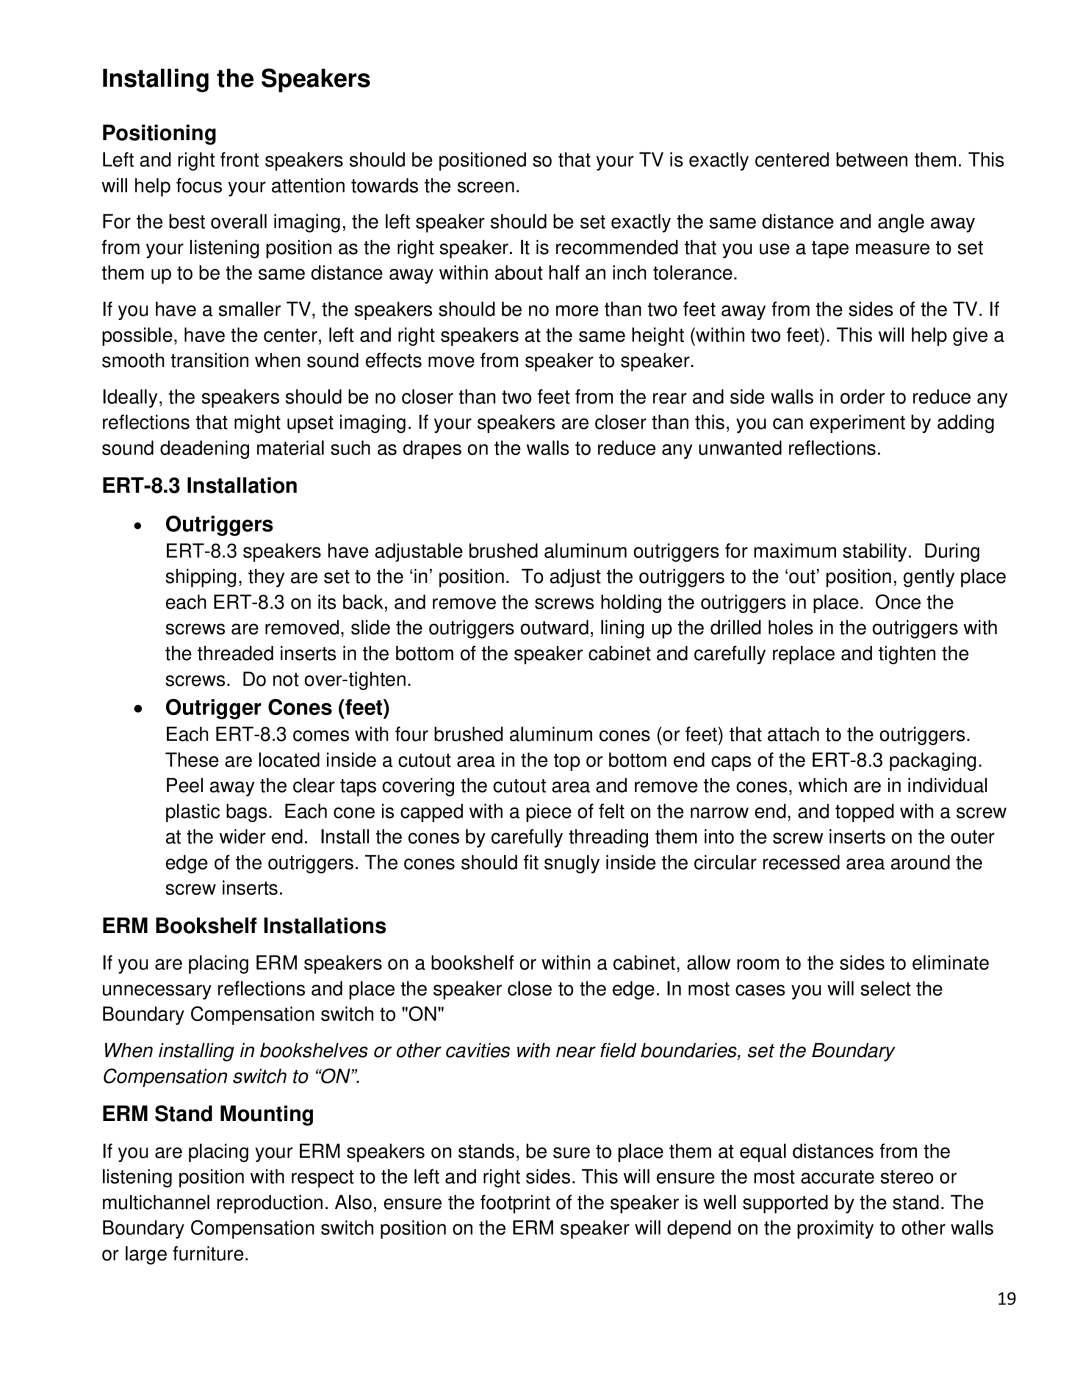
ERT-8.3, ERM-6.2, ERM-1, ERM-6.3 specifications
Emotiva, a prominent name in the audio equipment industry, has garnered attention with its ERM and ERT loudspeakers, providing high-quality sound reproduction for home theater and musical enthusiasts. Among their impressive lineup are the ERM-6.2, ERM-1, ERM-6.3, and ERT-8.3 models, each designed with distinct features and technologies that cater to different acoustic needs and preferences.The ERM-6.2 is a versatile bookshelf speaker that excels in both compactness and performance. It incorporates a 6.5-inch woven fiber woofer that delivers deep bass while maintaining clarity in mids and highs. The 1-inch aluminum dome tweeter ensures a crisp and detailed upper range, making it suitable for both movie soundtracks and music. Notably, the ERM-6.2 employs advanced crossover technology, ensuring a seamless transition between drivers for a coherent listening experience.
Next in line is the ERM-1, a smaller bookshelf speaker that doesn’t compromise on sonic quality. It features a 5.25-inch polypropylene woofer designed to handle lower frequencies efficiently while providing a well-rounded sound signature. The 1-inch silk dome tweeter supports an airy and finely detailed treble response, making it an excellent choice for smaller rooms or as part of a surround sound setup.
The ERM-6.3 is a floor-standing speaker that boasts a larger footprint and enhanced audio capability. It integrates dual 6.5-inch woofers for substantial bass response while a 1-inch aluminum dome tweeter guarantees a wide soundstage. The design and engineering allow for a greater power handling capacity, ensuring that it can fill larger spaces with rich, immersive audio.
On the home theater front, the ERT-8.3 represents Emotiva's commitment to delivering exceptional surround sound experiences. This speaker system features an 8-inch woofers and dual 1-inch tweeters, producing robust bass and crystal-clear highs. Its unique design allows for flexible placement options, whether mounted on walls or used in conjunction with standard speakers.
Each model embodies Emotiva's dedication to quality craftsmanship and acoustic precision. Key technologies such as high-performance drivers, sophisticated crossover networks, and durable cabinet construction enhance overall performance. Collectively, the ERM-6.2, ERM-1, ERM-6.3, and ERT-8.3 appeal to audiophiles seeking refinement in sound reproduction, making them noteworthy options for both casual listeners and serious audio enthusiasts. With their diverse range of features and technologies, these Emotiva speakers offer something for everyone, reshaping how sound is experienced in any listening environment.
