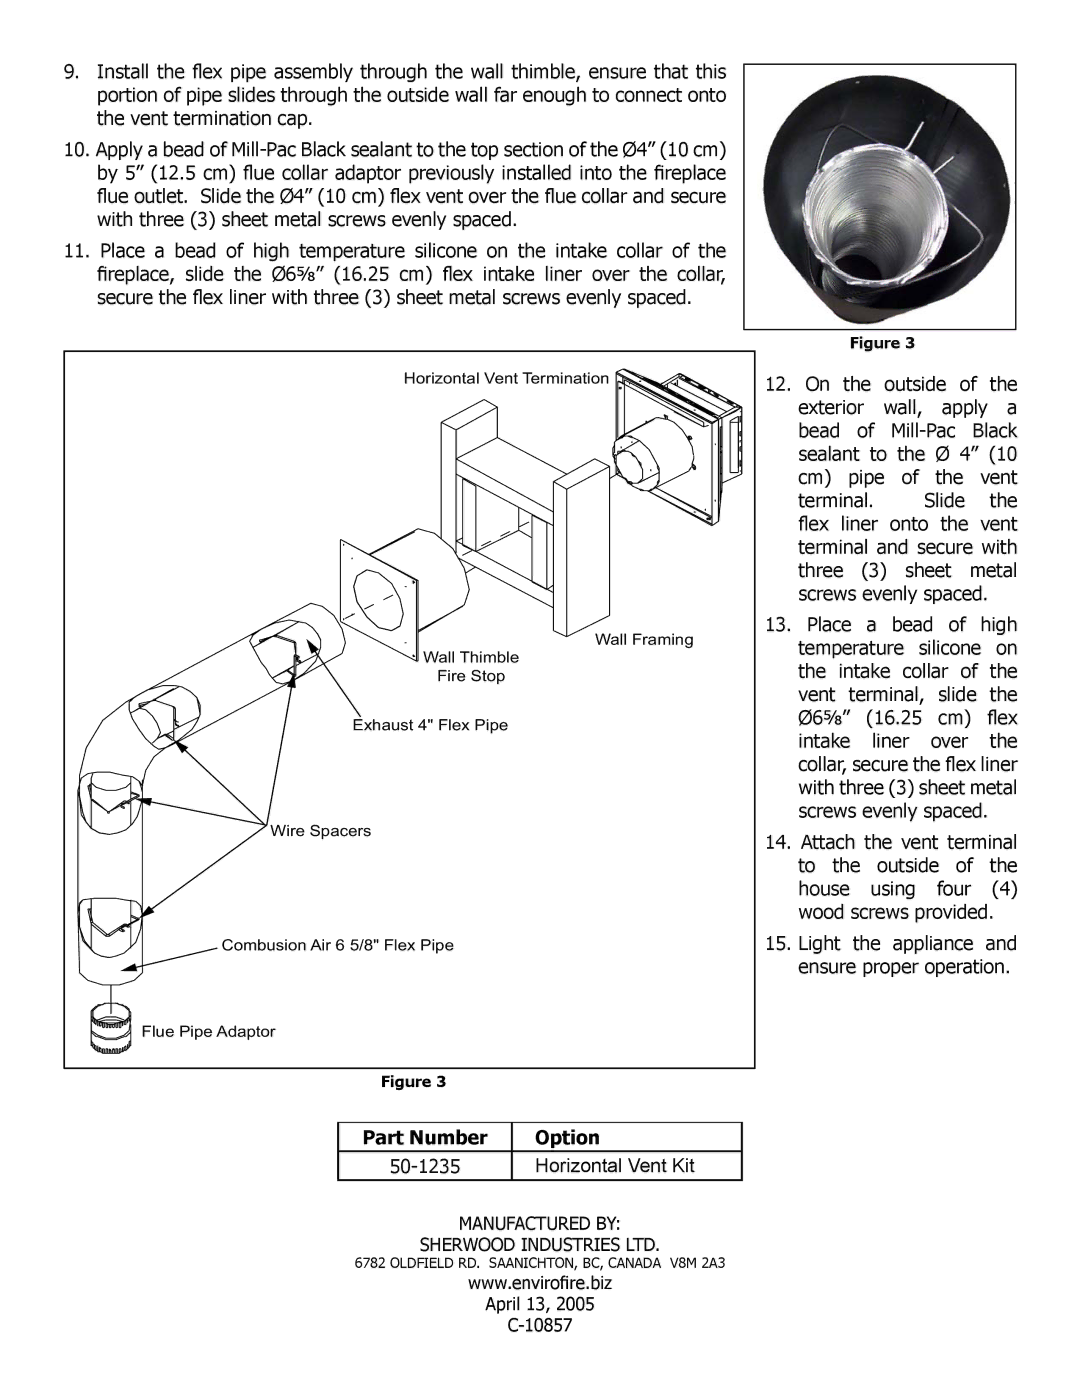
9.Install the flex pipe assembly through the wall thimble, ensure that this portion of pipe slides through the outside wall far enough to connect onto the vent termination cap.
10.Apply a bead of
11.Place a bead of high temperature silicone on the intake collar of the fireplace, slide the Ø6⅝” (16.25 cm) flex intake liner over the collar, secure the flex liner with three (3) sheet metal screws evenly spaced.
Horizontal Vent Termination |
Wall Framing |
Wall Thimble |
Fire Stop |
Exhaust 4" Flex Pipe |
Wire Spacers |
Combusion Air 6 5/8" Flex Pipe |
Flue Pipe Adaptor |
Figure 3
Figure 3
12.On the outside of the exterior wall, apply a bead of
terminal. Slide the flex liner onto the vent terminal and secure with three (3) sheet metal screws evenly spaced.
13.Place a bead of high temperature silicone on the intake collar of the vent terminal, slide the Ø6⅝” (16.25 cm) flex intake liner over the collar, secure the flex liner with three (3) sheet metal screws evenly spaced.
14.Attach the vent terminal to the outside of the house using four (4) wood screws provided.
15.Light the appliance and ensure proper operation.
Part Number | Option |
|
|
| Horizontal Vent Kit |
MANUFACTURED BY:
SHERWOOD INDUSTRIES LTD.
6782 OLDFIELD RD. SAANICHTON, BC, CANADA V8M 2A3
www.envirofire.biz
April 13, 2005