PLUMBING (Water Inlet)
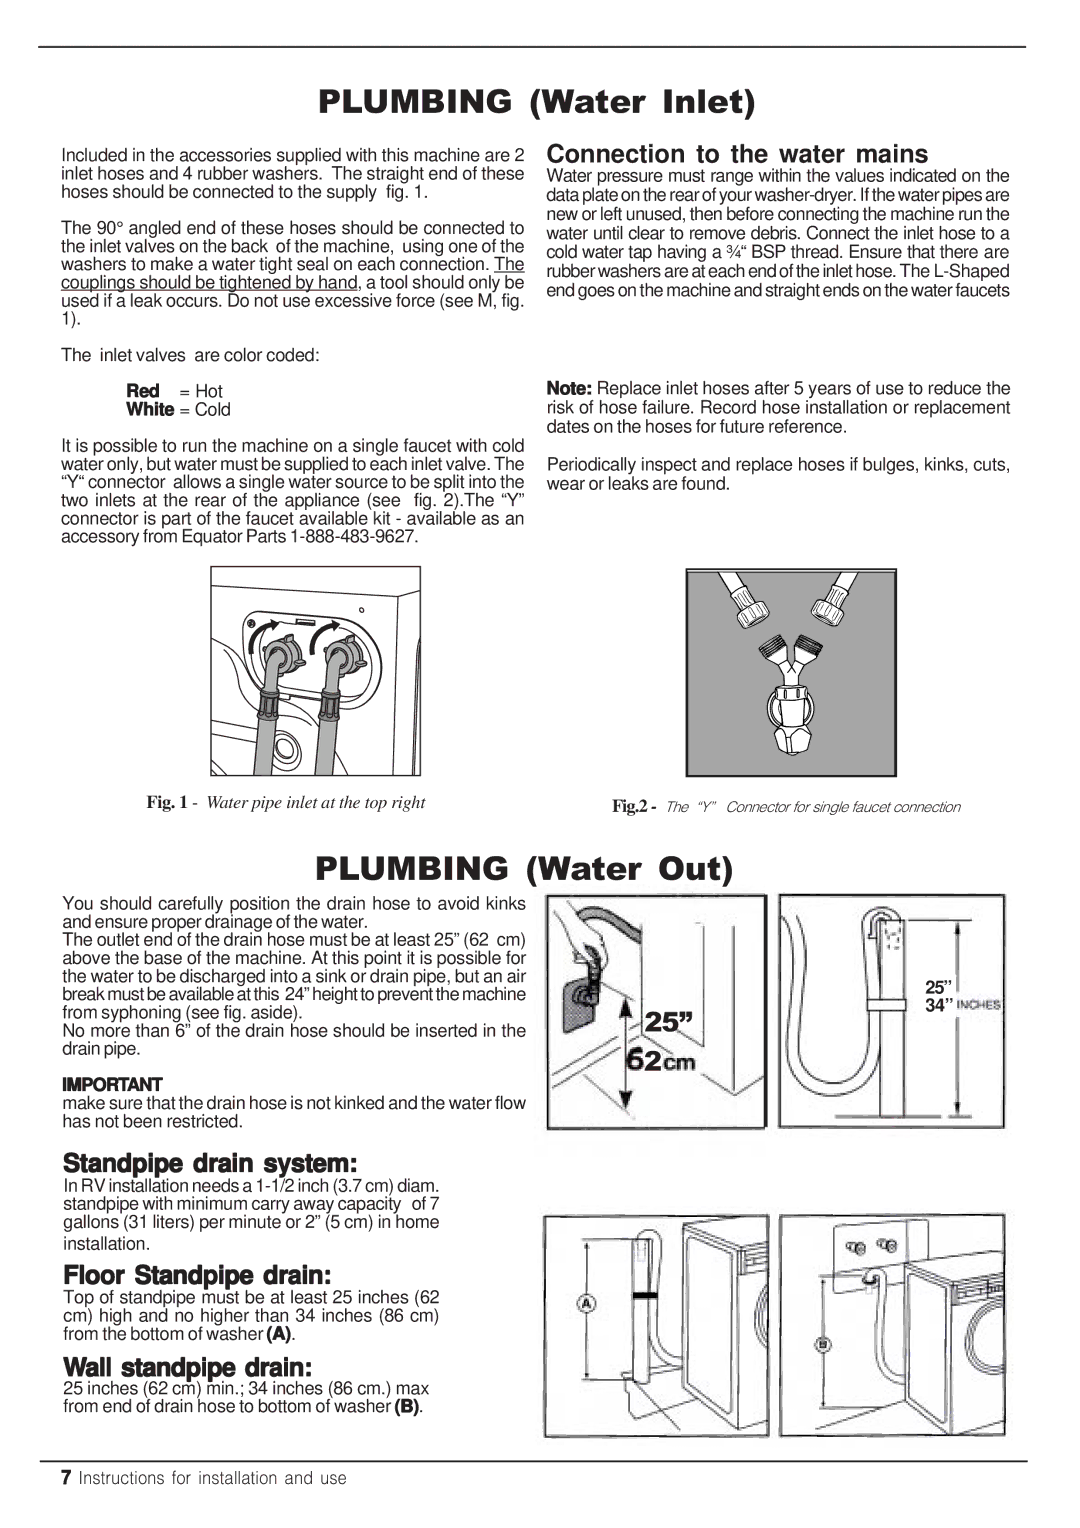
Included in the accessories supplied with this machine are 2 inlet hoses and 4 rubber washers. The straight end of these hoses should be connected to the supply fig. 1.
The 90° angled end of these hoses should be connected to the inlet valves on the back of the machine, using one of the washers to make a water tight seal on each connection. The couplings should be tightened by hand, a tool should only be used if a leak occurs. Do not use excessive force (see M, fig. 1).
The inlet valves are color coded:
Red = Hot
White = Cold
It is possible to run the machine on a single faucet with cold water only, but water must be supplied to each inlet valve. The “Y“ connector allows a single water source to be split into the two inlets at the rear of the appliance (see fig. 2).The “Y” connector is part of the faucet available kit - available as an accessory from Equator Parts
Fig. 1 - Water pipe inlet at the top right
Connection to the water mains
Water pressure must range within the values indicated on the data plate on the rear of your
Note: Replace inlet hoses after 5 years of use to reduce the risk of hose failure. Record hose installation or replacement dates on the hoses for future reference.
Periodically inspect and replace hoses if bulges, kinks, cuts, wear or leaks are found.
Fig.2 - The “Y” Connector for single faucet connection
PLUMBING (Water Out)
You should carefully position the drain hose to avoid kinks |
| |
and ensure proper drainage of the water. |
| |
The outlet end of the drain hose must be at least 25” (62 cm) |
| |
above the base of the machine. At this point it is possible for |
| |
the water to be discharged into a sink or drain pipe, but an air |
| |
break must be available at this 24” height to prevent the machine |
| |
from syphoning (see fig. aside). | 25” | |
No more than 6” of the drain hose should be inserted in the | ||
drain pipe. | 2 | |
IMPORTANT | ||
| ||
make sure that the drain hose is not kinked and the water flow |
| |
has not been restricted. |
| |
| ||
Standpipe drain system: |
| |
In RV installation needs a |
| |
standpipe with minimum carry away capacity of 7 |
| |
gallons (31 liters) per minute or 2” (5 cm) in home |
| |
| ||
installation. |
| |
Floor Standpipe drain: |
| |
Top of standpipe must be at least 25 inches (62 |
| |
cm) high and no higher than 34 inches (86 cm) |
| |
from the bottom of washer (A). |
| |
Wall standpipe drain: |
| |
25 inches (62 cm) min.; 34 inches (86 cm.) max |
| |
from end of drain hose to bottom of washer (B). |
| |
|
|
25” |
34” |
7 Instructions for installation and use