ECR 5200, ECR 3301, ECR 7200, ECR 6600, ECR 4500 specifications
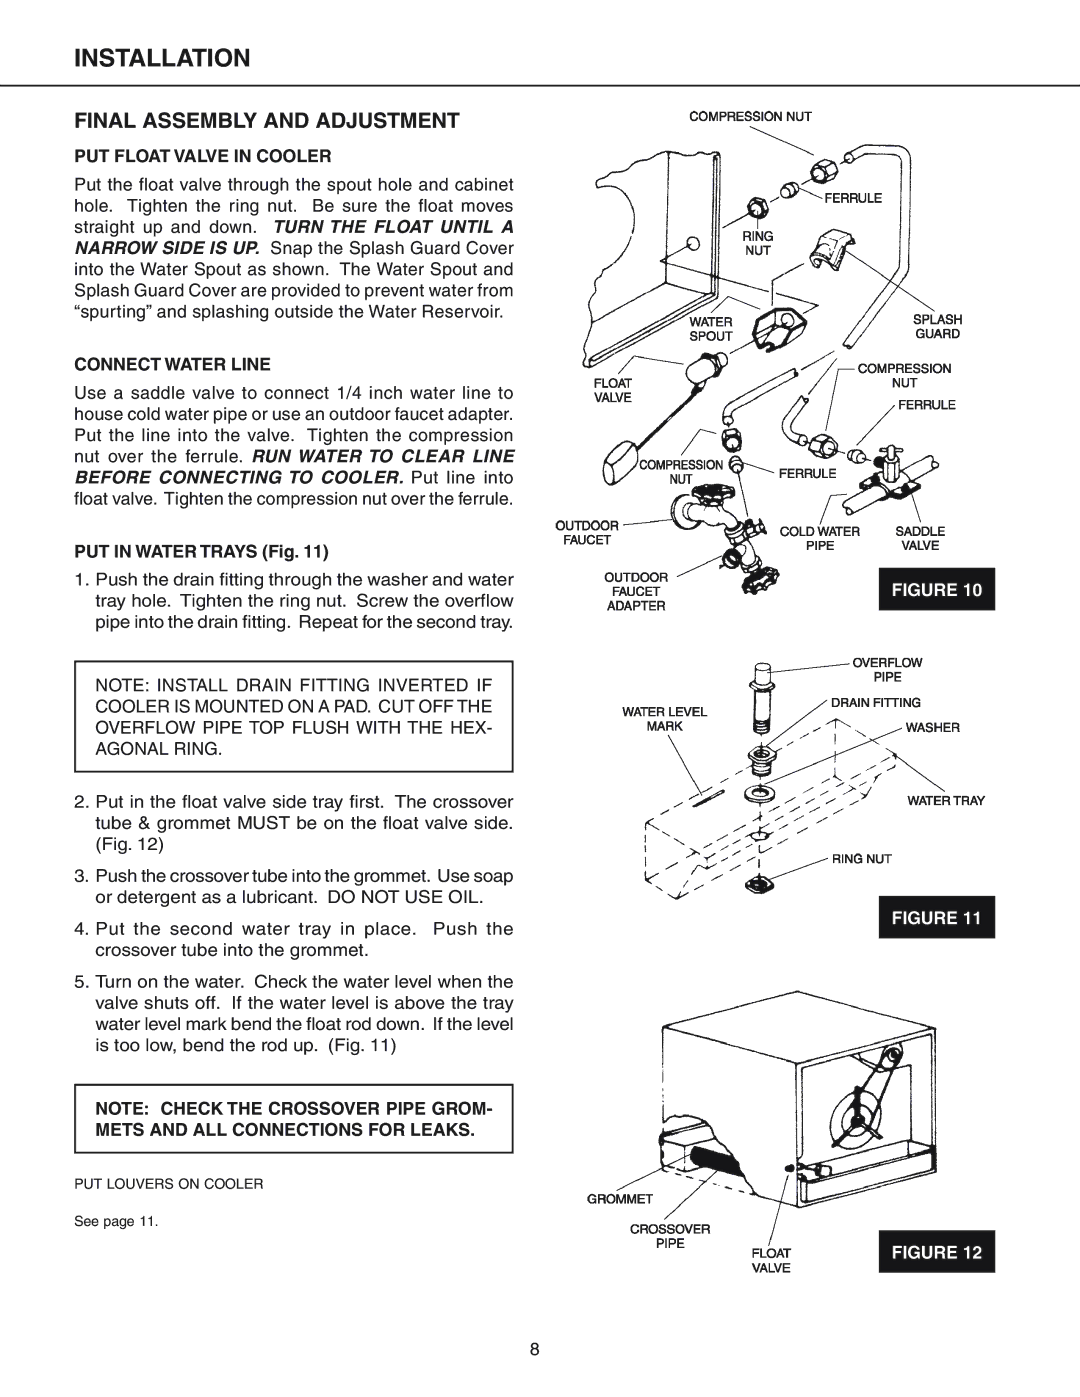
Essick Air is renowned for its high-quality evaporative coolers designed to provide effective and efficient cooling solutions for residential and commercial spaces. Among their popular models are the ECR 4000, ECR 4500, ECR 6600, ECR 7200, and ECR 3301, each featuring distinct technologies and characteristics that enhance indoor comfort.The Essick Air ECR 4000 offers a compact design, making it suitable for smaller spaces. This model boasts a powerful 3-speed motor that allows for adjustable airflow, ensuring that users can tailor the cooling experience to their needs. With its durable housing and eco-friendly materials, the ECR 4000 not only delivers efficient cooling but also promotes sustainability.
Moving up to the ECR 4500, this model incorporates an advanced air filtration system that effectively removes dust and allergens from the air. The ECR 4500 also features a larger water reservoir, which extends cooling performance without the need for frequent refills. Its user-friendly control panel allows for easy operation, ensuring that anyone can enjoy its benefits.
The ECR 6600 combines power and efficiency, featuring a robust airflow system that can cool larger areas. With its innovative, high-efficiency water pads, this cooler maximizes cooling potential while minimizing water consumption. The ECR 6600 also includes an adjustable louver system, allowing users to customize the direction of airflow for optimal comfort.
The ECR 7200 stands out with its superior cooling capacity, designed for larger spaces. It includes a heavy-duty motor and a weather-resistant exterior, ensuring durability both indoors and outdoors. The ECR 7200 is equipped with a digital control system, providing precise temperature settings and timer functions for energy-saving operation.
Finally, the ECR 3301 serves as a versatile option with an aesthetic design suitable for various interior styles. This model incorporates a whisper-quiet fan system, making it ideal for bedrooms and quiet environments. With an easy-to-clean filter and maintenance-friendly design, the ECR 3301 prioritizes convenience alongside effective cooling.
In summary, Essick Air's range of evaporative coolers, including the ECR 4000, ECR 4500, ECR 6600, ECR 7200, and ECR 3301, presents a variety of features tailored to different needs and preferences. With advanced technologies, robust performance, and user-friendly designs, these models provide effective cooling solutions while promoting a comfortable and healthy indoor environment.

