Fig. 2
On/Off
Switch
Fig. 1

OPERATING INSTRUCTIONS

OPERATING INSTRUCTIONS

Assembling Your Vacuum Cleaner

Note: Always remove the power plug from the wall outlet before assembling or removing accessories.

1.Attaching the Flexible Hose to the Vacuum

Connect the flexible hose into the hose inlet. Push in until you hear a “click”, indicating it is in its locked position.

2.Fitting the Extension Tubes to the Flexible Hose

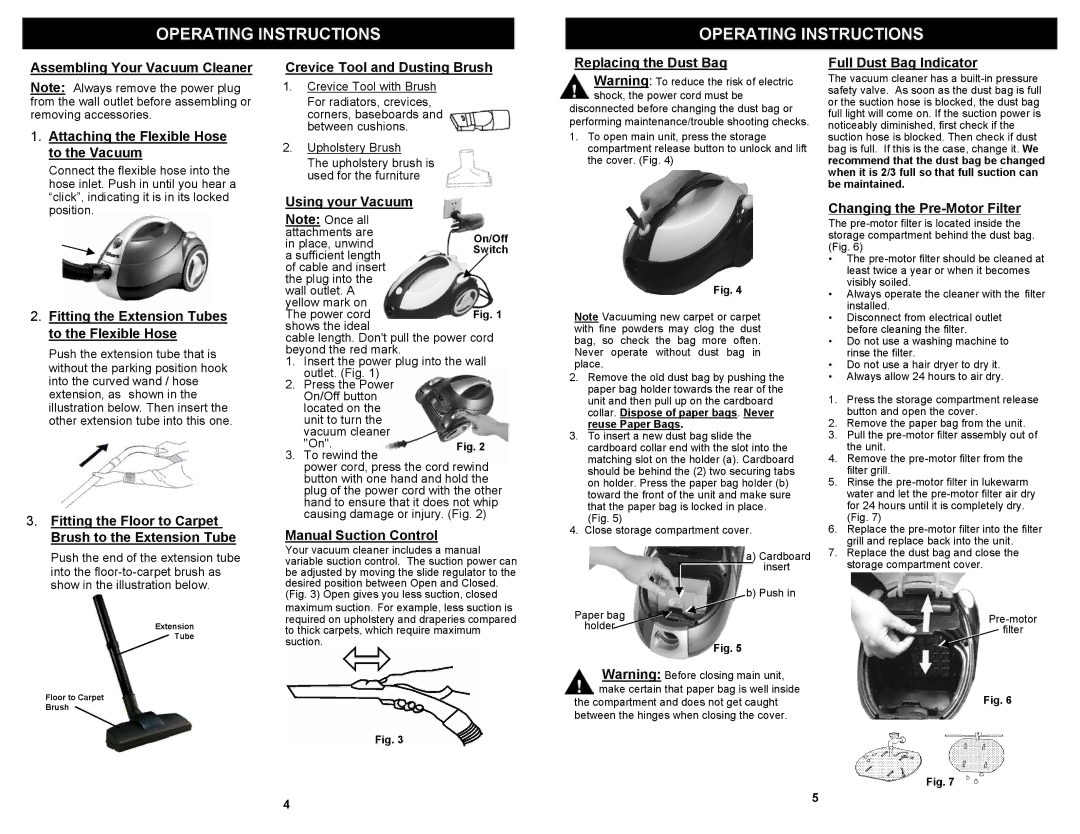
Push the extension tube that is without the parking position hook into the curved wand / hose extension, as shown in the illustration below. Then insert the other extension tube into this one.

3.Fitting the Floor to Carpet Brush to the Extension Tube

Push the end of the extension tube into the floor-to-carpet brush as show in the illustration below.

Extension

Tube

Floor to Carpet

Brush

Crevice Tool and Dusting Brush

1.Crevice Tool with Brush

For radiators, crevices, corners, baseboards and between cushions.

2.Upholstery Brush

The upholstery brush is used for the furniture

Using your Vacuum

Note: Once all

attachments are in place, unwind a sufficient length of cable and insert the plug into the wall outlet. A yellow mark on The power cord shows the ideal

cable length. Don't pull the power cord beyond the red mark.

1.Insert the power plug into the wall outlet. (Fig. 1)

2.Press the Power On/Off button located on the unit to turn the vacuum cleaner

"On".

3. To rewind the

power cord, press the cord rewind button with one hand and hold the plug of the power cord with the other hand to ensure that it does not whip causing damage or injury. (Fig. 2)

Manual Suction Control

Your vacuum cleaner includes a manual variable suction control. The suction power can be adjusted by moving the slide regulator to the desired position between Open and Closed. (Fig. 3) Open gives you less suction, closed maximum suction. For example, less suction is required on upholstery and draperies compared to thick carpets, which require maximum suction.

Fig. 3

Replacing the Dust Bag

Warning: To reduce the risk of electric shock, the power cord must be

disconnected before changing the dust bag or performing maintenance/trouble shooting checks.

1.To open main unit, press the storage compartment release button to unlock and lift the cover. (Fig. 4)

Fig. 4

Note Vacuuming new carpet or carpet with fine powders may clog the dust bag, so check the bag more often. Never operate without dust bag in place.

2.Remove the old dust bag by pushing the paper bag holder towards the rear of the unit and then pull up on the cardboard collar. Dispose of paper bags. Never reuse Paper Bags.

3.To insert a new dust bag slide the cardboard collar end with the slot into the matching slot on the holder (a). Cardboard should be behind the (2) two securing tabs on holder. Press the paper bag holder (b) toward the front of the unit and make sure that the paper bag is locked in place.

(Fig. 5)

4.Close storage compartment cover.

a)Cardboard insert

b)Push in

Paper bag

holder

Fig. 5

Warning: Before closing main unit, make certain that paper bag is well inside

the compartment and does not get caught between the hinges when closing the cover.

Full Dust Bag Indicator

The vacuum cleaner has a built-in pressure safety valve. As soon as the dust bag is full or the suction hose is blocked, the dust bag full light will come on. If the suction power is noticeably diminished, first check if the suction hose is blocked. Then check if dust bag is full. If this is the case, change it. We recommend that the dust bag be changed when it is 2/3 full so that full suction can be maintained.

Changing the Pre-Motor Filter

The pre-motor filter is located inside the storage compartment behind the dust bag. (Fig. 6)

The pre-motor filter should be cleaned at least twice a year or when it becomes visibly soiled.

Always operate the cleaner with the filter installed.

Disconnect from electrical outlet before cleaning the filter.

Do not use a washing machine to rinse the filter.

Do not use a hair dryer to dry it.

Always allow 24 hours to air dry.

1.Press the storage compartment release button and open the cover.

2.Remove the paper bag from the unit.

3.Pull the pre-motor filter assembly out of the unit.

4.Remove the pre-motor filter from the filter grill.

5.Rinse the pre-motor filter in lukewarm water and let the pre-motor filter air dry for 24 hours until it is completely dry. (Fig. 7)

6.Replace the pre-motor filter into the filter grill and replace back into the unit.

7.Replace the dust bag and close the storage compartment cover.

Pre-motor

filter

Fig. 6

Fig. 7

4

5

Page 6
Image 6
Euro-Pro EP709 Fitting the Extension Tubes to the Flexible Hose, Fitting the Floor to Carpet Brush to the Extension Tube

EP709 specifications

The Euro-Pro EP709 is a versatile and innovative kitchen appliance designed to simplify meal preparation and cooking tasks. This compact yet powerful device is particularly well-suited for individuals and families who value efficiency and convenience in their daily cooking routines.

One of the standout features of the EP709 is its multifunctionality. This appliance seamlessly combines several cooking methods, including steaming, grilling, baking, and sautéing. This versatility allows users to experiment with a wide range of recipes, whether they are looking to prepare a simple breakfast, a healthy lunch, or a gourmet dinner. The ability to cook multiple dishes at once without compromising flavor or texture is a significant advantage for busy households.

The Euro-Pro EP709 is equipped with advanced technology that enhances its performance. Its user-friendly digital control panel makes it easy to adjust cooking times and temperatures. With preset cooking programs, users can quickly access the optimal settings for a variety of dishes. The built-in timer and automatic shut-off feature also ensure safe and efficient operation.

Another notable aspect of the EP709 is its emphasis on health-conscious cooking. The appliance is designed to reduce the need for excessive oil and fats, promoting healthier meal options without sacrificing taste. The steaming function locks in nutrients and flavor, making it a perfect choice for those who want to enjoy wholesome meals.

The design of the Euro-Pro EP709 is both practical and aesthetically pleasing. Its sleek, modern appearance fits seamlessly into any kitchen decor. The appliance is also lightweight and compact, making it easy to store when not in use. The non-stick cooking surfaces facilitate easy cleanup, a feature that any home cook will appreciate.

Safety is a priority with the EP709, as it includes features such as a cool-touch exterior, ensuring that users can handle the appliance without the risk of burns. The inclusion of a secure locking lid during cooking prevents any accidental spills or splatters.

In summary, the Euro-Pro EP709 is a prime example of modern culinary technology that caters to the needs of today's busy cooks. With its multifunctional capabilities, user-friendly design, health-conscious cooking options, and safety features, the EP709 stands out as a valuable addition to any kitchen. Whether you are an experienced chef or a novice cook, this appliance can elevate your cooking experience and help you create delicious meals with ease.