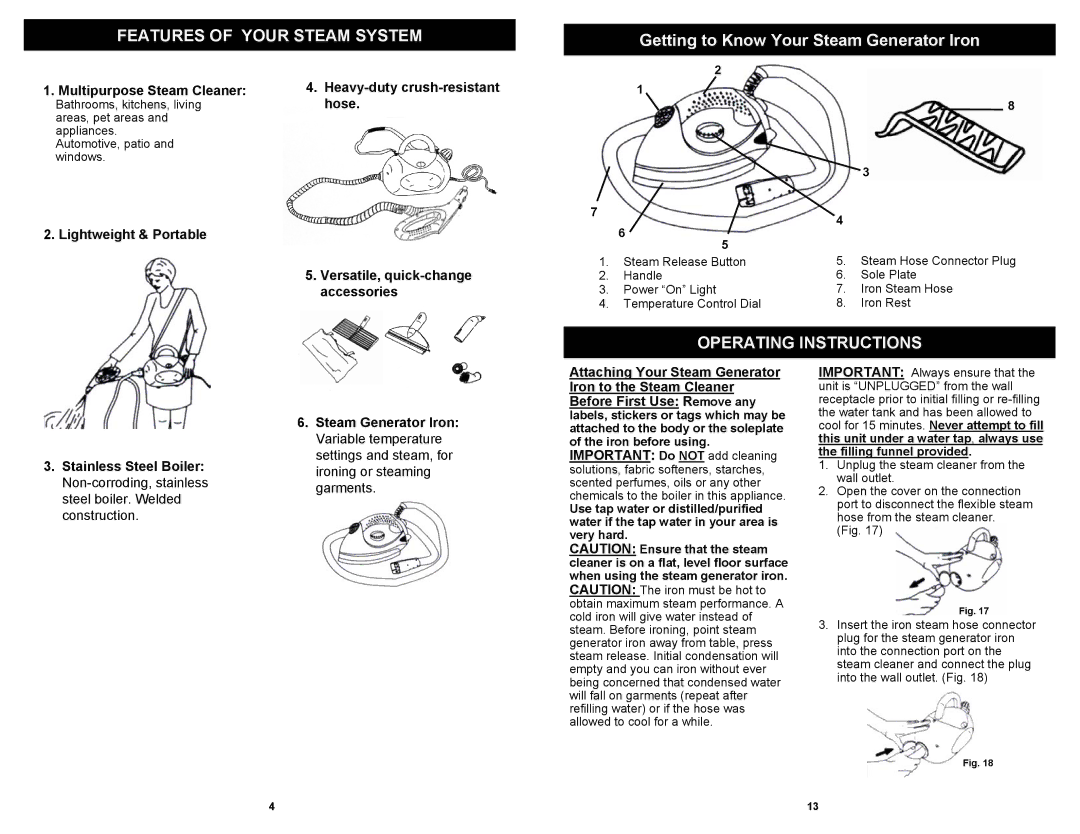
FEATURES OF YOUR STEAM SYSTEM
Getting to Know Your Steam Generator Iron
2
1.Multipurpose Steam Cleaner:
Bathrooms, kitchens, living areas, pet areas and appliances.
Automotive, patio and windows.
2.Lightweight & Portable
4.Heavy-duty crush-resistant hose.
5. Versatile, |
accessories |
1
8
|
|
| 3 |
7 |
| 4 |
|
| 6 |
| |
|
|
| |
| 5 | 5. | Steam Hose Connector Plug |
1. | Steam Release Button | ||
2. | Handle | 6. | Sole Plate |
3. | Power “On” Light | 7. | Iron Steam Hose |
4. | Temperature Control Dial | 8. | Iron Rest |
OPERATING INSTRUCTIONS
3.Stainless Steel Boiler:
6. Steam Generator Iron: |
Variable temperature |
settings and steam, for |
ironing or steaming |
garments. |
Attaching Your Steam Generator Iron to the Steam Cleaner Before First Use: Remove any labels, stickers or tags which may be attached to the body or the soleplate of the iron before using.
IMPORTANT: Do NOT add cleaning solutions, fabric softeners, starches, scented perfumes, oils or any other chemicals to the boiler in this appliance.
Use tap water or distilled/purified water if the tap water in your area is very hard.
CAUTION: Ensure that the steam cleaner is on a flat, level floor surface when using the steam generator iron.
CAUTION: The iron must be hot to obtain maximum steam performance. A cold iron will give water instead of steam. Before ironing, point steam generator iron away from table, press steam release. Initial condensation will empty and you can iron without ever being concerned that condensed water will fall on garments (repeat after refilling water) or if the hose was allowed to cool for a while.
IMPORTANT: Always ensure that the unit is “UNPLUGGED” from the wall receptacle prior to initial filling or
1.Unplug the steam cleaner from the wall outlet.
2.Open the cover on the connection port to disconnect the flexible steam hose from the steam cleaner.
(Fig. 17)
Fig. 17
3.Insert the iron steam hose connector plug for the steam generator iron into the connection port on the steam cleaner and connect the plug into the wall outlet. (Fig. 18)
Fig. 18
4
13
