OPERATING INSTRUCTIONS
TIPS ON HOW TO USE YOUR STEAM CLEANER
Refilling Your Steam Cleaner WARNING: Only refill the unit when boiler is empty and steam output has ceased. Allow unit to cool for 15 minutes before refilling. Extreme care should be taken when refilling the unit. Use caution when opening the Safety Cap as it may become hot during use and escaping steam can cause scalding.
Step 1: Squeeze the steam trigger on the hand grip to vent any residual steam that is in the boiler. This ensures that the boiler is out of water.
Step 2: Unplug the unit and allow to cool for fifteen (15) minutes. Continue to fill according to “Operating and Filling Your Steam Cleaner” instructions.
IMPORTANT: It is not recommended to refill your unit if there is still steam coming out when the steam trigger is pressed.
WARNING: This appliance is under pressure. After every use, unplug the unit and squeeze the steam trigger button until all pressure has been released before removing safety cap. Allow unit to cool for fifteen (15) minutes before refilling.
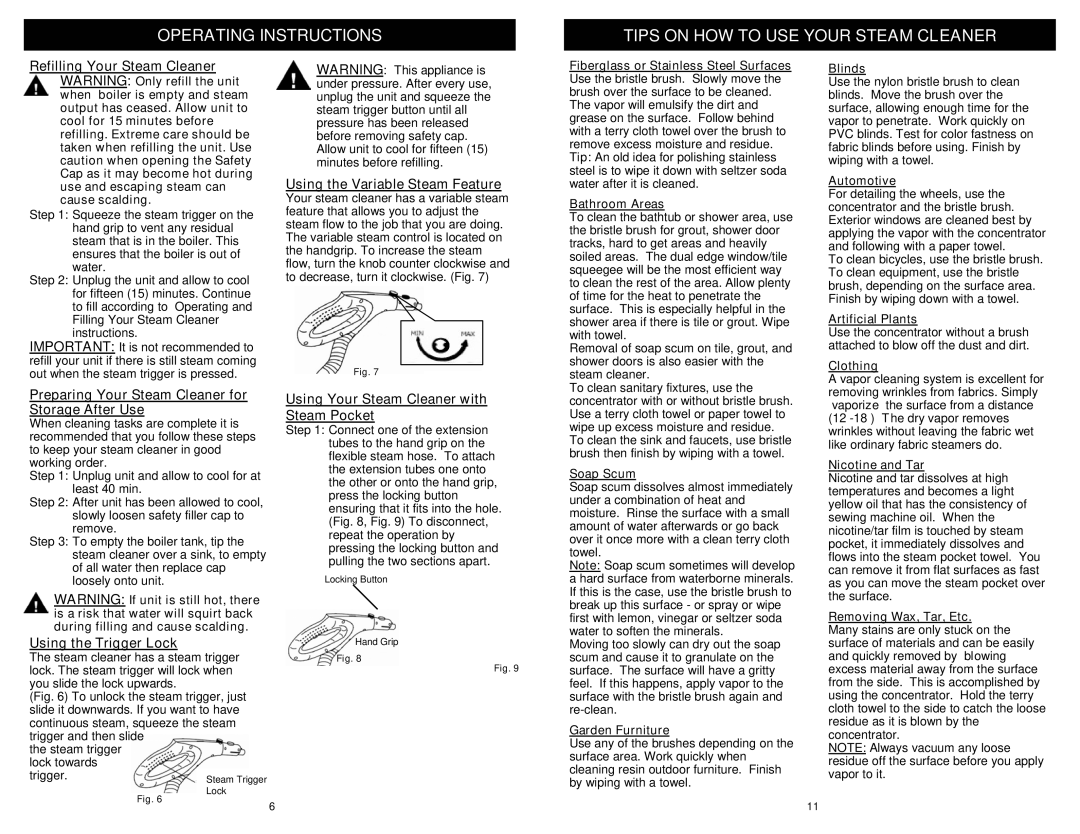
Using the Variable Steam Feature
Your steam cleaner has a variable steam feature that allows you to adjust the steam flow to the job that you are doing. The variable steam control is located on the handgrip. To increase the steam flow, turn the knob counter clockwise and to decrease, turn it clockwise. (Fig. 7)
Fig. 7
Fiberglass or Stainless Steel Surfaces Use the bristle brush. Slowly move the brush over the surface to be cleaned. The vapor will emulsify the dirt and grease on the surface. Follow behind with a terry cloth towel over the brush to remove excess moisture and residue. Tip: An old idea for polishing stainless steel is to wipe it down with seltzer soda water after it is cleaned.
Bathroom Areas
To clean the bathtub or shower area, use the bristle brush for grout, shower door tracks, hard to get areas and heavily soiled areas. The dual edge window/tile squeegee will be the most efficient way to clean the rest of the area. Allow plenty of time for the heat to penetrate the surface. This is especially helpful in the shower area if there is tile or grout. Wipe with towel.
Removal of soap scum on tile, grout, and shower doors is also easier with the steam cleaner.
Blinds
Use the nylon bristle brush to clean blinds. Move the brush over the surface, allowing enough time for the vapor to penetrate. Work quickly on PVC blinds. Test for color fastness on fabric blinds before using. Finish by wiping with a towel.
Automotive
For detailing the wheels, use the concentrator and the bristle brush. Exterior windows are cleaned best by applying the vapor with the concentrator and following with a paper towel.
To clean bicycles, use the bristle brush. To clean equipment, use the bristle brush, depending on the surface area. Finish by wiping down with a towel.
Artificial Plants
Use the concentrator without a brush attached to blow off the dust and dirt.
Clothing
A vapor cleaning system is excellent for
Preparing Your Steam Cleaner for Storage After Use
When cleaning tasks are complete it is recommended that you follow these steps to keep your steam cleaner in good working order.
Step 1: Unplug unit and allow to cool for at least 40 min.
Step 2: After unit has been allowed to cool, slowly loosen safety filler cap to remove.
Step 3: To empty the boiler tank, tip the steam cleaner over a sink, to empty of all water then replace cap loosely onto unit.
WARNING: If unit is still hot, there is a risk that water will squirt back during filling and cause scalding.
Using the Trigger Lock
The steam cleaner has a steam trigger lock. The steam trigger will lock when you slide the lock upwards.
(Fig. 6) To unlock the steam trigger, just slide it downwards. If you want to have continuous steam, squeeze the steam trigger and then slide
the steam trigger lock towards trigger.
Fig. 6
6
Using Your Steam Cleaner with Steam Pocket
Step 1: Connect one of the extension tubes to the hand grip on the flexible steam hose. To attach the extension tubes one onto the other or onto the hand grip, press the locking button ensuring that it fits into the hole. (Fig. 8, Fig. 9) To disconnect, repeat the operation by pressing the locking button and pulling the two sections apart.
Locking Button
Hand Grip
Fig. 8
Fig. 9
To clean sanitary fixtures, use the concentrator with or without bristle brush. Use a terry cloth towel or paper towel to wipe up excess moisture and residue. To clean the sink and faucets, use bristle brush then finish by wiping with a towel.
Soap Scum
Soap scum dissolves almost immediately under a combination of heat and moisture. Rinse the surface with a small amount of water afterwards or go back over it once more with a clean terry cloth towel.
Note: Soap scum sometimes will develop a hard surface from waterborne minerals. If this is the case, use the bristle brush to break up this surface - or spray or wipe first with lemon, vinegar or seltzer soda water to soften the minerals.
Moving too slowly can dry out the soap scum and cause it to granulate on the surface. The surface will have a gritty feel. If this happens, apply vapor to the surface with the bristle brush again and
Garden Furniture
Use any of the brushes depending on the surface area. Work quickly when cleaning resin outdoor furniture. Finish by wiping with a towel.
removing wrinkles from fabrics. Simply “vaporize” the surface from a distance
Nicotine and Tar
Nicotine and tar dissolves at high temperatures and becomes a light yellow oil that has the consistency of sewing machine oil. When the nicotine/tar film is touched by steam pocket, it immediately dissolves and flows into the steam pocket towel. You can remove it from flat surfaces as fast as you can move the steam pocket over the surface.
Removing Wax, Tar, Etc.
Many stains are only stuck on the surface of materials and can be easily and quickly removed by “blowing” excess material away from the surface from the side. This is accomplished by using the concentrator. Hold the terry cloth towel to the side to catch the loose residue as it is blown by the concentrator.
NOTE: Always vacuum any loose residue off the surface before you apply vapor to it.
11