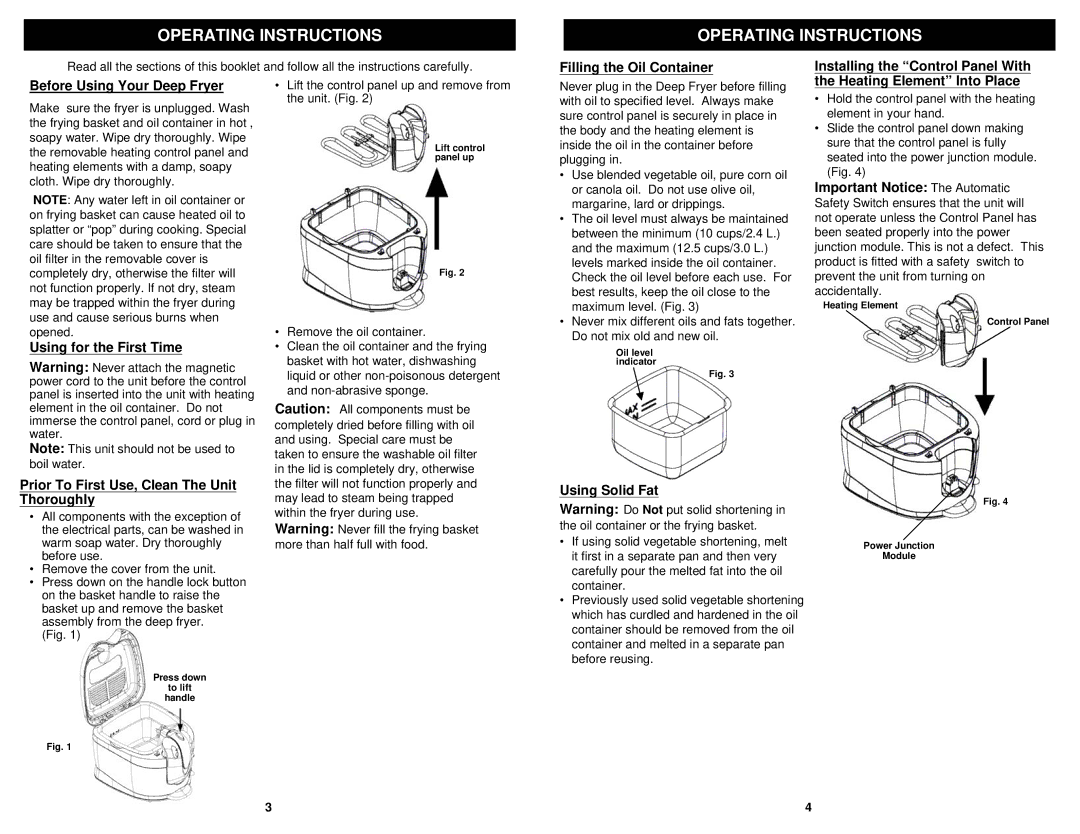
F2015L/F2015 specifications
The Euro-Pro F2015L/F2015 is a versatile and powerful cleaning tool that has gained a reputation for its impressive performance and innovative features within the realm of home appliances. This model is particularly favored for its ability to efficiently tackle various cleaning tasks, making it an essential addition to any household.One of the standout features of the Euro-Pro F2015L/F2015 is its powerful suction capabilities. The unit is equipped with a robust motor that delivers exceptional suction power, allowing it to easily lift dirt, dust, and debris from carpets, hardwood floors, and other surfaces. This ensures a thorough and efficient cleaning experience, leaving homes spotless and fresh.
The design of the F2015L/F2015 emphasizes user convenience and ease of use. With a lightweight structure, this vacuum cleaner is highly portable, making it easy to maneuver around furniture and reach high or low areas without straining. Additionally, the ergonomic handle contributes to a comfortable grip, allowing users to clean for extended periods without discomfort.
This model also incorporates advanced filtration technology, which is particularly beneficial for allergy sufferers. The high-efficiency particulate air (HEPA) filter captures even the smallest particles, including allergens such as pollen, pet dander, and dust mites. This ensures that the air quality in the home remains clean and healthy, promoting a better living environment.
Another notable characteristic of the Euro-Pro F2015L/F2015 is its multi-surface capability. With adjustable suction settings, it can be easily adapted for use on a variety of surfaces, from carpets to bare floors. This versatility makes it suitable for all cleaning needs, from everyday messes to deep cleans.
Additionally, the vacuum features a generous dust bin capacity, allowing users to clean larger areas without frequent interruptions to empty it. The bin is also designed for easy disposal, making the process hygienic and hassle-free.
In conclusion, the Euro-Pro F2015L/F2015 stands out in the competitive vacuum cleaner market due to its powerful suction, user-friendly design, advanced filtration system, and multi-surface versatility. These features make it a reliable choice for households seeking an effective and efficient cleaning solution. As cleaning technologies continue to evolve, models like the Euro-Pro F2015L/F2015 lead the way in ensuring homes remain as clean and healthy as possible.

