SC710 S specifications
The Euro-Pro SC710 S is a vacuum cleaner that exemplifies efficiency and versatility in home cleaning. Designed with users in mind, this model offers a robust set of features and technologies that make it a popular choice among homeowners seeking a reliable cleaning solution.One of the standout characteristics of the SC710 S is its powerful motor that delivers exceptional suction force. This high-performance motor ensures that dirt, dust, and debris are effectively lifted from various surfaces, including carpets, hardwood floors, and upholstery. The vacuum’s lightweight design also adds to its usability, making it easy to move from room to room and navigate around furniture.
Equipped with advanced filtration technology, the SC710 S features a HEPA filter that traps a high percentage of allergens and pollutants, making it an excellent choice for allergy sufferers. This filtration system not only purifies the air but also prolongs the life of the vacuum by preventing dirt and particles from clogging the motor.
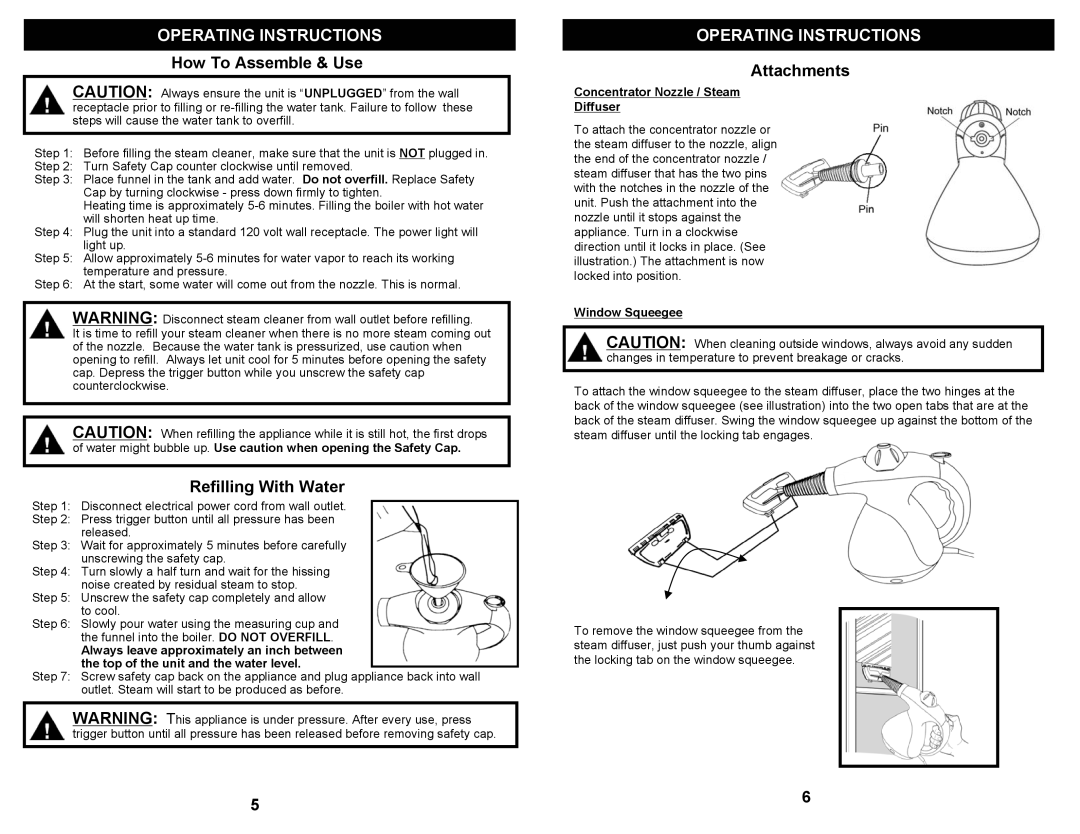
The Euro-Pro SC710 S is designed with user-friendly controls and a variety of attachments, including a crevice tool, dusting brush, and upholstery nozzle. These tools enhance the vacuum's capabilities, allowing users to clean tight spaces, delicate surfaces, and textured fabrics with ease. The flexible hose extends the reach of the vacuum, making it convenient to clean high areas or beneath furniture.
In terms of storage, the SC710 S is compact and can be easily stored in closets or small spaces. Its cord rewind feature further simplifies storage, allowing users to tidy away the power cord with a simple push of a button.
An additional feature that stands out is the vacuum's quiet operation. The Euro-Pro SC710 S is designed to minimize noise during use, making it ideal for households with children or pets, or for any situation where minimal disruption is desired.
In conclusion, the Euro-Pro SC710 S vacuum cleaner combines powerful suction, advanced filtration, and user-friendly features into a sleek and efficient design. Its versatility and ease of use make it an ideal choice for maintaining a clean and healthy home environment, catering to the needs of various cleaning tasks and preferences.

