Firmware Upgrade Procedure, cont’d
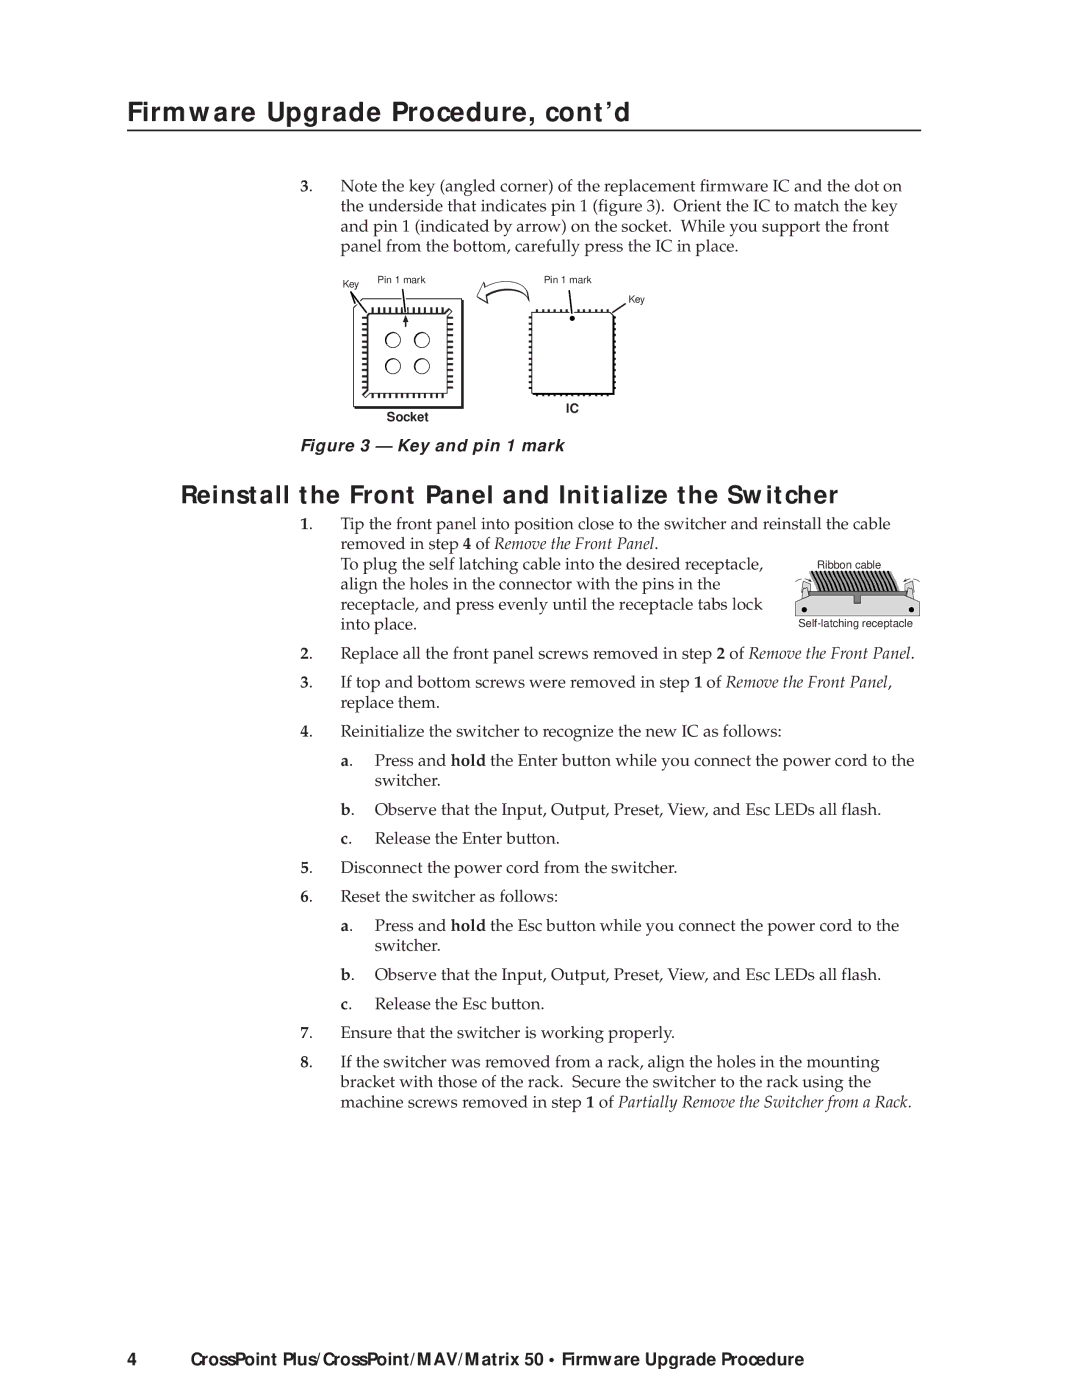
3. | Note the key (angled corner) of the replacement firmware IC and the dot on |
| the underside that indicates pin 1 (figure 3). Orient the IC to match the key |
and pin 1 (indicated by arrow) on the socket. While you support the front panel from the bottom, carefully press the IC in place.
Key | Pin 1 mark |
|
Socket |
Pin 1 mark
Key
IC |
Figure 3 — Key and pin 1 mark
Reinstall the Front Panel and Initialize the Switcher
1. | Tip the front panel into position close to the switcher and reinstall the cable | ||||
| removed in step 4 of Remove the Front Panel. |
|
|
| |
| To plug the self latching cable into the desired receptacle, |
| Ribbon cable | ||
| align the holes in the connector with the pins in the |
|
|
| |
| receptacle, and press evenly until the receptacle tabs lock |
|
|
| |
|
|
|
| ||
| into place. | ||||
2. | Replace all the front panel screws removed in step 2 of Remove the Front Panel. | ||||
3. | If top and bottom screws were removed in step 1 of Remove the Front Panel, | ||||
| replace them. |
|
|
| |
4. | Reinitialize the switcher to recognize the new IC as follows: |
|
|
| |
| a. | Press and hold the Enter button while you connect the power cord to the | |||
|
| switcher. |
|
|
|
| b. | Observe that the Input, Output, Preset, View, and Esc LEDs all flash. | |||
| c. | Release the Enter button. |
|
|
|
5. | Disconnect the power cord from the switcher. |
|
|
| |
6. | Reset the switcher as follows: |
|
|
| |
| a. | Press and hold the Esc button while you connect the power cord to the | |||
|
| switcher. |
|
|
|
| b. | Observe that the Input, Output, Preset, View, and Esc LEDs all flash. | |||
| c. | Release the Esc button. |
|
|
|
7. | Ensure that the switcher is working properly. |
|
|
| |
8. | If the switcher was removed from a rack, align the holes in the mounting | ||||
| bracket with those of the rack. Secure the switcher to the rack using the | ||||
| machine screws removed in step 1 of Partially Remove the Switcher from a Rack. | ||||
4CrossPoint Plus/CrossPoint/MAV/Matrix 50 • Firmware Upgrade Procedure