MIX 301 specifications
The Extron Electronics MIX 301 is a professional audio mixer designed specifically for use in various applications, including educational environments, corporate settings, and live events. Its compact design allows for easy integration into existing A/V systems while providing a host of features that ensure high-quality audio performance.One of the standout features of the MIX 301 is its three-channel configuration, which enables users to mix audio from multiple sources seamlessly. Each channel is equipped with individual volume controls, allowing for precise adjustments to achieve the desired audio balance. This flexibility makes the MIX 301 ideal for environments where multiple audio sources must be blended, such as presentations or performances.
The MIX 301 also incorporates advanced technology to enhance audio quality. It features low noise and high-headroom circuitry, which minimizes distortion and ensures clarity even at higher volume levels. This is particularly beneficial in professional settings where audio clarity is paramount. The mixer comes with built-in equalization options, allowing users to tailor sound characteristics to suit specific environments or personal preferences.
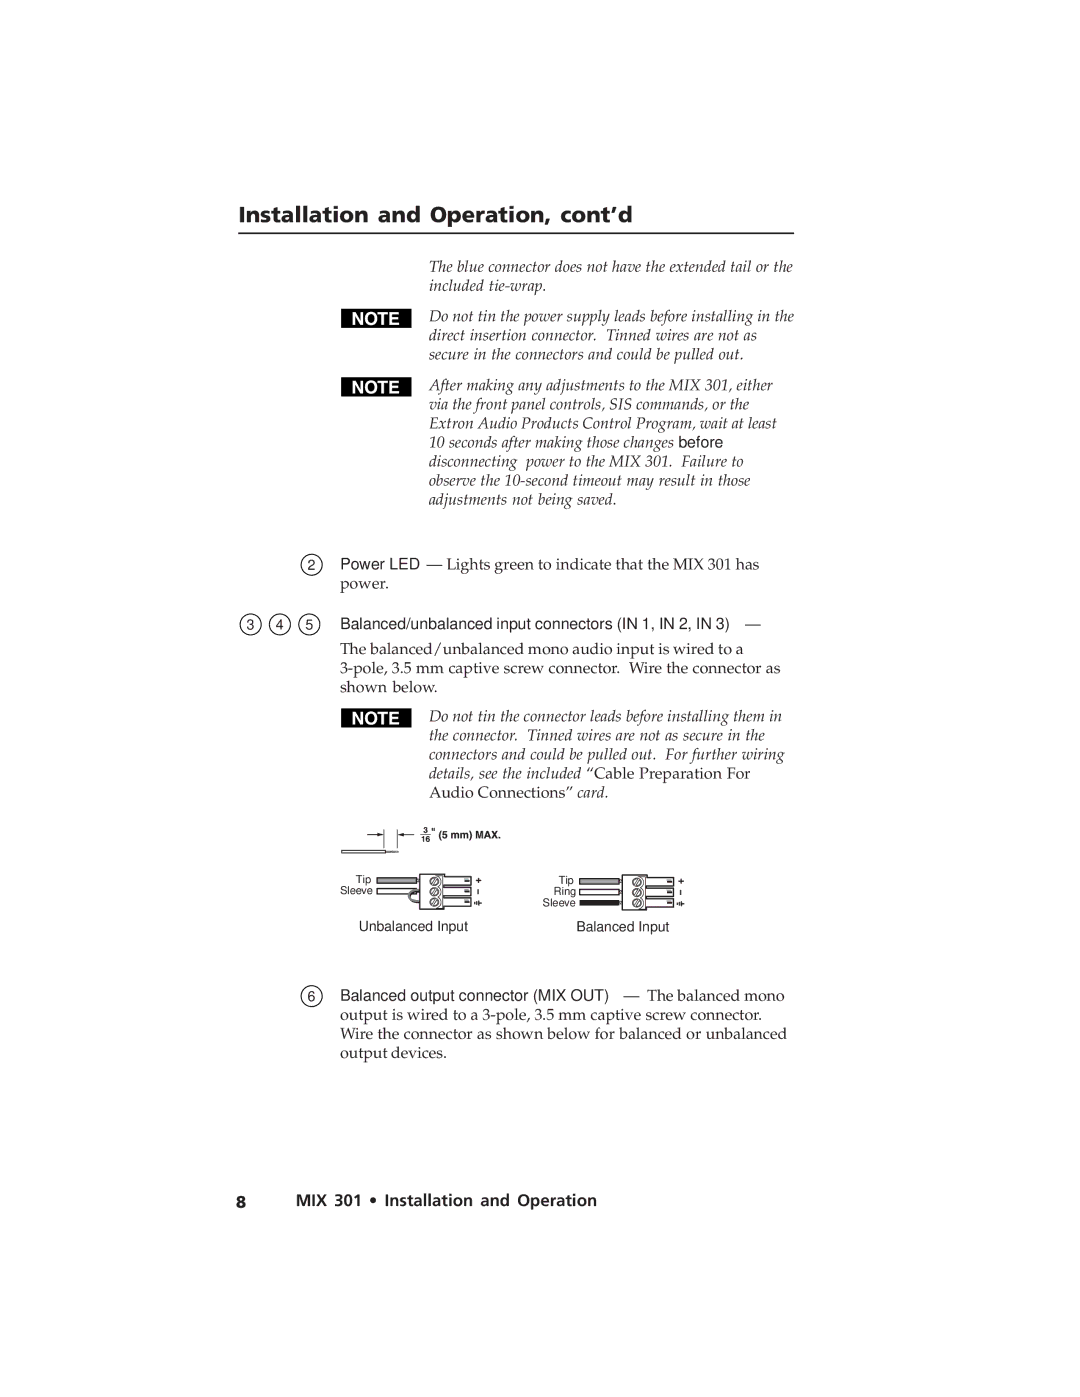
Another key characteristic of the MIX 301 is its versatility in connectivity. The mixer supports multiple input types, including line-level and microphone inputs, which makes it compatible with a wide array of audio devices. Additionally, it features both XLR and 1/4-inch connections, giving users the flexibility to connect various audio sources without the need for additional adapters.
The MIX 301 also integrates user-friendly controls, making it accessible for both experienced audio professionals and those new to audio mixing. Its straightforward layout includes easy-to-read level meters, allowing users to monitor audio levels in real-time accurately. This is essential for preventing audio clipping and ensuring a polished sound output.
In terms of portability, the chassis of the MIX 301 is designed to be lightweight yet durable, making it suitable for both fixed installation and mobile use. Its compact form factor allows it to fit seamlessly into standard rack-mounted setups or portable A/V cases, making it an ideal choice for anyone needing reliable audio mixing capabilities on the go.
Overall, the Extron Electronics MIX 301 stands out as an excellent audio mixer, combining high-quality sound performance with versatility and ease of use. Its array of thoughtful features and robust design make it a reliable choice for a wide range of audio mixing applications, ensuring users can achieve professional-grade audio mixed effortlessly.

